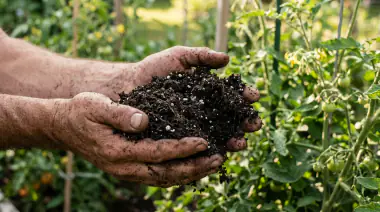
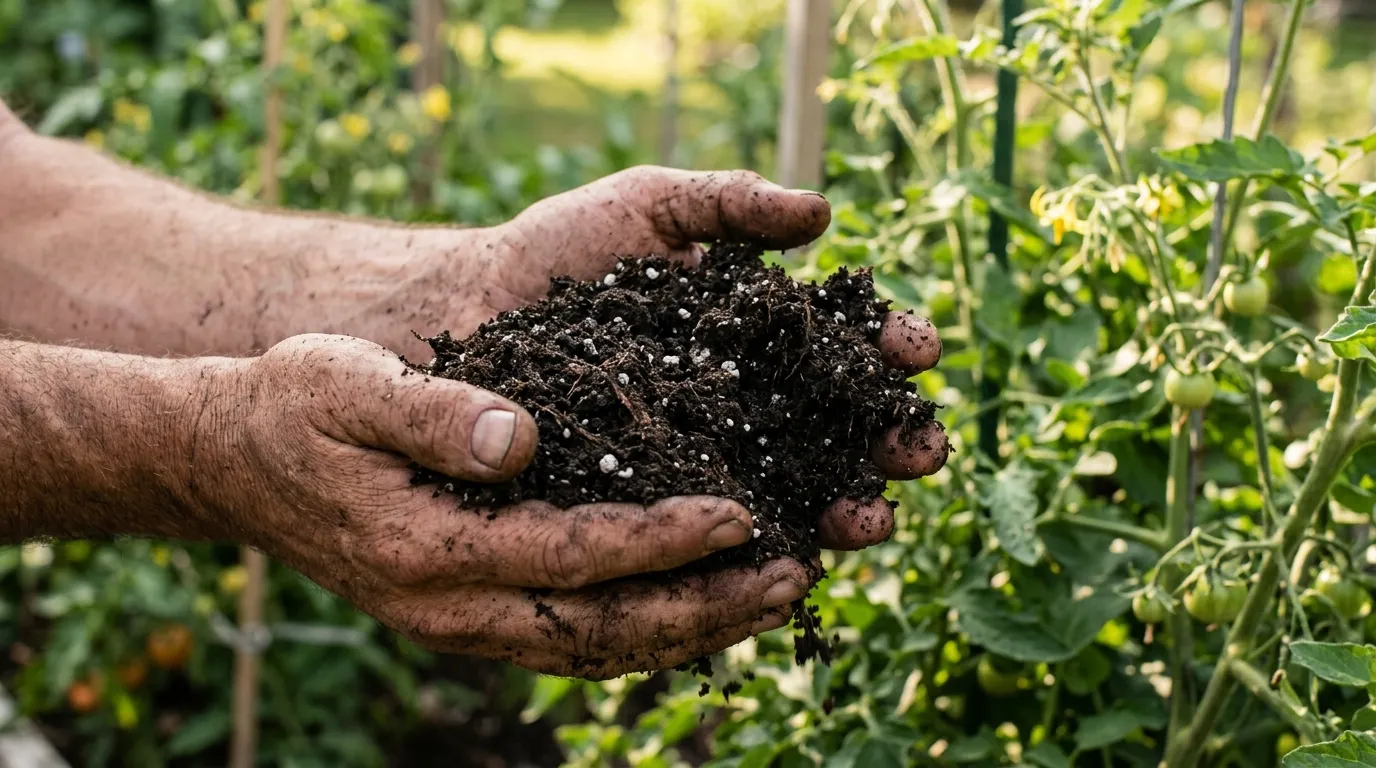
The year my tomatoes finally tasted like the farm stand’s wasn’t the year I found a magic fertilizer. It was the year I stopped trying to feed a bad soil and started building a good one. I had spent two seasons pouring fish emulsion onto heavy clay that stayed wet for days, then cracked like pottery. Roots sat in soup, then in concrete. Leaves yellowed, fruits cracked, and I blamed weather. Then a neighbor who grew prize ‘Brandywines’ let me squeeze a handful of her bed. It fell apart like chocolate cake — dark, crumbly, sweet-smelling, with white perlite flecks and bits of compost that looked like forest floor. Her soil drained in hours but held moisture for days. Mine held water for a week or not at all.
I asked what she bought. She laughed and said, nothing you can buy in a single bag — you build it. And she showed me the ratio she writes on her shed: topsoil, compost, air.
That ratio, plus pH 6.0 to 6.8 and a little patience, is why her tomatoes stood tall while mine sulked. This guide is that shed-door recipe, refined for clay, sand, containers, and raised beds, so your tomatoes get the perfect house for roots before you ask them to make fruit.
Quick Answer: The best soil for tomatoes is a loose, well-drained, fertile loam around 40% quality topsoil, 30% finished compost, 20% perlite or coarse sand, and 10% worm castings, with pH 6.0 to 6.8 and 3 inches of straw mulch after soil warms past 60°F. In-ground, work 2 to 3 inches of compost into the top 8 inches. In raised beds use the same mix imported; in containers use potting mix, not garden soil, with the same ratios. Keep soil evenly moist 1 to 1.5 inches per week at the base and test pH yearly.
At a Glance
| Fact | Ideal for Tomatoes | Why It Matters |
|---|---|---|
| Texture | Loose loam — crumbly, not sticky or gritty | Roots need both air and water |
| Mix ratio | 40% topsoil, 30% compost, 20% perlite/sand, 10% castings | Drainage + fertility + biology |
| pH | 6.0 to 6.8, slightly acidic | Keeps nutrients available |
| Drainage | Water drains within hours, stays moist for 2 days | Prevents root rot and cracking |
| Organic matter | 5 to 8% by feel — dark, earthy smell | Feeds microbes, buffers pH |
| Depth | 10 to 12 inches loose before planting | Deep planting + deep roots |
| Mulch | 3 inches straw after 60°F soil | Holds moisture, stops splash |
Why Soil Matters More Than Fertilizer — The Invisible Pantry
Fertilizer is a meal. Soil is the pantry, the fridge, the plumbing, and the air-conditioning. You can feed a weak soil all summer and the plant will still struggle, because water either runs through or sits, pH locks nutrients, and roots can’t breathe. A good soil makes a mediocre fertilizer plan work. A bad soil makes a perfect fertilizer plan fail.
Tomatoes are heavy, long-season feeders with deep roots that want to go 18 inches down and 24 inches wide on a happy indeterminate. They want moisture that is even — not swampy, not drought — and air in the same pore space. That only happens in crumbs, not in clay slabs or beach sand.
I learned to evaluate soil with my hands before I opened any bag. Squeeze a fistful of moist soil. If it holds shape like a ball then crumbles when poked, it’s loam. If it stays in a slick ribbon 3 inches long, it’s clay. If it falls through fingers like sugar, it’s sand. Each can become loam with the right amendments — compost plus air for clay, compost plus coir for sand. See how to prepare soil for planting and how to test soil pH for the five-minute tests.
The Perfect Mix — My Shed-Door Recipe Explained
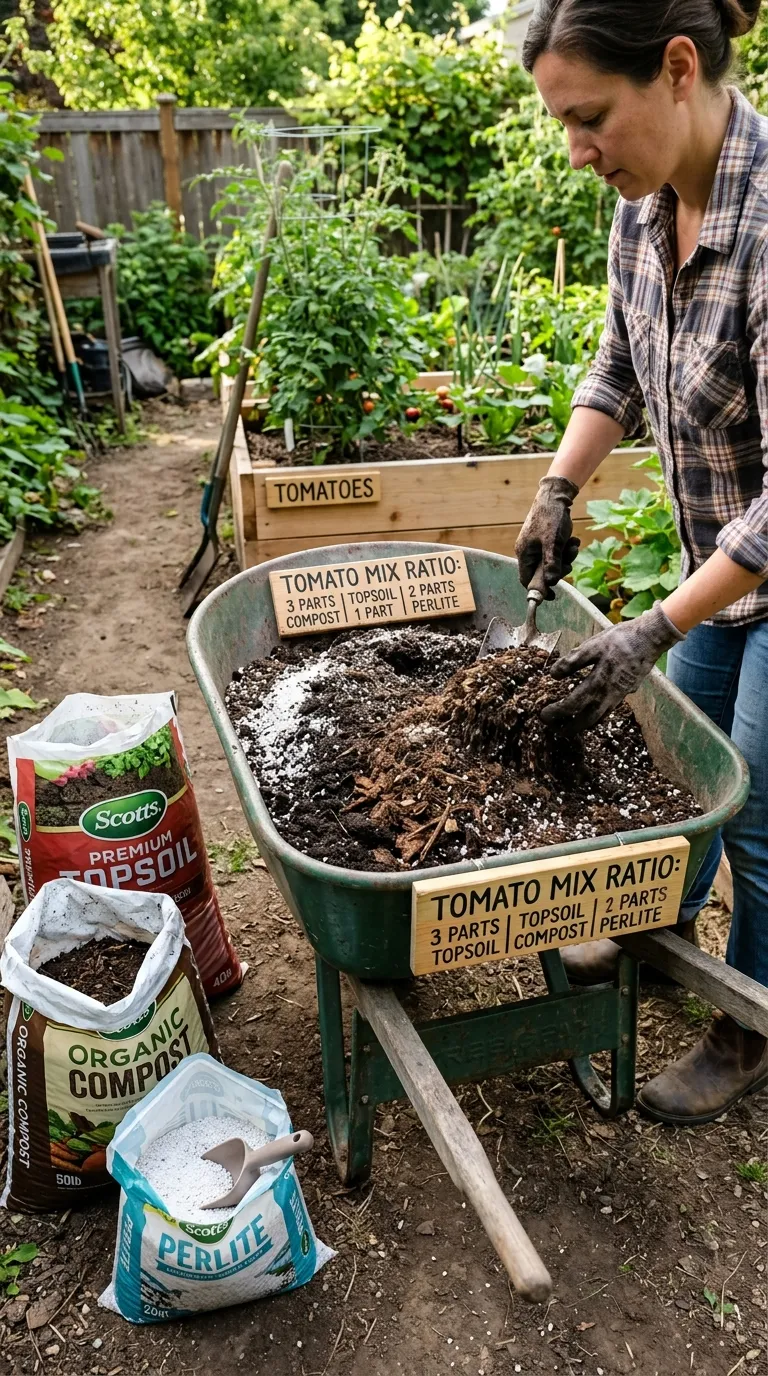
This is the mix I use for new raised beds and to rehab in-ground rows.
40% quality topsoil or screened loam. This is the body — mineral particles that give structure. Avoid cheap fill dirt with construction debris or heavy clay subsoil. Good topsoil smells earthy, not sour, and has no strong chemical odor.
30% finished compost. Dark, crumbly, like coffee grounds mixed with forest duff. It adds nutrients slowly, feeds earthworms and fungi that glue crumbs together, and buffers pH both ways. I prefer a blend — half leaf compost, half composted manure or mushroom compost — for balanced nutrients. See best soil for vegetable gardens for compost sourcing.
20% perlite or coarse sand (not fine beach sand). This is the air. Perlite is those white volcanic puffs that keep soil from compacting. Coarse horticultural sand does similar work. In clay, this portion is critical; without it, compost alone still packs.
10% worm castings or well-aged vermicompost. The gentle, microbially rich top-dress. Castings add a slow, non-burning nutrient charge and biology that helps roots find phosphorus. A little goes a long way.
For a 4 by 8 raised bed 12 inches deep, that is roughly: 12 cubic feet topsoil, 9 cubic feet compost, 6 cubic feet perlite, 3 cubic feet castings — mixed lightly in the top 10 inches, not tilled to dust. Water it, let it settle a week before planting, top with 3 inches of straw after soil hits 60°F. That settling week is when biology wakes up.
What About pH 6.0 to 6.8 — How to Test and Nudge
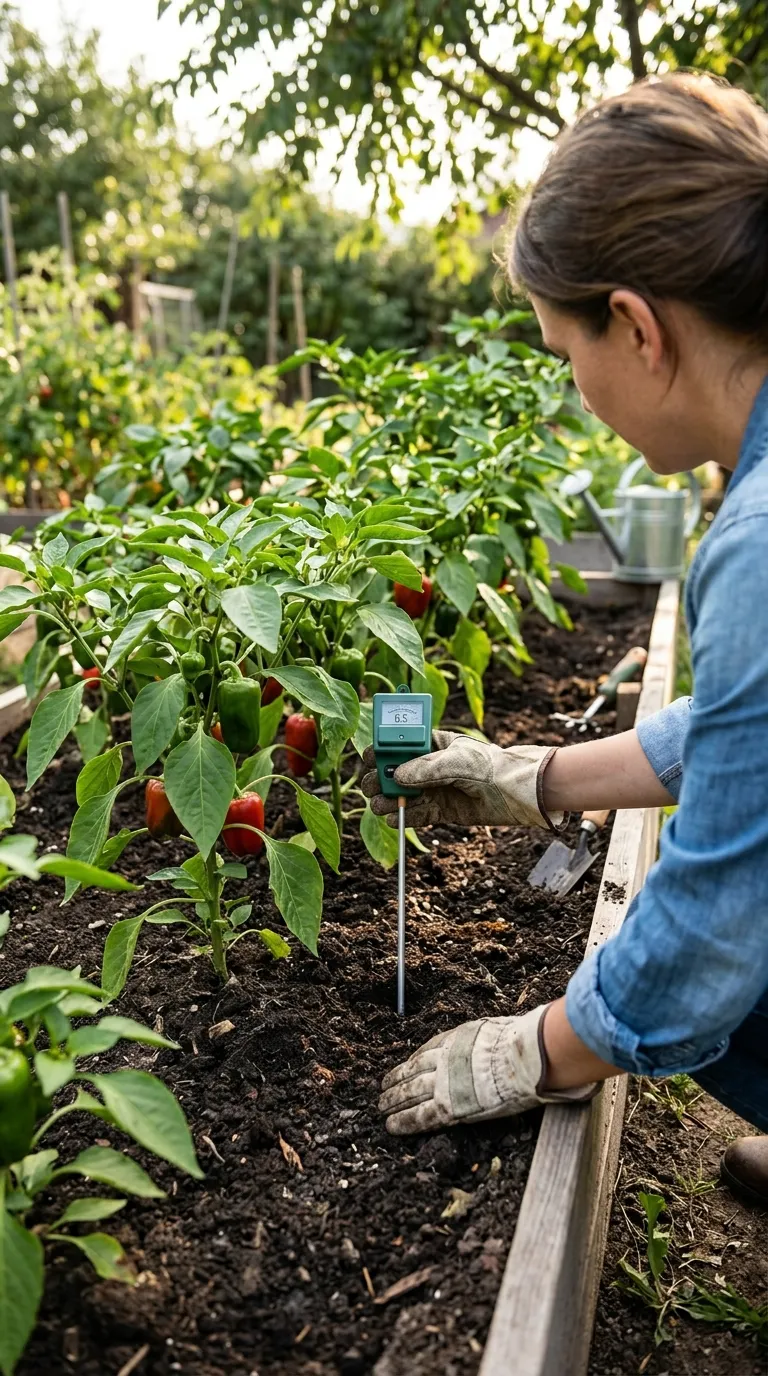
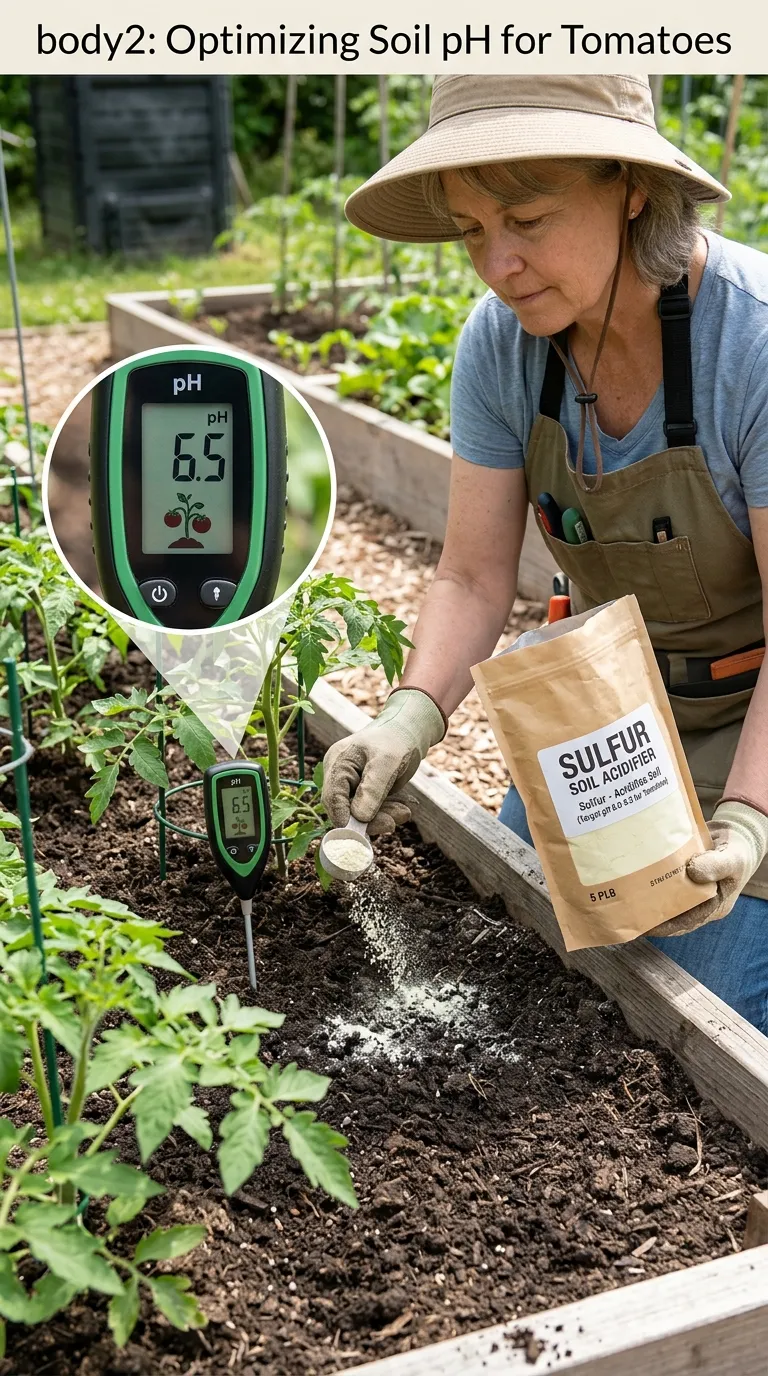
pH is the gatekeeper. At 6.0 to 6.8, nitrogen, phosphorus, potassium, iron, and calcium all stay available. Above 7.2, iron and phosphorus lock out — upper leaves turn yellow with green veins. Below 5.8, calcium and magnesium drop — blossom end rot and poor color follow.
Test each year with a $15 kit or county extension lab. If pH is 7.4, work elemental sulfur at label rate in fall — it needs weeks for microbes to convert it. If pH is 5.4, add garden lime lightly. Compost buffers gently both ways, which is why annual compost reduces pH swings over time. Don’t chase pH with ash or vinegar hacks; small, labeled corrections beat big swings.
Drainage Test — The Two-Hour Rule
After mixing, water deeply and watch. Ideal soil drains visibly within 2 hours, feels moist 2 inches down for 2 days, and never smells sour. If water puddles more than 4 hours, add more perlite and compost. If it dries bone dry in 24 hours, add more compost and a thin layer of coir. This two-hour observation tells you more than any bag claim.
Building for Your Setup — In-Ground, Raised Bed, and Container Shifts
In-Ground Clay or Heavy Soil
Clay is nutrient-rich but air-poor. Don’t till wet clay — it forms bricks. Wait until a squeezed ball crumbles, then work 2 to 3 inches of compost plus perlite into the top 8 to 10 inches only. Consider mounding rows 6 inches high so crowns never sit in puddles. Mulch 3 inches after soil warms. Add compost each fall, not just spring, so frost and worms integrate it. Over two falls, my clay went from shiny smear to crumbs.
Sandy Soil That Dries in Hours
Sand is air-rich but water-poor. Add 3 inches of compost plus coir (coconut fiber) or leaf mold to hold moisture. Mulch extra — 3 to 4 inches — to slow evaporation. Water 1.5 inches per week in 3 sessions rather than one long soak that just washes past roots. Yearly compost is not optional on sand; it’s the water tank.
Raised Beds — The Controlled Mix
Raised beds are where you import perfection from day one. Fill with the 40/30/20/10 mix, not native soil alone. They warm 5 to 10°F faster in spring, which gives you a 7 to 10 day earlier transplant window, but they also dry and leach faster — check every 2 to 3 days and plan to top-dress 1 inch compost each spring before planting. See raised bed gardening for framing and depth choices.
Containers and Grow Bags — Potting Mix, Not Garden Soil
Garden soil compacts in pots into a dense brick that suffocates roots. Use potting mix (bark + peat or coir + perlite) blended with 20% compost and 10% castings. A 5-gallon bucket needs drainage holes; a 7 to 10-gallon grow bag is better — more soil, more buffer. Containers leach nutrients with daily watering, so plan half-strength liquid feed weekly during heavy fruiting plus monthly granular at the surface.
Feeding the Soil So It Feeds the Tomato — Beyond the Mix
The mix is day one. Living soil is seasons.
Annual rhythm: Each fall, spread 1 to 2 inches finished compost and let winter settle it. In spring, work lightly into top 6 inches only. No deep tillage that shreds fungal networks tomatoes rely on for phosphorus uptake.
Biology boost: Worm castings as a top-dress, 1/4 inch at planting and at first fruit set, add microbes without salt risk. A thin straw mulch feeds soil as it softens.
Avoid the killers: Fresh manure burns roots and can carry pathogens — age it 6 months. Fresh wood chips tie up nitrogen if mixed in — use them as surface mulch only, not incorporated.
Rotate: No tomatoes, peppers, or potatoes in same spot 2 to 3 years if you saw blight. Soil-borne spores overwinter precisely where you left them. See vegetable garden diseases.
Common Mistakes That Undo a Perfect Mix
-
Mixing fresh manure or unfinished compost into the root zone. It heats, ties up nitrogen, and can harbor E. coli. Age and finish first.
-
Using fine play sand or beach sand for “drainage.” It packs tighter, not looser. Use coarse horticultural sand or perlite.
-
Tilling wet clay or sandy soil to “fluff” it. Wet tillage makes clay worse. Wait for crumble-stage moisture.
-
Skipping pH testing for three years. pH creeps, especially near limestone paths or after repeated liming for brassicas.
-
Mulching 6 inches deep right up to the stem. Thick mulch on the crown invites rot. Leave a 2-inch collar open.
-
Filling containers with garden soil to “save money.” You lose a season to compaction and poor drainage. Potting mix is worth it.
Seasonal Calendar — Soil Work Through the Year
-
Fall: Spread compost 1 to 2 inches, soil test, add sulfur or lime per results so winter does the slow work.
-
Late Winter: Review notes, order compost and perlite, plan rotation — where tomatoes were, plant beans; where beans were, plant tomatoes.
-
Early Spring (6 weeks before last frost): Start seeds indoors while soil still rests. Cover bed with black plastic for a week to warm toward 60°F.
-
At Planting: Work compost into top 8 inches, add balanced fertilizer per label, plant deep, water in, stake, mulch after 60°F.
-
Midsummer: Don’t dig or till. Just maintain even moisture 1 to 1.5 inches weekly and mulch depth. Let biology work undisturbed.
-
Late Summer: After harvest, pull vines for trash if diseased, compost if healthy. Replenish with thin compost layer immediately — bare soil degrades.
Troubleshooting — When Good Mix Still Struggles
-
Soil smells sour and leaves yellow soft, even in mix? Overwatering or pot without drainage. Let top 2 to 3 inches dry, ensure holes, pull mulch back a day for air.
-
Upper leaves yellow with green veins in new raised bed? pH likely high from fresh compost with lime or alkaline water. Test; apply elemental sulfur and short-term chelated iron foliar. See tomato leaves turning yellow.
-
Seedlings stunt despite rich mix? Cold soil below 55°F locks phosphorus. Warmth often greens them within 10 days. Wait before adding more fertilizer.
-
Water runs straight through container? Potting mix dried and became hydrophobic. Water slowly in pulses, add a drop of castile soap to break surface tension, then mulch surface.
-
Clay still puddles after amending? Add more perlite/organic matter and mound rows higher. Consider a French drain at row end or convert to raised bed for that row.
Container & Raised Bed Details — Moisture Retention Tricks
Containers want a water-holding amendment: coir or peat plus perlite keeps mix moist for 2 days, not 2 hours. I add a palm of vermiculite in 7-gallon bags for extra retention without sogginess.
Raised beds benefit from a thin living mulch under straw — a sown micro-clover or thyme edge that shades soil without competing at tomato depth. And a tuna can rain gauge? In beds with perfect mix, I finally trust what that can says because drainage is predictable.
A Deeper Seasonal Lens — What Changes When You Watch Closely
I keep a waterproof notebook in my apron pocket. One line a week, no more. Date, weather, what I did, what leaves looked like.
That tiny log taught me more than any book. Because the garden repeats itself, softly. The same bed that yellowed after a four-day rain last July yellows the same week this July — unless I mulch higher and prune lower before the rain.
Try it this season. Just one line every Sunday. You will have a personal almanac by September.
Notes From My Notebook — Three Years That Shaped This Guide
Year one: I overwatered with love. Flag in bed: “DO NOT WATER UNTIL FINGER 2 INCHES.” Yield doubled.
Year two: pH 7.4 after liming for beans. No fertilizer greened top leaves until sulfur in fall.
Year three: Cold nights at 45°F. Peppers stalled until July. Tomatoes beside them merely slowed. Waiting an extra week after tomatoes for peppers became permanent rule.
Those three lines are why this guide insists on finger tests, pH kits, and patience.
Troubleshooting Appendix — More Real Dialogues
“My soil looks great but fruits still have green shoulders.” Often potassium-light or too much shade on tops. Ensure second-half feed has good K (last number) and thin lightly for light.
“I mulched and still got blight.” Mulch helps but doesn’t erase wind-borne spores. Prune lower leaves for airflow, water at base, rotate next year 2 to 3 years without nightshades in that bed.
“Can I use garden lime to stop blossom end rot?” Only if soil test shows low pH. Otherwise even water is the fix. Lime without need raises pH and locks iron.
“Do I need to buy bees?” Lovely for ecology, not required for tomatoes or peppers which self-pollinate. Wind and your midday shake are the engine. Wild bees are a bonus that companion herbs invite.
“What if I only have a balcony?” Containers are honest. They dry fast and leach fast. Choose 7 to 10 gallon fabric bags, quality potting mix, morning sun, and check lift test daily. You can grow a surprising harvest in two bags and a bucket of basil.
The Quiet Math of Even Moisture — Why Mulch Beats More Water
Bare soil at 90°F loses nearly half an inch of water a day to evaporation. Straw mulch cuts that by roughly half. So 3 inches of straw is effectively like getting an extra watering without turning on the hose.
It also keeps soil splash from reaching lower leaves. That splash carries blight, septoria, and bacterial spot spores that overwinter in soil. Mulch is a clean sheet between soil and leaf. I lay it after soil passes 60°F, keeping a 2-inch collar open at stems so crowns breathe.
Have you measured how fast your bare bed dries vs. mulched? Try two fingers, two spots, same day. You’ll see why mulch is the first line, not the last.
Container, Raised Bed, and In-Ground — How the Same Plant Tells Different Stories
Containers tell you quickly. They yellow fast when wet or dry, and they forgive fast when corrected. Check lift plus finger daily in July. Half-strength liquid feed weekly during heavy fruiting plus monthly granular side-dress keeps them green without burn.
Raised beds tell you in mid-summer. They leach nitrogen after heavy rain, so lower leaves fade uniformly. A light side-dress perks them back in days.
In-ground clay tells you slowly. It holds water longest, so overwatering yellowing lingers. If trowel shines with smeared clay two days after rain, wait despite calendar. Annual fall compost turns clay to crumbs over seasons.
Name your setup. The yellowing pattern narrows to two likely causes instead of eight.
Final Encouragement — The Gardener Learns Slower Than the Plant
The plant responds in days. The gardener learns in seasons. Be patient with yourself.
If you fix water this year and pH next year and pruning the year after, you will still harvest beautifully each year — just more beautifully as you go. I wish someone had told me that good gardening is cumulative, not perfect on the first try.
Pick one habit from this guide to practice this week. Just one. Water at base before 10 a.m., or shake flowers at midday, or lay that straw mulch. Do it for seven days. Look at new growth. That is your feedback loop, truer than any forum.
Frequently Asked Questions
Q: What is the best soil mix for tomatoes?
A: The best mix is loamy, well-drained and rich: about 40% quality topsoil, 30% finished compost, 20% perlite or coarse sand, and 10% worm castings. This holds moisture without sogginess, feeds biology, and keeps roots oxygenated for heavy fruit loads. It drains within hours but feels moist for two days, and its crumb structure lets you deep-plant stems for extra roots. In-ground, work 2 to 3 inches of compost into the top 8 inches to approach this. For containers, use potting mix as the topsoil portion so it stays airy and doesn’t compact into a brick that locks out air and water.
Q: What pH is best for tomato soil?
A: Tomatoes grow best at pH 6.0 to 6.8, slightly acidic. In this window nitrogen, phosphorus, iron, and calcium stay available. Above 7.2 iron locks out causing yellow upper leaves with green veins, while phosphorus also becomes shy. Below 5.8 calcium and magnesium uptake drops and blossom end rot risks rise even with even watering. Test yearly with a $15 kit or extension lab. Adjust slowly — elemental sulfur to lower high pH in fall, garden lime to raise low pH — and retest. Annual compost helps buffer and stabilize that sweet spot over seasons without dramatic swings.
Q: Can you grow tomatoes in garden soil alone?
A: Garden soil alone is often too dense or too sandy for best results. Heavy clay holds water for days and cracks when dry, suffocating roots; sand drains in minutes and loses nutrients with every watering. Both grow tomatoes once amended: work 3 inches compost and perlite into clay for drainage, and compost plus coir into sand for retention to create that ideal loam. Raised beds with imported loam mix solve chronic extremes and warm faster in spring. Whatever the base, aim for that crumbly chocolate-cake texture that holds a ball then crumbles when poked — that’s the structure tomatoes love.
Q: How do you improve drainage for tomatoes in clay soil?
A: Work 2 to 3 inches of compost plus perlite into the top 8 to 10 inches when soil is at crumble-stage moisture — never wet — and mound rows 6 inches high so crowns never sit in puddles. Mulch 3 inches with straw after soil passes 60°F, leaving a 2-inch collar open at stems. Avoid deep tillage yearly that shreds fungal networks; instead, annual fall compost lets frost and worms open structure gently. Raised beds with imported loam mix are the surest fix for chronically soggy spots and warm faster, giving you an earlier, safer transplant window.
Related Articles
- How to Grow Tomatoes
- How Often to Water Tomato Plants
- Best Fertilizer for Tomatoes
- How to Prune Tomato Plants
- Vegetable Garden Layout
- How to Prepare Soil for Planting
Sources & References
- Cornell Vegetables — https://www.vegetables.cornell.edu/crops/tomatoes/
- University of Minnesota Extension — https://extension.umn.edu/yard-and-garden/vegetables/tomato-soil
- Iowa State University Extension — https://hortnews.extension.iastate.edu/tomato-soil-requirements
- NC State Extension — https://content.ces.ncsu.edu/tomato-culture
- USDA Natural Resources Conservation Service — https://www.nrcs.usda.gov/resources/guides-and-instructions/soil-health
