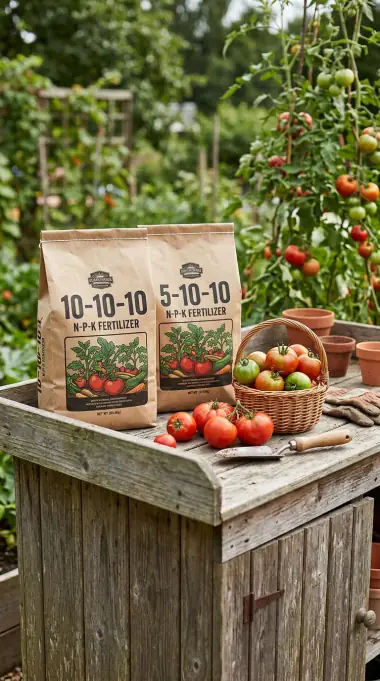
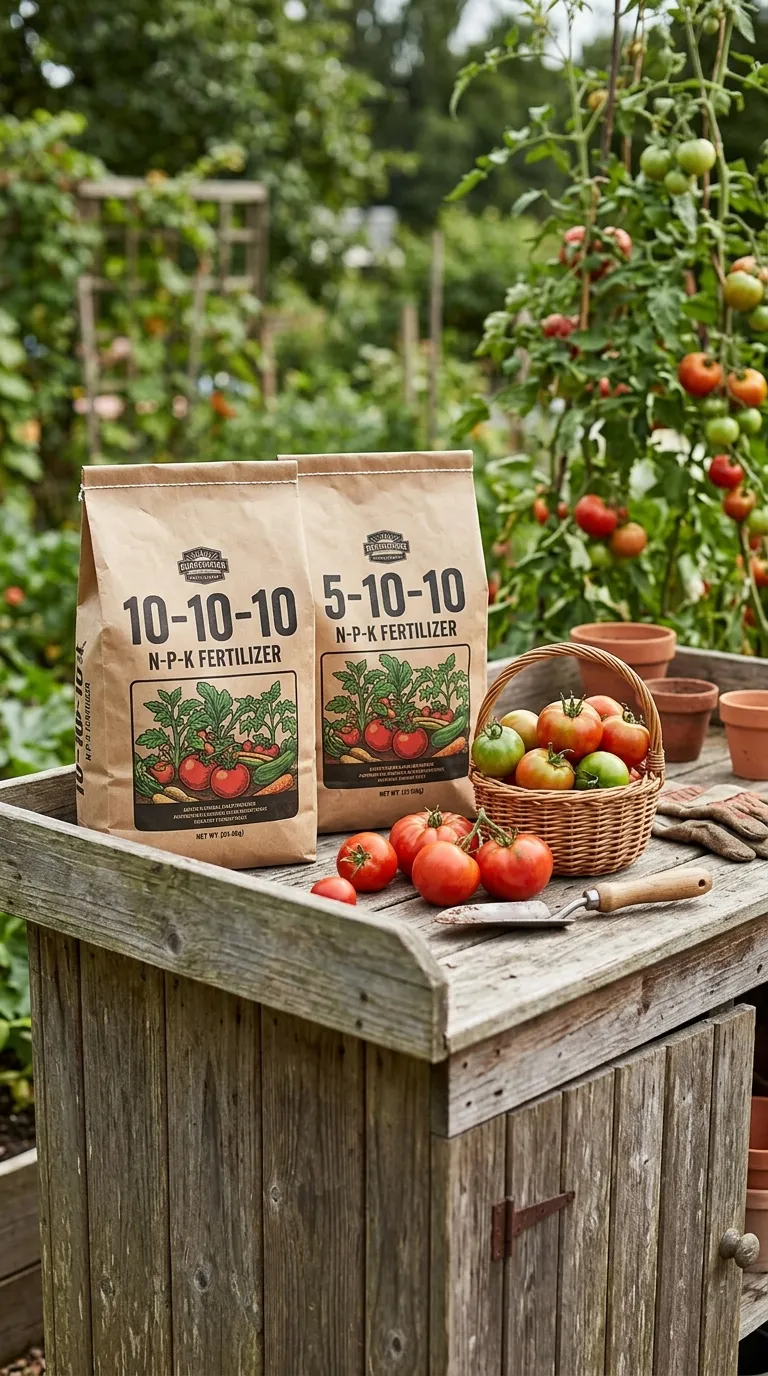
There is a moment every tomato grower remembers — the first time you hold a homegrown slicer, warm from the sun, that smells faintly of earth and vine and promises the kind of juice that runs down your wrist. I can still smell my first ‘Early Girl,’ sliced on sourdough with a pinch of salt. It tasted like I’d earned it. Because tomatoes don’t make 15 pounds of fruit from sunlight alone. That abundance comes from the soil — and from feeding at the right moment, with the right balance, in the right way.
Get it right, and you get stocky stems, deep green leaves that stay green, trusses that set heavily, and fruits that color richly and resist disease. Get it slightly wrong — too much nitrogen at bloom, too little phosphorus, feeding on dry soil — and you get jungle vines with no flowers, blossom drop, or those burned brown leaf edges that make you wonder what you did.
The good news? Tomato feeding isn’t complicated once you think by stage rather than by calendar date. Early, the plant wants balance. Later, it wants phosphorus and potassium more than nitrogen. That’s really the whole secret, plus a few gentle habits around how you apply.
I learned this the season I decided to “push” my tomatoes with weekly high-nitrogen fish emulsion. My vines were spectacular — taller than me by July 4th, lush with leaves the size of dinner plates. And almost fruitless until late August, when they finally, grudgingly, set. My neighbor, who had composted once and then used a humble 5-10-10 exactly twice, was already canning sauce. Lesson learned: more food isn’t more fruit. Timed food is.
Let’s build your simple, proven feeding plan — organic or synthetic, your choice — so every plant hits its sweet, heavy potential without the guesswork.
Quick Answer: At planting, mix 2 to 3 inches of compost into the top 6 inches and add a balanced granular like 10-10-10 or an organic 5-5-5 per label rate. Feed again lightly 3 weeks after transplant with the same balanced ratio, then switch to a low-nitrogen, higher-phosphorus formula like 5-10-10 or 3-4-6 when the first flowers open and again when fruits are quarter-sized. Plan for 3 to 4 feeds total from transplant to late summer, always water before and after, side-dress 6 inches from the stem at the drip line, and stop about 4 weeks before your first fall frost.
At a Glance
| Stage | Fertilizer Ratio | How I Apply & How Much |
|---|---|---|
| At planting | Compost + balanced 10-10-10 or organic 5-5-5 | Mix per label into top 6 inches; 2-3 inches compost as base |
| 3 weeks after transplant | Balanced 10-10-10 or 4-6-4 organic | Light side-dress ring at drip line, 6 inches from stem |
| First fruits quarter-sized | Low-nitrogen 5-10-10 or 3-4-6 | Side-dress, scratch lightly, water deeply — never skip |
| 3 to 4 weeks later (if warm) | Same low-nitrogen | Last feed if vigorous and weeks of warm remain |
| Stop | ~4 weeks before first fall frost | Let sugars go to ripening; no more leaf pushing |
N-P-K Explained for Tomatoes — The Story Behind the Numbers
You see those three numbers on every bag — 10-10-10, 5-10-10, 3-4-6 — and they can feel like code. Let me translate them the way I finally memorized them in the garden aisle.
N is Nitrogen — the leaf maker. It builds chlorophyll, drives that lush green vine, and wakes the plant up in spring. Early, you want it. After flowers appear, you want less of it, because too much N tells the plant, “Keep making leaves!” when you want it to say, “Make tomatoes!”
P is Phosphorus — the flower and root builder. It encourages strong rooting at transplant, more flower trusses, and reliable fruit set. If leaves show a purplish tinge underneath, especially in cold soil, phosphorus movement is often the whisper.
K is Potassium (potash) — the ripener and defender. It improves overall plant health, helps tomatoes color evenly from shoulders to blossom end, strengthens cell walls against disease, and arguably improves flavor and shelf life — that dense, not-watery texture we crave.
Early on — planting to first bud — tomatoes appreciate balance (10-10-10 or 5-5-5). Once the first yellow stars open, their appetite shifts: less nitrogen, more phosphorus and potassium (5-10-10, 3-4-6, or a tomato-specific 4-7-10). Excess nitrogen at that stage doesn’t just waste money — it actively aborts blossoms. I’ve watched it happen after a well-meant extra scoop.
For a broader view, see vegetable garden fertilizer, and for the plant’s full timeline from seed to red, my how to grow tomatoes pairs beautifully.
My Favorite Feeding Timeline — 4 Feeds That Cover the Whole Season
I keep this written on a faded index card taped to my potting bench. It has never failed me.
Feed 1: At Planting — Build the Pantry
Tomato roots find food where you put it, so put it where they’ll need it. A week before transplanting, I spread 2 to 3 inches of finished compost — dark, crumbly, earthy-smelling — and work it into the top 6 inches along with my balanced granular per the bag’s rate for tomatoes (often 2-3 tablespoons per square foot for 10-10-10, but always follow your specific label). I plant deep, burying two-thirds of the stem so hairs along the stem become auxiliary roots, and water that new bed deeply to settle everything around those roots.
Compost is more than nutrients; it’s a microbial hotel. It buffers pH, holds moisture, and releases food slowly. I think of it as the pantry foundation — the granules are the spices.
Feed 2: 3 Weeks After Transplant — The Gentle Boost
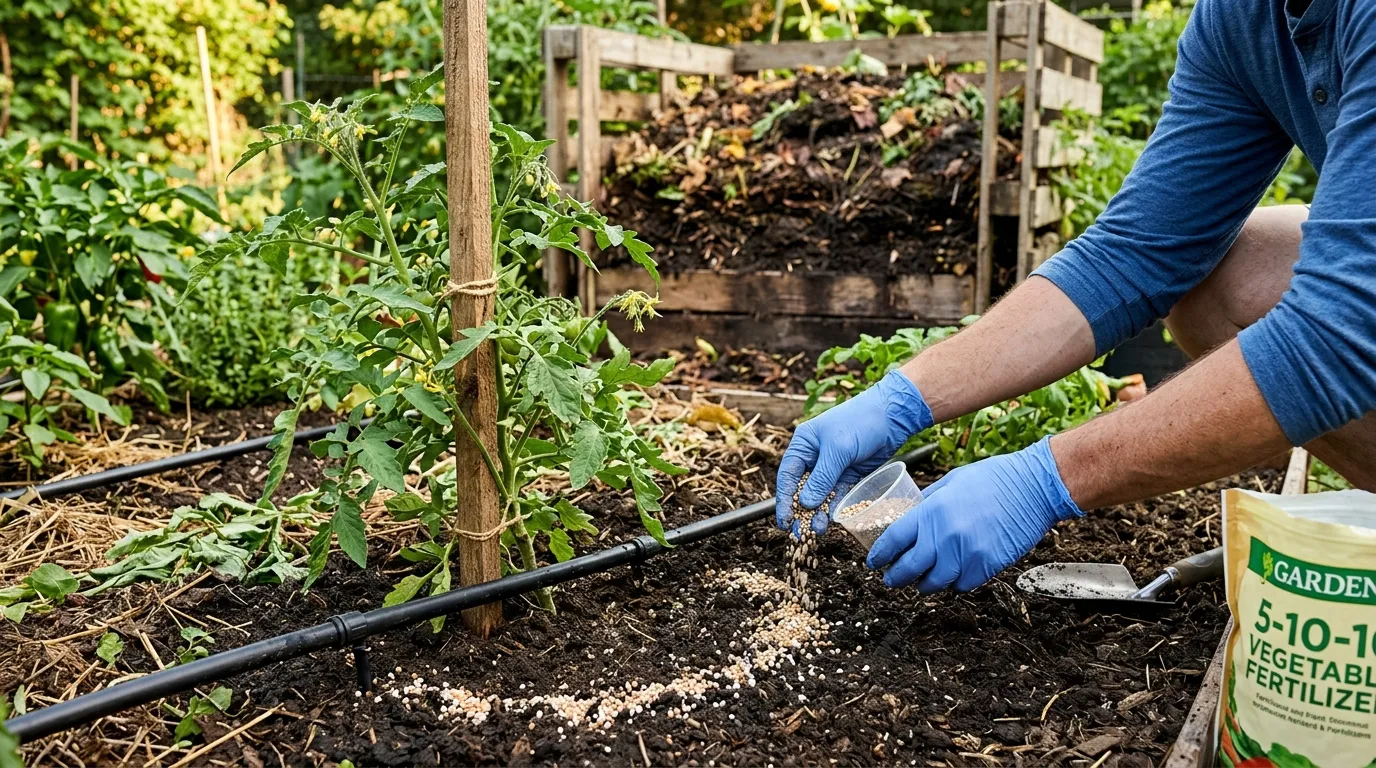
By now roots are established, the plant is 12 to 18 inches tall, and it’s thinking about flowering. I give a light side-dress — again balanced — sprinkled in a shallow ring at the drip line about 6 inches from the stem, not piled against the stem where it can burn. Then I water deeply. This isn’t a heavy feed; it’s a reinforcement, like packing a lunch for a long hike.
If your soil is already rich or you amended heavily with composted manure, you can even skip this second feed and wait until fruit set. Overfeeding a happy plant is worse than slightly underfeeding it.
Feed 3: When First Fruits Are Quarter-Sized — The Switch
This is the non-negotiable one — the feed I never skip. When the first green marbles have formed and you can see future trusses, switch to low-nitrogen, higher P-K: 5-10-10, 3-4-6, or an organic tomato feed like 3-4-6. Side-dress at the drip line, scratch lightly into the top inch, mulch back over, and water well.
Why the switch? You’ve shifted from building the plant to filling the fruit. Phosphorus supports continued flowering higher up; potassium plumps and colors the fruit you already set.
Feed 4: 3 to 4 Weeks Later — The Late Summer Encore (Optional)
If it’s still warm and your plants are vigorous — new flowers opening at the top, fruits sizing but not yet blushing en masse — you can give one more low-nitrogen side-dress. This is especially helpful for indeterminate types that keep producing into September. If plants are already yellowing heavily, stressed, or you’re within a month of frost, skip it. Let the plant finish.
And Then… Stop.
About 4 weeks before your average first fall frost (for me, roughly late August), I stop all fertilizing cold. No more pushes. This tells the plant chemically: ripen what’s there. Sugars concentrate, walls firm, and you get red, flavorful harvests instead of green shoulders persisting into October.
Organic vs. Synthetic — Honest Pros, Cons, and My Blended Reality
I use both worlds now, depending on bed and season.
-
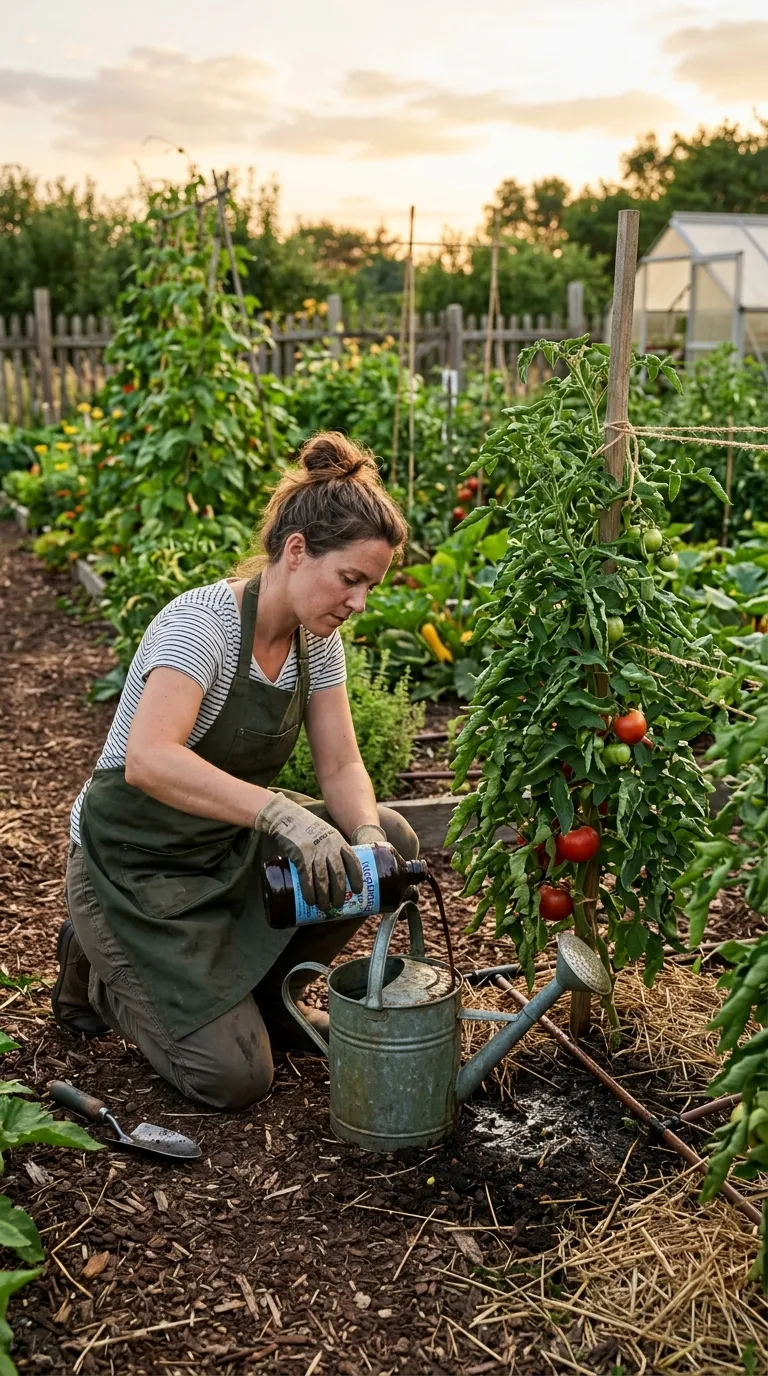
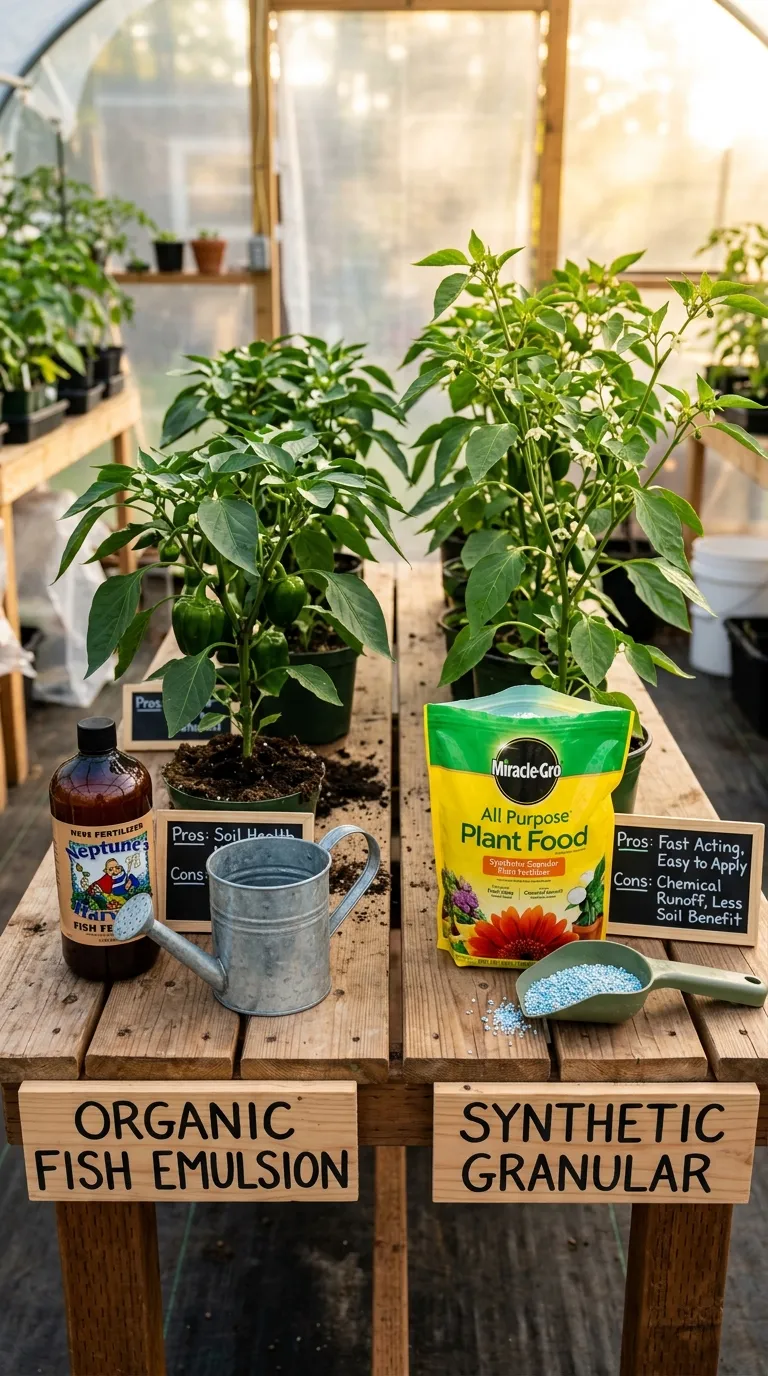
Organic options — the slow, soil-feeding path: Well-aged compost, worm castings (my favorite gentle top-dress at 1/4 inch), fish emulsion (typically 5-2-2, fast but nitrogen-high, best used early or very diluted later), bone meal for phosphorus, kelp meal for potassium and trace minerals, and blended organic tomato foods (often 3-4-6). Pros: they feed soil life, release slowly, are forgiving and hard to burn, and build long-term soil magic. Cons: slower response, smell, nutrient ratios less precise.
-
Synthetic/granular options — the precise, fast-acting path: 10-10-10 and 5-10-10 granules, or water-soluble 20-20-20 at half strength for a quick correction. Pros: exact ratios, rapid uptake when you need a rescue, cost-effective for large beds. Cons: easy to over-apply and burn roots, salts can build.
-
Foliar feeding — the emergency whisper: When leaves yellow suddenly or a fruit-fill slump appears, a diluted foliar spray of fish emulsion or kelp (early morning, never on hot leaves) can green up foliage in days. But foliar is a Band-Aid, not a plan — it feeds leaves, not roots, and washes off.
My blended approach: compost at planting always, a granular 10-10-10 at planting and 3 weeks, then an organic 3-4-6 at fruit set and a kelp tea foliar boost only if heat-stressed leaves look pale.
How to Apply — The Where and When That Prevents Burn
This matters more than the product.
-
Side-dress at the drip line, not at the stem. Look at where the outer leaves cast their shadow at noon — that’s roughly where feeder roots are actively drinking. Make a shallow ring or band 6 inches out from the stem, sprinkle measured amount, scratch lightly, water 1 to 1.5 inches deeply.
-
Always water before and after on granular. On dry soil, granules can wick moisture out of roots (salt burn). Give a light pre-water the evening before, apply in the cool morning, then water again. On containers, use half-strength liquid feed weekly during heavy fruiting because nutrients wash out.
-
Mulch after you feed. After side-dressing and watering, pull your 3-inch straw mulch back over. It keeps nitrogen from volatilizing, slows fixation, and puts a barrier between soil splash that spreads disease. Feed, water, tuck in — that’s the sequence I recite.
-
Feed in the cool of morning, not midday heat. Plants drink more calmly before sun is high, and you risk less leaf scorch.
Soil, pH, and the Unseen Conversation Below Ground
Here’s something I wish every bag explained: plants eat by chemistry, and pH is the gatekeeper. Tomatoes absorb nutrients best at pH 6.0 to 6.8 — slightly acidic. At pH 7.5, iron and phosphorus become shy and lock up, even if soil test says they are present. At pH 5.2, calcium and magnesium struggle.
So test. A $15 kit or a local extension soil test in spring takes five minutes and saves a season of guessing. If pH is high, elemental sulfur worked in months before lowers gently; if low, garden lime lifts it. Compost buffers both directions.
Temperature matters too. In cold soil below 55°F, phosphorus barely moves. That purplish stem you sometimes see on early transplants often fades on its own as soil warms — not from lack of phosphorus, but from lack of warmth to move it.
Signs You Fed Wrong — Reading the Plant’s Feedback
Plants are beautifully honest.
-
Too much nitrogen: Enormous, deep-green (almost blue-green), soft leaves, thick stems, very few flowers opening, blossom drop. Flush with a deep watering, stop nitrogen, and wait.
-
Too little phosphorus: Purple-tinged undersides, weak flowering, slow fruit set, especially when nights are still cool. Side-dress the low-nitrogen, higher-P formula and ensure soil isn’t cold-waterlogged.
-
Too little potassium: Yellowing or browning at leaf margins while center stays green, poor fruit color with green shoulders, thinner skins that bruise easily. Kelp or potash-light tomato feed corrects this.
-
Salt burn: Brown, crispy leaf edges within 2 to 3 days after feeding dry soil. Flush with a long slow drench and next time pre-water, halve the rate, and water after.
Common Mistakes — The Short List I Tape to My Fertilizer Bin
-
Feeding high-nitrogen after bloom. Switch to 5-10-10 or 3-4-6 at first fruit set.
-
Fertilizing dry soil. Always water before and after granular feeding; never feed a wilting plant — water first, feed tomorrow.
-
Skipping compost at planting. Granules alone are like vitamins without a meal. Compost builds the microbial workforce.
-
Feeding past early fall. Late nitrogen pushes soft, frost-tender shoots that never ripen and dilutes flavor.
-
Measuring by eye instead of label. Use a tablespoon or kitchen scale, especially with synthetics.
-
Fertilizing to fix the wrong problem. Yellow between green veins? That’s likely pH lockout, not nitrogen. Cracked fruits and blossom end rot? That’s irregular water.
Container & Raised Bed Nuances — Because They Feed Differently
Containers and raised beds are beautiful, controllable worlds — but they leach nutrients faster.
Where an in-ground bed might coast 3 to 4 weeks between feeds, a 5-gallon pot in July often wants half-strength liquid feed weekly during heavy fruiting, alongside a granular side-dress monthly.
Use potting mix, not garden soil, in pots — it drains while retaining moisture — and re-mulch with thin compost or straw to slow daily flush. Raised beds split the difference: they drain faster than ground but slower than pots, so follow the in-ground schedule but watch leaf color weekly.
In-Ground Tomatoes — Steady and Forgiving
In-ground soil holds nutrients longest. The card schedule is built for in-ground. I side-dress in a full ring at the drip line, scratch lightly, and let rain help it in. Because soil depth is generous, I can be a little more generous with granular amounts, still following the bag to the tablespoon. In rich, loamy beds that got composted manure last fall, I’ll often skip that 3-week balanced boost entirely.
Raised Beds — The Hungry Middle Child
Raised beds warm faster but leach a bit faster too. I follow in-ground rhythm but watch leaf color weekly. If new growth pales slightly by mid-July, I nudge with a half-strength foliar in cool morning.
Containers — The Frequent, Gentle Feeders
Oh, containers. They are the teenagers of tomatoes — fast, hungry, dramatic. Every time water runs out the bottom, it takes food with it, especially in fabric bags. My patio ‘Sungold’ in a 7-gallon bag wants half-strength liquid feed nearly weekly from fruit set through late August. I never feed dry mix — I water first, then feed with pre-mixed gallon jug at 50% label strength, then give a little plain water again.
Troubleshooting & Seasonal Calendar — Put It on Your Fridge
- Late May / Early June: Don’t overfeed cold soil. Compost + balanced starter is plenty; purple stems often correct with warmth.
- Late June / July: First flowers open — switch to low-nitrogen. This feed decides your August bounty.
- Mid-July / August: Hot and fruit-laden — even moisture plus low-nitrogen encore 3 to 4 weeks after first fruit set keeps shoulders coloring.
- Late August / September: Taper off. Pinch new flowers 4 weeks before frost, stop feeding, let ripening take center stage.
A mantra: Water first, then diagnose, then feed. So many yellowing or poor-fruit episodes resolve with just evening out water before any fertilizer change.
Seasonal Feeding Diary — My April to September Notes
-
April: I soil test. One bed was 6.1 last year, the other 6.7. I add sulfur to the higher one in fall, not spring, so change is gentle.
-
May: Compost at 2 inches, granular at label, plant deep. Water in. No extra food for 3 weeks even if growth seems slow — roots are building invisibly.
-
June: Weekly leaf checks. Deep green and vigorous? Wait. Pale lower leaves after heavy rain? That leaching deserves the gentle boost.
-
July: The switch month. I mark when I see first marble fruits with a stone by the stake. That stone tells me low-nitrogen now.
-
August: Encore if warm. One more light side-dress only if nights stay above 60°F and new trusses keep coming.
-
September: Stop. Harvest, note which feed timing gave best color, write it for next year.
Could you try five minutes of notes a week? By next spring, you’ll have a personalized card better than any generic calendar.
What I Wish I Knew — Rhythm and Restraint
Big yields aren’t about finding a magic product — they’re about rhythm and restraint. Feed generously at the beginning, lightly and strategically in the middle, and not at all at the end. Listen to leaves the way you’d listen to a friend’s voice: dark green and jungly? Ease off. Purple-tinged and shy to bloom? Maybe it wants phosphorus. Brown edges after feeding? You fed dry — flush and soften next time. Keep notes. One line a week.
A Deeper Seasonal Lens — What Changes When You Watch Closely
I keep a waterproof notebook in my apron pocket. One line a week, no more. Date, weather, what I did, what leaves looked like.
That tiny log taught me more than any book. Because the garden repeats itself, softly. The same bed that yellowed after a four-day rain last July yellows the same week this July — unless I mulch higher and prune lower before the rain.
Try it this season. Just one line every Sunday. You will have a personal almanac by September.
Notes From My Notebook — Three Years That Shaped This Guide
Year one: I overwatered with love. Flag in bed: “DO NOT WATER UNTIL FINGER 2 INCHES.” Yield doubled.
Year two: pH 7.4 after liming for beans. No fertilizer greened top leaves until sulfur in fall.
Year three: Cold nights at 45°F. Peppers stalled until July. Tomatoes beside them merely slowed. Waiting an extra week after tomatoes for peppers became permanent rule.
Those three lines are why this guide insists on finger tests, pH kits, and patience.
Troubleshooting Appendix — More Real Dialogues
“My soil looks great but fruits still have green shoulders.” Often potassium-light or too much shade on tops. Ensure second-half feed has good K (last number) and thin lightly for light.
“I mulched and still got blight.” Mulch helps but doesn’t erase wind-borne spores. Prune lower leaves for airflow, water at base, rotate next year 2 to 3 years without nightshades in that bed.
“Can I use garden lime to stop blossom end rot?” Only if soil test shows low pH. Otherwise even water is the fix. Lime without need raises pH and locks iron.
“Do I need to buy bees?” Lovely for ecology, not required for tomatoes or peppers which self-pollinate. Wind and your midday shake are the engine. Wild bees are a bonus that companion herbs invite.
“What if I only have a balcony?” Containers are honest. They dry fast and leach fast. Choose 7 to 10 gallon fabric bags, quality potting mix, morning sun, and check lift test daily. You can grow a surprising harvest in two bags and a bucket of basil.
The Quiet Math of Even Moisture — Why Mulch Beats More Water
Bare soil at 90°F loses nearly half an inch of water a day to evaporation. Straw mulch cuts that by roughly half. So 3 inches of straw is effectively like getting an extra watering without turning on the hose.
It also keeps soil splash from reaching lower leaves. That splash carries blight, septoria, and bacterial spot spores that overwinter in soil. Mulch is a clean sheet between soil and leaf. I lay it after soil passes 60°F, keeping a 2-inch collar open at stems so crowns breathe.
Have you measured how fast your bare bed dries vs. mulched? Try two fingers, two spots, same day. You’ll see why mulch is the first line, not the last.
Container, Raised Bed, and In-Ground — How the Same Plant Tells Different Stories
Containers tell you quickly. They yellow fast when wet or dry, and they forgive fast when corrected. Check lift plus finger daily in July. Half-strength liquid feed weekly during heavy fruiting plus monthly granular side-dress keeps them green without burn.
Raised beds tell you in mid-summer. They leach nitrogen after heavy rain, so lower leaves fade uniformly. A light side-dress perks them back in days.
In-ground clay tells you slowly. It holds water longest, so overwatering yellowing lingers. If trowel shines with smeared clay two days after rain, wait despite calendar. Annual fall compost turns clay to crumbs over seasons.
Name your setup. The yellowing pattern narrows to two likely causes instead of eight.
Final Encouragement — The Gardener Learns Slower Than the Plant
The plant responds in days. The gardener learns in seasons. Be patient with yourself.
If you fix water this year and pH next year and pruning the year after, you will still harvest beautifully each year — just more beautifully as you go. I wish someone had told me that good gardening is cumulative, not perfect on the first try.
Pick one habit from this guide to practice this week. Just one. Water at base before 10 a.m., or shake flowers at midday, or lay that straw mulch. Do it for seven days. Look at new growth. That is your feedback loop, truer than any forum.
Frequently Asked Questions
Q: What is the best N-P-K fertilizer for tomatoes?
A: Think in two acts, not one number. At planting and for the first few weeks, a balanced ratio like 10-10-10 granular or 5-5-5 organic gives an even start — enough nitrogen for healthy green growth, plus phosphorus for roots and potassium for vigor. It’s the foundation pour. Once those first yellow flowers open and you have marble-sized fruits hanging, the plant’s craving shifts: now low-nitrogen, higher phosphorus and potassium, like 5-10-10, 4-7-10, or the organic 3-4-6 tomato blends. This gentler nitrogen prevents that all-vine, no-fruit heartbreak, while extra P encourages trusses to keep coming and extra K helps fruits color evenly and taste richer. If you remember balanced early, low nitrogen later, you’ll nail it every year.
Q: How often should you fertilize tomatoes?
A: I like 3 to 4 deliberate feeds per season, not a weekly sprinkle — tomatoes respond beautifully to spaced, meaningful meals. Feed at planting with compost plus your balanced granular, then a light balanced side-dress about 3 weeks after transplant as roots hit their stride. The star is feed three, when first fruits are quarter-sized — that’s when you switch to low-nitrogen bloom-and-fruit ratio. If summer still has 4 to 6 weeks of warmth left and plants look vigorous, one more low-nitrogen feed 3 to 4 weeks later is perfect. Then stop, about 4 weeks before frost, so the plant stops chasing new leaves and sugars up what’s hanging. Always water before and after each feed.
Q: Is organic fertilizer better for tomatoes?
A: Compost is non-negotiable as a base — I wouldn’t plant a tomato without 2 to 3 inches worked into the top 6 inches — but for heavy, long-season tomatoes that might carry 10 to 15 pounds of fruit per plant, compost alone is usually not quite enough to carry them through August at full potential. Organic options like compost, worm castings, and 3-4-6 blends feed microbes, hold moisture, and release slowly and kindly. Synthetic options give precise ratios and rapid uptake for a rescue. Many gardeners find a blend ideal: compost as foundation, granular 10-10-10 at planting, organic 3-4-6 at fruit set. That gives both soil health this year and heavy harvest.
Q: Can you over-fertilize tomatoes?
A: Oh yes, and my jungle-vine year proved it beyond doubt. Too much fertilizer, especially too much nitrogen, pushes vines into leafy excess: deep green, almost bluish leaves, thick soft stems, and either no blossoms or blossoms that drop. Salts can also build and pull water out of roots, leaving brown, scorched leaf margins — classic salt burn, strongest when you feed dry soil. The antidote is delightfully boring: measure and obey the label, never feed a drought-stressed plant, place fertilizer in a ring at the drip line 6 inches from the stem, never against it, and water deeply after to dissolve and distribute. If already overfed, give one long slow flush watering to leach excess and then wait.
Related Articles
- How to Grow Tomatoes
- How Often to Water Tomato Plants
- Best Soil for Tomatoes
- How to Prune Tomato Plants
- Tomato Leaves Turning Yellow
- Vegetable Garden Fertilizer
Sources & References
- University of Minnesota Extension — https://extension.umn.edu/yard-and-garden/vegetables/fertilizing-tomatoes
- Cornell Vegetables — https://www.vegetables.cornell.edu/crops/tomatoes/
- Iowa State University Extension — https://hortnews.extension.iastate.edu/fertilizing-tomatoes
- NC State Extension — https://content.ces.ncsu.edu/tomato-fertilization
- University of California Vegetable Research — https://vric.ucdavis.edu/
