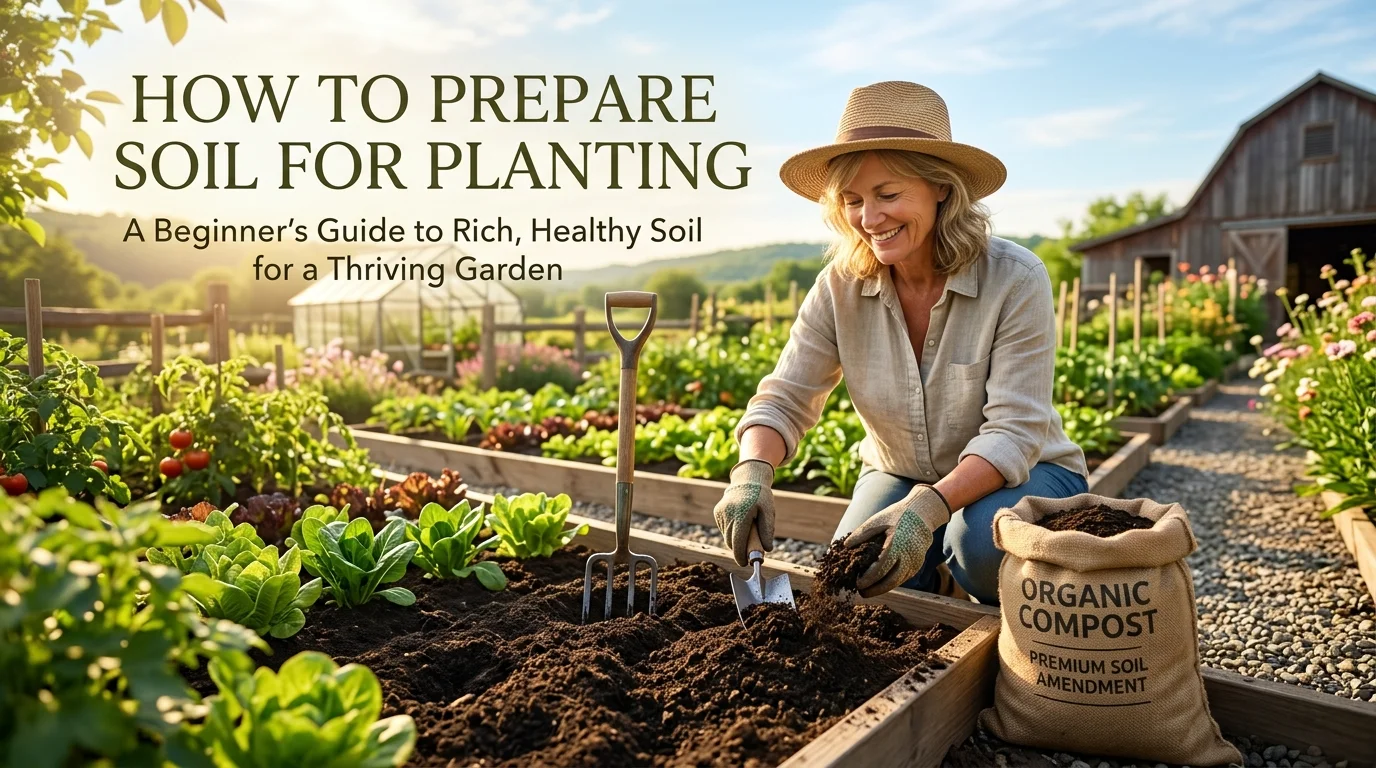
Do you dream of picking fresh, juicy tomatoes and crisp lettuce right from your backyard? Many new gardeners jump right in and plant seeds, only to wonder why their crops look tired and yellow a few weeks later. Proper soil preparation for planting is the single most important secret to growing a lush, productive garden. In this complete guide, you will learn exactly how to prep garden soil so your plants can thrive all season long.
Quick Answer: Proper soil preparation for planting involves 6 easy steps:
- Clear weeds and debris from your garden bed or growing area.
- Test your soil type & pH (sand, clay, or loam) to determine what organic amendments you need.
- Loosen compacted dirt using a garden fork or easy no-dig sheet mulching.
- Mix in 2 to 4 inches of organic matter (rich compost, aged manure, or worm castings).
- Level and smooth the soil surface to create a clean, aerated seedbed.
- Add a protective mulch layer to conserve moisture, prevent weeds, and protect soil biology.
At a Glance
| Factor | Recommendation |
|---|---|
| Best time to prepare | Autumn (ideal) or 2–4 weeks before spring planting |
| Target pH | 6.0–7.0 for most vegetables and flowers |
| Organic matter to add | 2–4 inches of compost, aged manure, or worm castings |
| Preparation depth | 8–12 inches; 12–18 inches for deep-rooted crops |
| Ideal soil texture | Loam - loose, crumbly, drains well, holds moisture |
| Easiest no-dig method | Sheet mulching (cardboard + compost) |
| Mulch layer after planting | 2–3 inches of straw, leaves, or wood chips |
Why Garden Soil Preparation Matters
Think of your soil as the foundation of your house. If the foundation is weak and compacted, the rest of the house will struggle to stand up. When preparing soil for planting, your main goal is to create a soft, aerated environment rich in micro-nutrients, beneficial bacteria, and earthworms.
Most home soils fall into three main texture categories:
- Sandy Soil: Feels gritty and drains water too quickly, washing away essential nutrients before roots can absorb them.
- Heavy Clay Soil: Feels sticky when wet and dries out into hard bricks. Clay traps excess moisture, suffocating delicate plant roots.
- Loam Soil: The ideal garden soil. Loam is a balanced blend of sand, silt, clay, and organic matter that holds moisture while allowing plant roots to breathe easily.
No matter what kind of dirt you have in your yard right now, proper soil preparation will transform it into rich, crumbly loam over time.
Step 1: Test and Understand Your Soil Type
Before adding amendments or digging into the ground, taking time for soil testing gives you a clear roadmap for how to prepare dirt for garden beds:
- Perform the Squeeze Test: Take a handful of damp soil from your yard and squeeze it firmly in your fist.
- If it falls apart completely when you open your hand, you have sandy soil.
- If it forms a tight, hard ball that refuses to crumble, you have heavy clay soil.
- If it holds its shape gently but crumbles easily when poked, you have loam soil.
- Check Soil pH: Most vegetables and flowers thrive in slightly acidic to neutral soil with a pH between 6.0 and 7.0 [1]. You can test your pH using a quick at-home kit or learn how to test soil pH using simple household vinegar and baking soda.
- Correcting Extreme pH: If your soil is overly acidic (below 6.0), adding garden lime helps raise the pH. If your soil is too alkaline (above 7.5), adding agricultural sulfur or elemental sulfur naturally lowers the pH.
Step 2: Clear Weeds and Prepare Ground for Planting
When preparing ground for planting, you must eliminate aggressive weeds and turf grass so they do not compete with your young plants for sun, water, and nutrients.
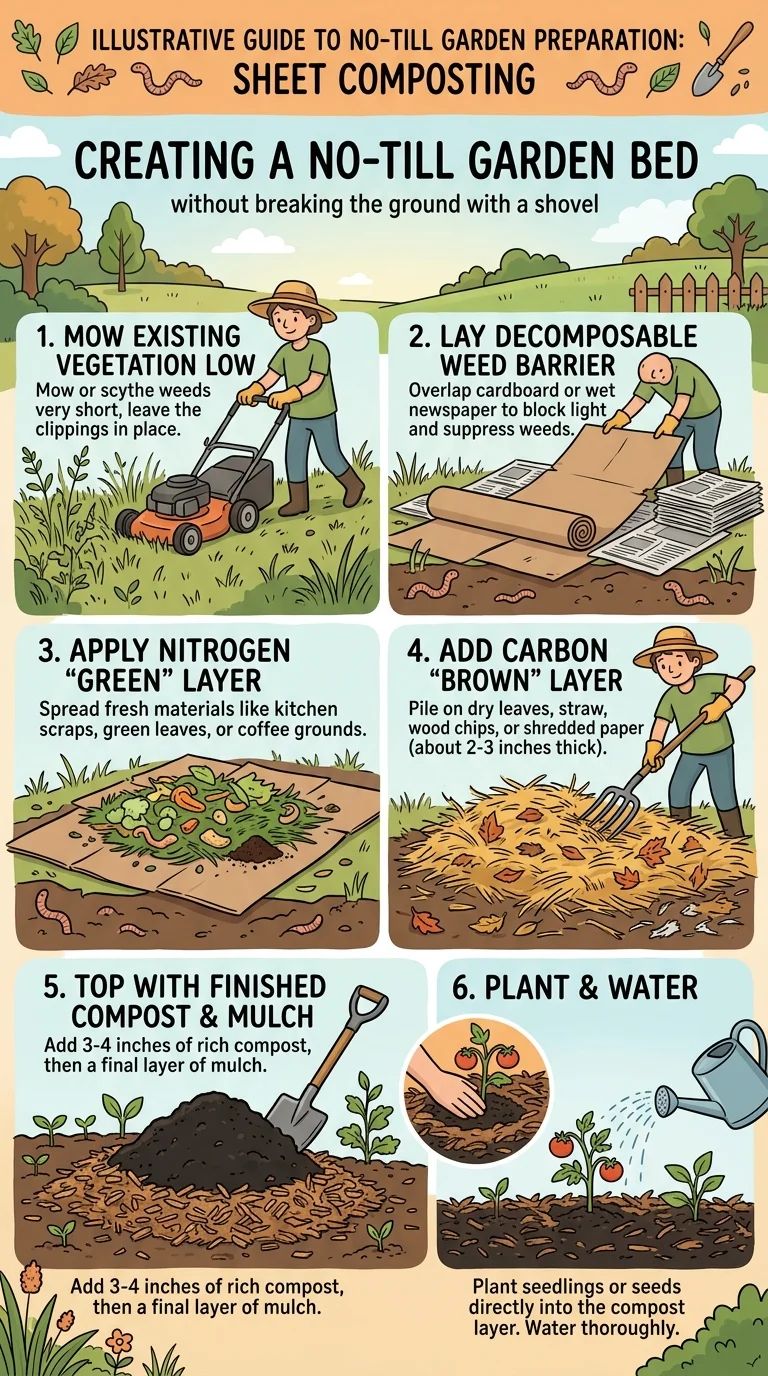
Method 1: Sheet Mulching (Smothering Weeds Naturally)
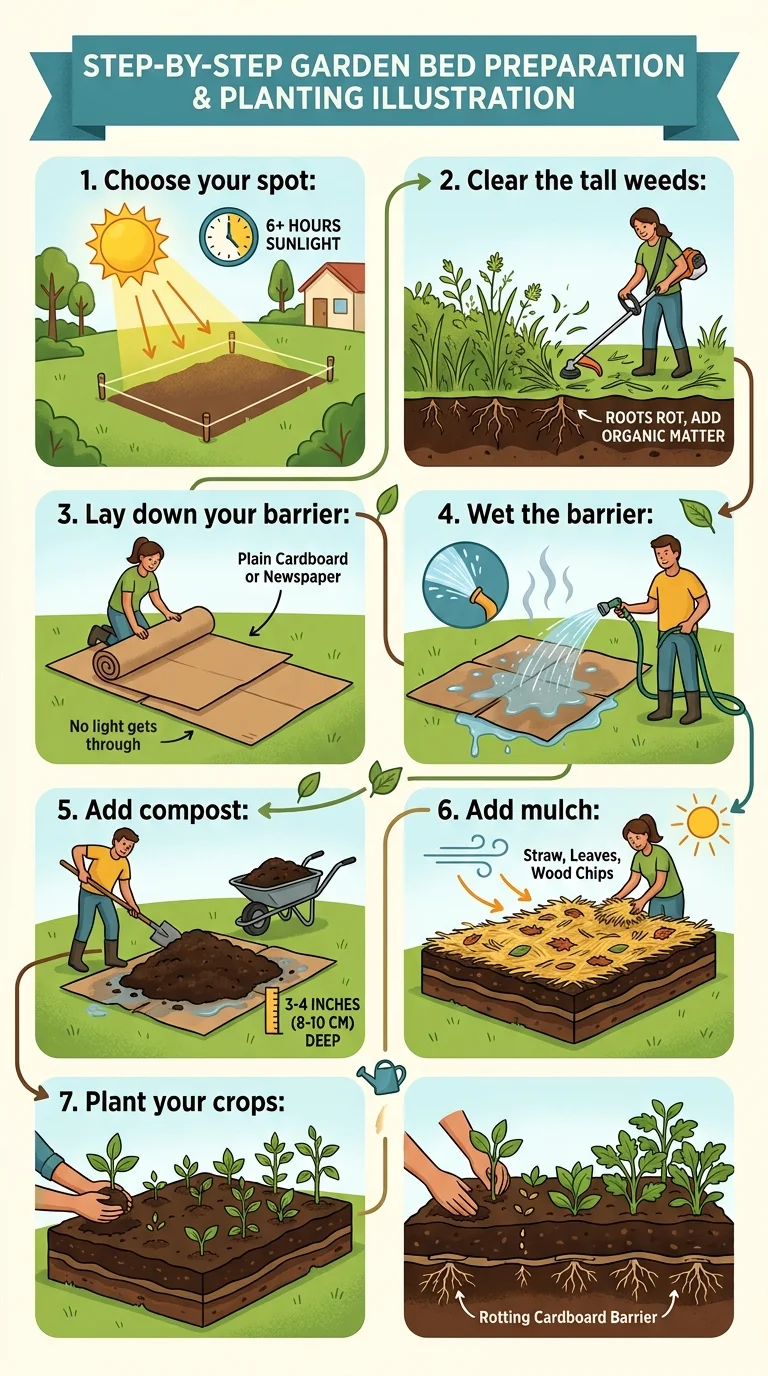
If you want to clear grass without straining your back or renting a heavy rototiller, sheet mulching is the easiest way to prepare land for planting:
- Mow the grass or weeds as low to the ground as possible.
- Cover the area with thick, plain cardboard (tape removed) or 8 to 10 overlapping sheets of newspaper. Overlap edges by at least 6 inches.
- Soak the cardboard thoroughly with your garden hose to attract earthworms and start decomposition.
- Top the wet cardboard with 3 to 4 inches of rich compost and topsoil.
Over a few weeks, the buried grass dies and rots, turning into rich organic matter while earthworms loosen the soil underneath for you.
Method 2: Soil Solarization (Heat Cleaning)
If your garden patch is filled with stubborn weeds or soil-borne diseases, solarization uses sun heat to sterilize the top layer of dirt:
- Clear rocks and weeds, soak the soil with water, and tightly stretch a clear plastic sheet over the ground.
- Secure edges with soil or rocks and leave it under full summer sun for 6 to 8 weeks. The trapped heat kills weed seeds and harmful fungi naturally [2].
Step 3: Amend and Nourish Your Soil
The absolute secret to preparing soil for a garden is organic matter. Organic amendments feed the soil food web-the microscopic network of fungi, earthworms, and soil bacteria that feed your plants.
Top amendments for soil prep:
- Aged Compost: The gold standard for preparing soil for planting. Compost improves drainage in clay while helping sandy soil retain moisture [3]. Learn more in our ultimate guide to making compost.
- Worm Castings: Packed with gentle, slow-release nutrients and humic acid to stimulate early root growth.
- Composted Aged Manure: Provides nitrogen and organic structure. Always make sure manure is aged or fully composted so it does not burn plant roots.
- Leaf Mold & Straw: Shredded autumn leaves break down into soft, moisture-retaining organic matter.
Spread a 2 to 4-inch layer of organic amendments over your garden bed and gently rake it into the top few inches of dirt.
Step 4: Choose Your Soil Preparation Method
Depending on your physical preferences, yard space, and budget, choose one of these proven methods for preparing soil for garden success:
Method A: No-Till Sheet Mulching (The Easy Way)
No-till gardening leaves underground soil structure intact to protect earthworm tunnels and beneficial fungi:
- Lay wet cardboard over cleared ground.
- Layer 4 inches of compost and topsoil on top.
- Add a light layer of straw mulch.
- Plant seeds or starter plants directly into the compost layer.
Method B: Building and Preparing Raised Beds
If your native yard soil is full of heavy clay or rocks, raised beds give you total control over how to prepare soil for garden beds. Build cedar or metal frames (3 to 4 feet wide) and fill them with a fluffy mix of topsoil, compost, and coarse peat moss. Read our guides on how to build raised bed soil and raised bed gardening for beginners for detailed recipes.
Method C: Hugelkultur & Moveable Grow Bags
- Hugelkultur: Pile rotting logs and branches into mounds, then cover with compost and topsoil. As wood rots, it acts like a sponge, holding rainwater and feeding crops for years.
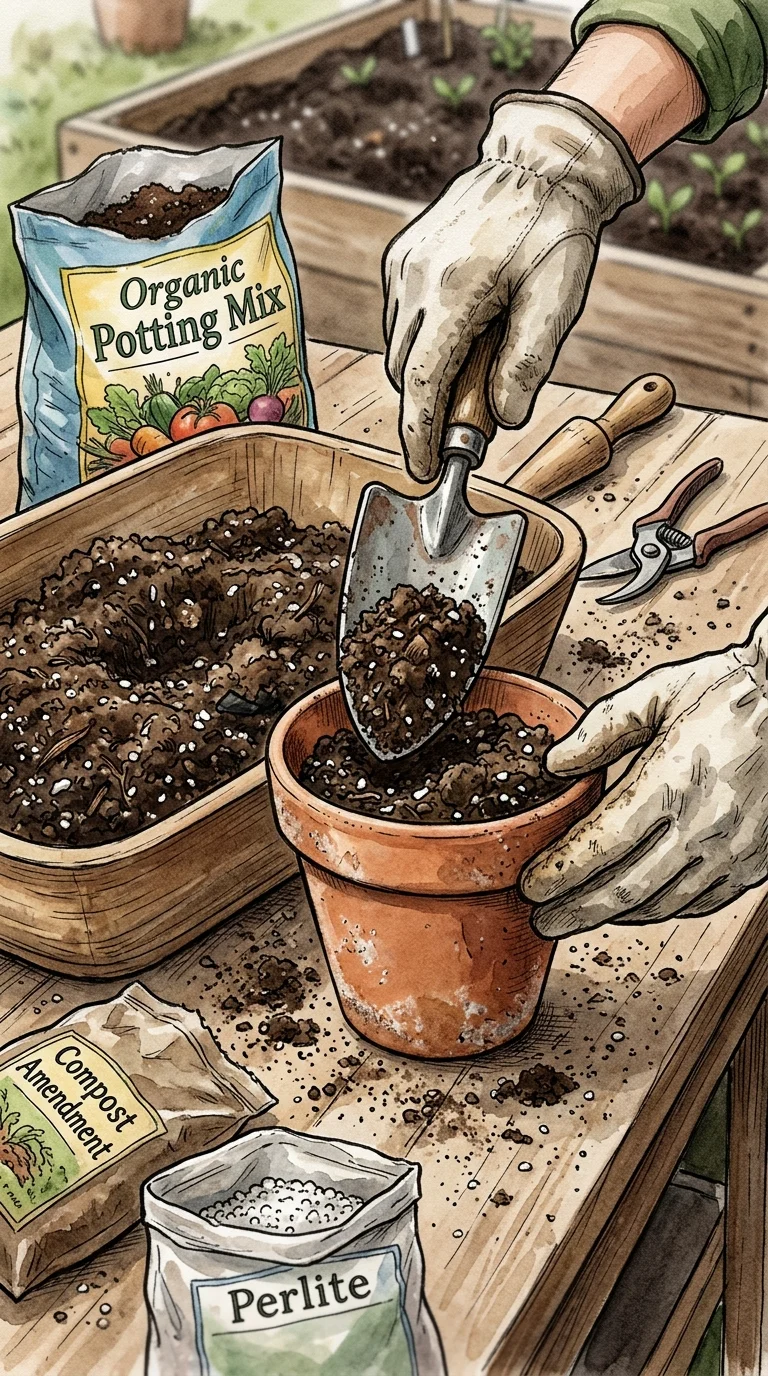
- Grow Bags & Containers: For patio growers asking how to prepare a pot for planting, use a light potting mix (equal parts compost, peat moss, and perlite) rather than heavy topsoil. Learn the differences in our guide on potting mix vs garden soil.
How to Prepare Soil for Planting Vegetables vs. Flowers
While all plants appreciate healthy soil, vegetables and flowering plants have slightly different soil prep requirements:
Preparing Soil for a Vegetable Garden
- Depth: Vegetables require loose, nutrient-dense soil at least 8 to 12 inches deep so root systems can spread. Root crops like carrots and radishes need extra-loose, stone-free soil to grow straight.
- Nutrients: Vegetable crops are heavy feeders that require higher levels of nitrogen, phosphorus, and organic compost. See our guide on how to fertilize a vegetable garden for feeding schedules.
Preparing Soil for Planting Flowers
- Perennials & Annuals: Flowering plants prefer well-draining soil with moderate fertility. Too much nitrogen causes lush green leaves but fewer flower blooms.
- Drainage: Bulbs and flowering shrubs require excellent drainage to prevent bulb rot. Incorporating coarse sand or compost ensures excess water drains quickly.
If you are just starting out, check out our guide on how to start a vegetable garden for beginners.
Common Soil Preparation Mistakes to Avoid
Avoid these frequent mistakes when preparing soil for planting:
- Working Wet Clay Soil: Digging or tilling clay soil when it is wet damages soil structure, turning it into rock-hard clods when dry. Wait until soil crumbles easily in your hand.
- Over-Tilling: Excessive rototilling chops up beneficial earthworms and destroys natural soil pores, leading to soil compaction after heavy rains.
- Using Fresh Manure: Fresh animal manure is too high in raw nitrogen and can scorch tender plant roots while introducing unwanted weed seeds.
- Skipping Mulch: Leaving bare soil exposed to wind and rain causes erosion and surface crusting. Always cover prepared soil with straw, leaves, or wood chips.
- Forgetting to Test First: Adding amendments without a soil test is guesswork. A simple pH and nutrient check tells you exactly what your soil needs-and what it does not.

Frequently Asked Questions
Q: How far in advance should I start soil preparation before planting?
A: Starting soil prep in autumn is ideal because it gives cardboard, compost, and organic mulches all winter to break down into rich humus. However, you can also prepare soil in early spring 2 to 4 weeks before planting as soon as the ground thaws and dries out.
Q: How do I prepare hard clay soil for planting without tilling?
A: The easiest way to improve hard clay without heavy machinery is no-till sheet mulching. Layer wet cardboard over the clay and top it with 4 inches of organic compost and mulch. Earthworms will migrate up to feed on the cardboard, naturally loosening the clay beneath.
Q: How deep should I prepare my soil for planting vegetables?
A: Most vegetable crops need a minimum soil preparation depth of 8 to 12 inches. Deep-rooted crops like tomatoes and root vegetables (carrots, parsnips) benefit from 12 to 18 inches of loose, fertile soil.
Q: How do I prepare a pot or container for planting?
A: For container planting, never use heavy garden topsoil from your yard. Instead, prepare pots using a light, well-draining potting mix composed of equal parts compost, peat moss (or coconut coir), and perlite.
Q: Do I need chemical fertilizer if I prepare my soil with compost?
A: High-quality organic compost usually provides all the essential trace minerals, beneficial microbes, and nutrients your plants need. If heavy feeding crops like tomatoes need an extra boost mid-season, use a gentle organic fertilizer like liquid seaweed or fish emulsion.
Q: What is the fastest way to prepare ground for a new garden bed?
A: Building a raised bed or using fabric grow bags is the fastest method. You can construct a frame over grass, lay down cardboard, fill it with rich topsoil and compost, and start planting immediately on the same day.
Related Articles
- How to Start a Vegetable Garden for Beginners
- The Ultimate Guide to Making Your Own Compost
- Potting Mix vs Garden Soil: Which One Should You Use?
- How to Test Soil pH at Home
- How to Build Raised Bed Soil
- How to Fertilize a Vegetable Garden
- Raised Bed Gardening for Beginners
