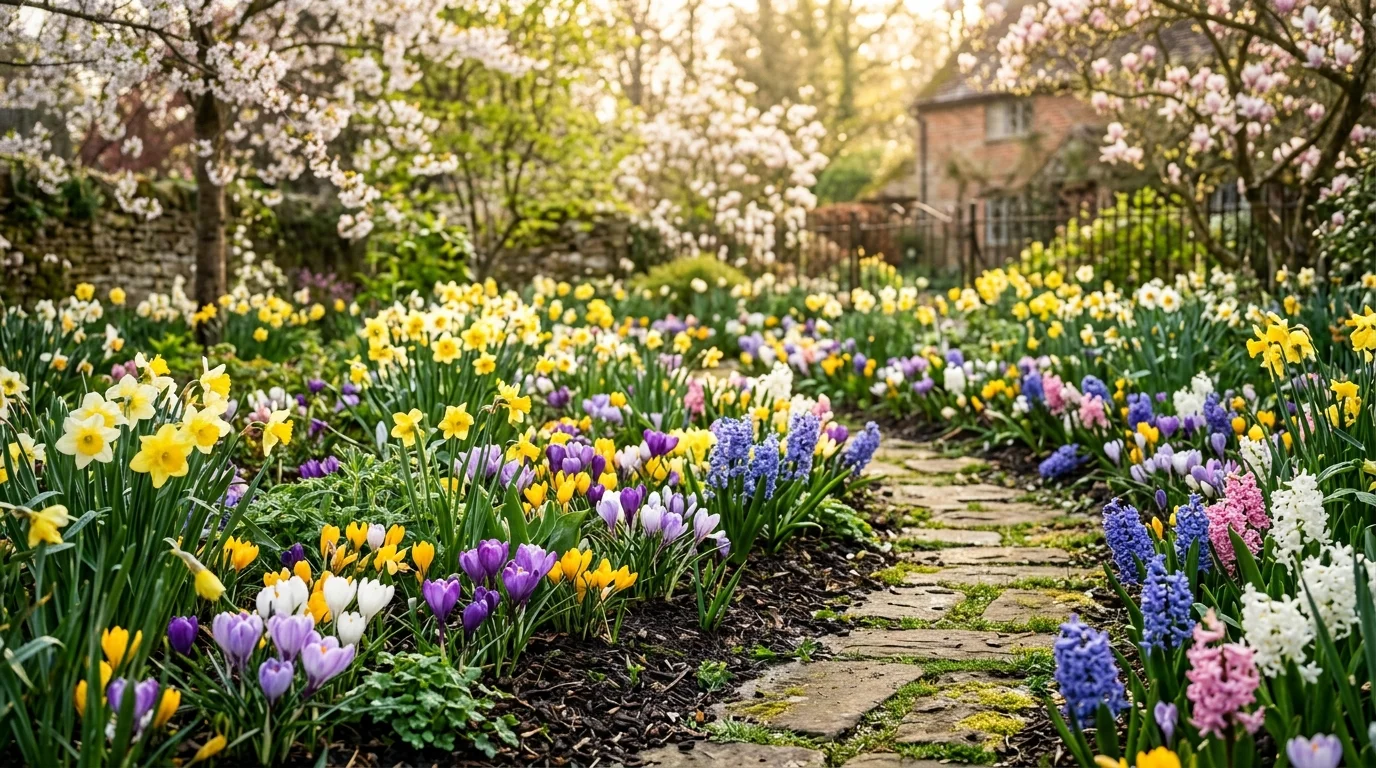
Getting started with flower bulbs planting can feel like magic, but it is actually a simple process that anyone can master. If you have ever felt overwhelmed by the timing or the depth required to get those first spring blooms, you are certainly not alone. This guide is here to walk you through every step so you can grow a garden you are proud to show off.
Flower bulbs planting is generally quite easy because nature has already packed everything the plant needs into that small, fleshy package. By choosing the right time and providing a bit of care, you can ensure your garden is full of color for most of the year.
Understanding when to plant spring flowering bulbs for the best results
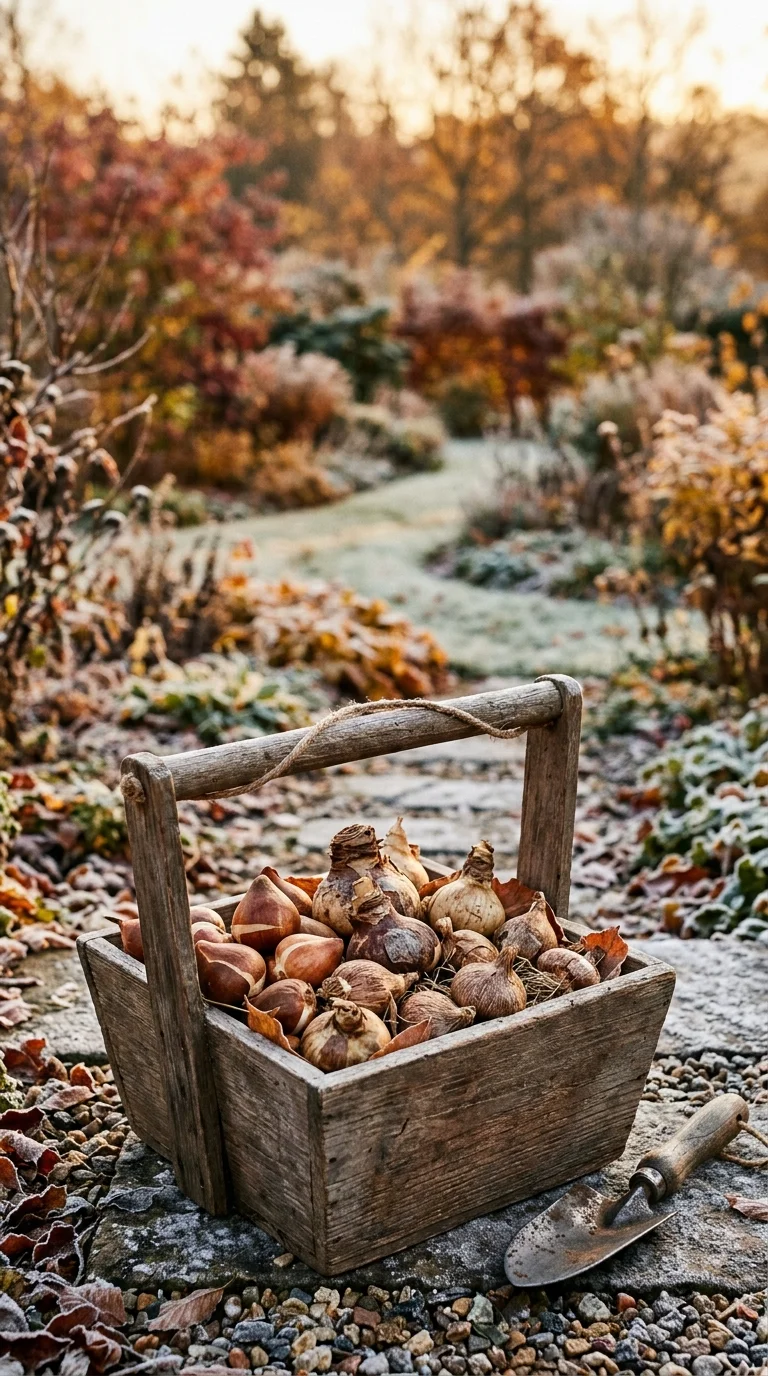
Knowing when to plant spring flowering bulbs is the secret to a garden that wakes up with a burst of color after the winter chill. Many gardeners find that the best time to tuck these treasures into the ground is during the autumn months. You want to get them settled into the soil before the ground freezes solid, which usually means aiming for a window between September and November.
If you wait until the soil is too cold, the bulbs might struggle to develop the roots they need to support a strong stem later on. Think of the roots as the foundation of a house; without them, the plant cannot get enough water or nutrients when it starts to grow in the spring. In most cases, if you can still dig a hole easily, it is not too late, but earlier is generally better.
Many of the bulbs we love for spring, like daffodils, crocuses, and hyacinths, actually enjoy the cooling temperatures of autumn. They are dormant, which means they are in a resting state, waiting for the right signals from the environment to wake up. By planting them in the fall, you are giving them the perfect signal that winter is coming, followed by a long, slow period to establish themselves.
It is helpful to pay attention to your local weather patterns rather than just looking at a calendar. If you live in an area with a very long, warm autumn, you might wait a few weeks longer than someone living in a place where the first frost arrives early. The goal is to get the bulb into the ground when the soil temperature has dropped, but before the ground becomes impossible to work with.
When you are out in the yard, you might notice that other plants are starting to go to sleep as well. This is your cue that the garden is ready for its next cycle. If you plant your bulbs too early while the soil is still quite warm, they might try to send up green shoots before winter, which can be damaged by the frost. A good rule of thumb is to wait until the summer heat has truly faded.
Spring flowering bulbs are also very forgiving. If you miss your ideal window, don’t worry too much. Most bulbs will still grow and bloom even if they are planted a bit late, though they might be slightly shorter or bloom a little later than expected. The joy of gardening comes from learning these little rhythms and adjusting your plans as you go.
The secrets to success with fall planted flower bulbs
Fall planted flower bulbs are a wonderful investment for any gardener looking to add structure and seasonal interest to their landscape. By planting in the fall, you are essentially setting the stage for a beautiful show that will unfold months later. It is a rewarding practice because it feels like leaving a surprise gift for your future self.
When you head to the garden center, you will see a huge variety of options. Some bulbs are very hardy and can handle the coldest winters, while others might need a bit more protection. Here is a quick breakdown to help you navigate your choices:
- Daffodils: These are incredibly reliable and often come back year after year. They are a great choice for beginners.
- Tulips: Known for their stunning colors, tulips are a favorite. Many gardeners treat them as annuals, meaning they plant new ones each year for the best show.
- Hyacinths: These provide a lovely scent that can fill your garden in the early spring.
- Crocus: These are often the first to poke their heads through the snow, signaling that spring is officially on its way.
When you are preparing to plant these bulbs, make sure you choose a spot with good drainage. Bulbs are essentially storage organs, and if they sit in water for too long, they can rot. If your soil is heavy clay, you might want to mix in some compost or grit to help the water move away from the bulb. This simple step can make a huge difference in the health of your display.
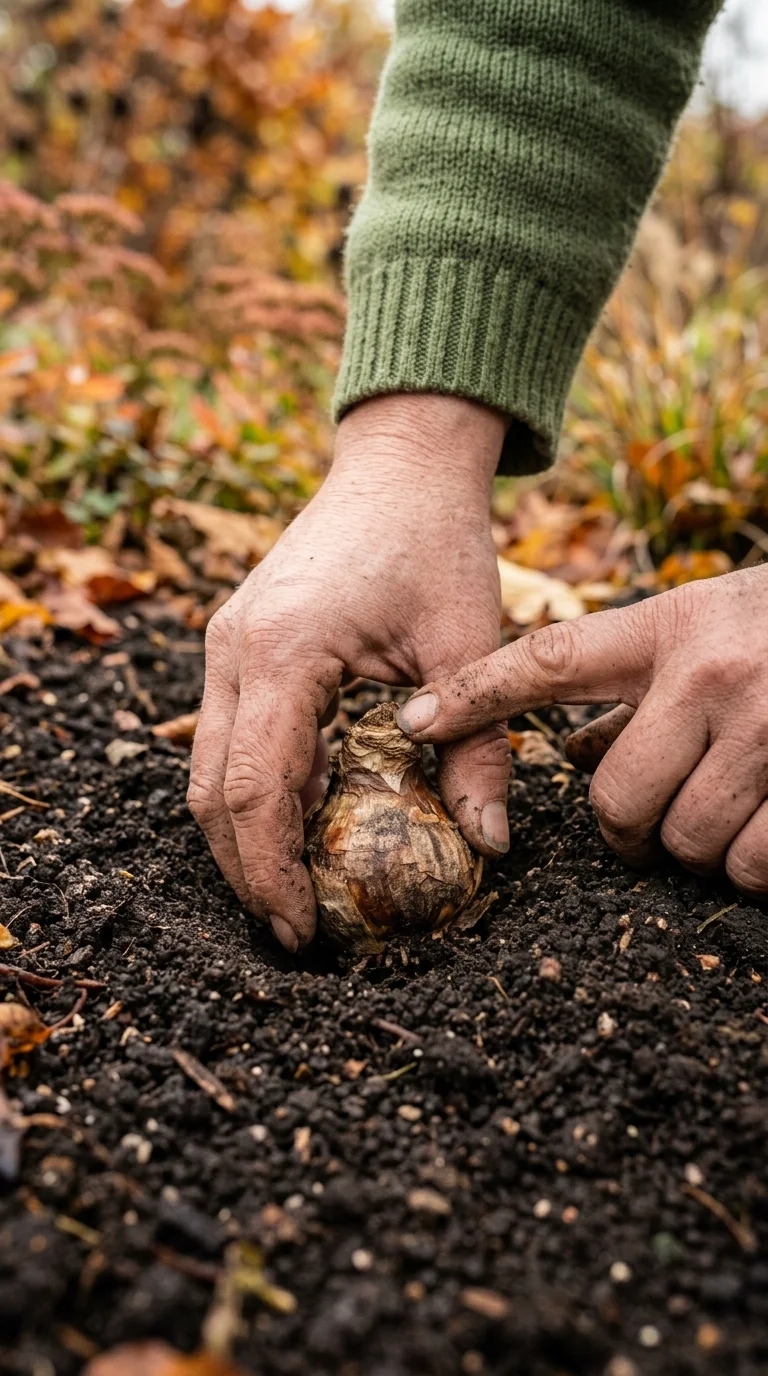
Another detail to consider is the orientation of the bulb. Most bulbs have a pointed end and a flatter, root-bearing end. You generally want to point the nose-the pointy end-upward toward the sky. If you happen to plant a few upside down, do not panic! Most plants are smart enough to figure out which way is up and will eventually find their way to the light, though it might take them a bit more energy.
It is also fun to think about spacing. While it is tempting to crowd them together for an instant, dense look, giving them a little breathing room helps prevent disease and ensures each flower gets enough light. Many gardeners find that planting in “drifts” or irregular clumps looks more natural than planting in straight, stiff rows.
Finally, remember to mark where you have planted your bulbs. It is very easy to forget exactly where they are once the winter snows cover the garden or when you start your spring weeding. Using small labels or a simple garden map can save you from accidentally digging them up with your trowel when you start your spring chores.
Mastering how deep to plant flower bulbs for optimal growth
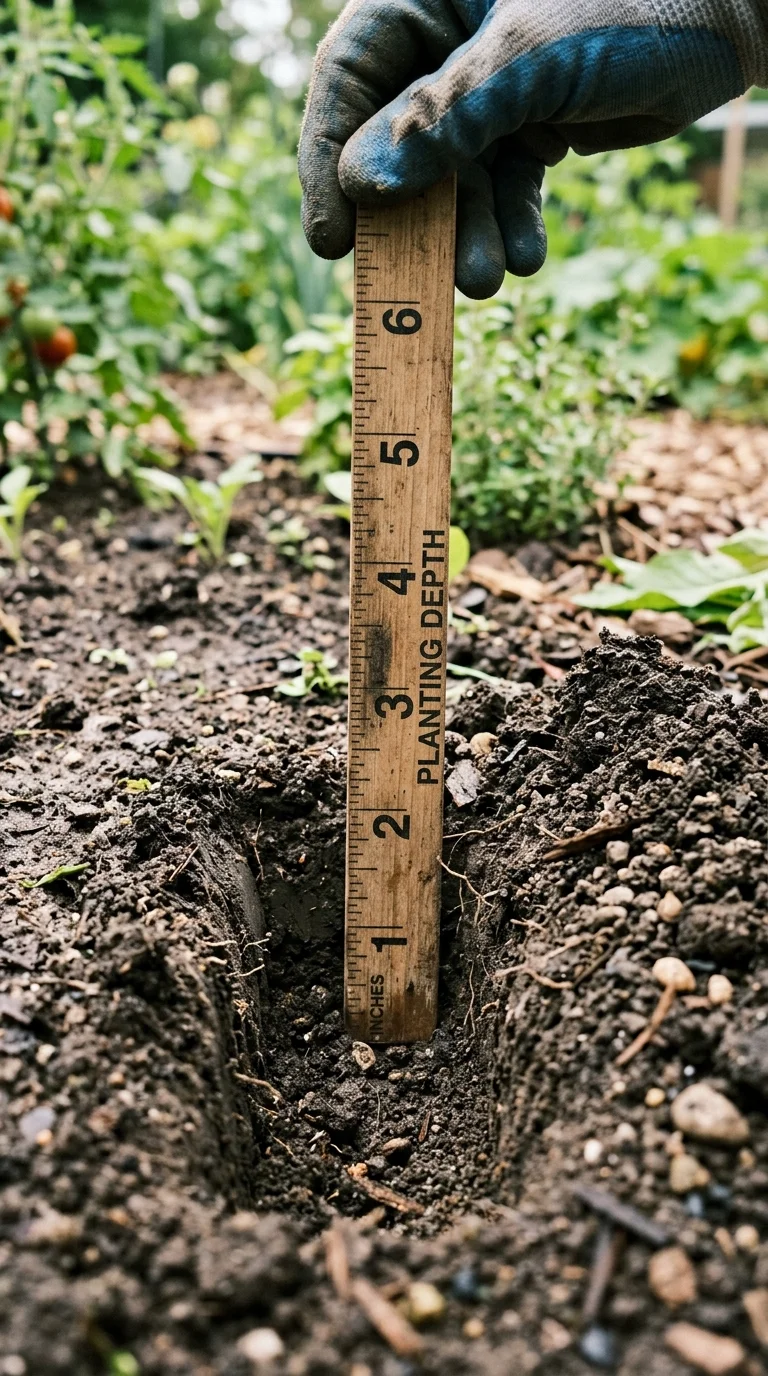
Learning how deep to plant flower bulbs is perhaps the most important technical skill you can pick up as a gardener. While it might seem like a minor detail, the depth of your planting hole dictates how protected the bulb is from winter cold and how much energy it has to spend pushing its stem to the surface.
A general rule of thumb that works for most bulbs is to plant them at a depth that is two to three times the height of the bulb itself. If you have a bulb that is two inches tall, you should aim to plant it about four to six inches deep. This measurement is taken from the top of the bulb to the surface of the soil.
Here is a simple, step-by-step guide to help you get it right every time:
- Clear the area: Remove any weeds or debris from the spot where you want to plant. You want the soil to be loose and easy to work with.
- Dig your hole: You can use a specialized bulb planter, which takes out a neat plug of soil, or a simple hand trowel.
- Check the depth: Measure the depth of the hole. If you are planting several bulbs in one area, try to keep the holes relatively even so they all bloom at the same time.
- Add a little nourishment: You can sprinkle a small amount of organic bone meal or a slow-release bulb fertilizer at the bottom of the hole. This provides a gentle boost of nutrients.
- Place the bulb: Set the bulb in the hole with the pointy end facing up.
- Cover and firm: Gently fill the hole with soil and press down lightly with your hand. You don’t want to pack the soil too hard, as the roots need air to grow.
- Water: Give the area a good drink of water to help settle the soil around the bulb.
Keep in mind that larger bulbs generally need to be planted deeper than smaller ones. Tiny bulbs like snowdrops or grape hyacinths are often very happy with just three inches of soil over them. Larger bulbs, such as daffodils or lilies, will appreciate that extra depth to keep them stable and protected.
If you are gardening in an area with very sandy soil, you might consider planting your bulbs slightly deeper. Sandy soil can dry out faster and doesn’t hold heat as well as loamy soil, so that extra layer of earth provides a bit of extra insulation. Conversely, in very heavy, wet soil, you might plant them a tiny bit shallower, but be sure to improve your drainage first.
If you are ever unsure, check the packaging that came with your bulbs. Growers usually include a little diagram or a set of instructions that tells you the ideal depth for that specific variety. It is a great resource to have on hand, and it takes the guesswork out of the process.
Discovering summer flowering bulbs that are easy to grow
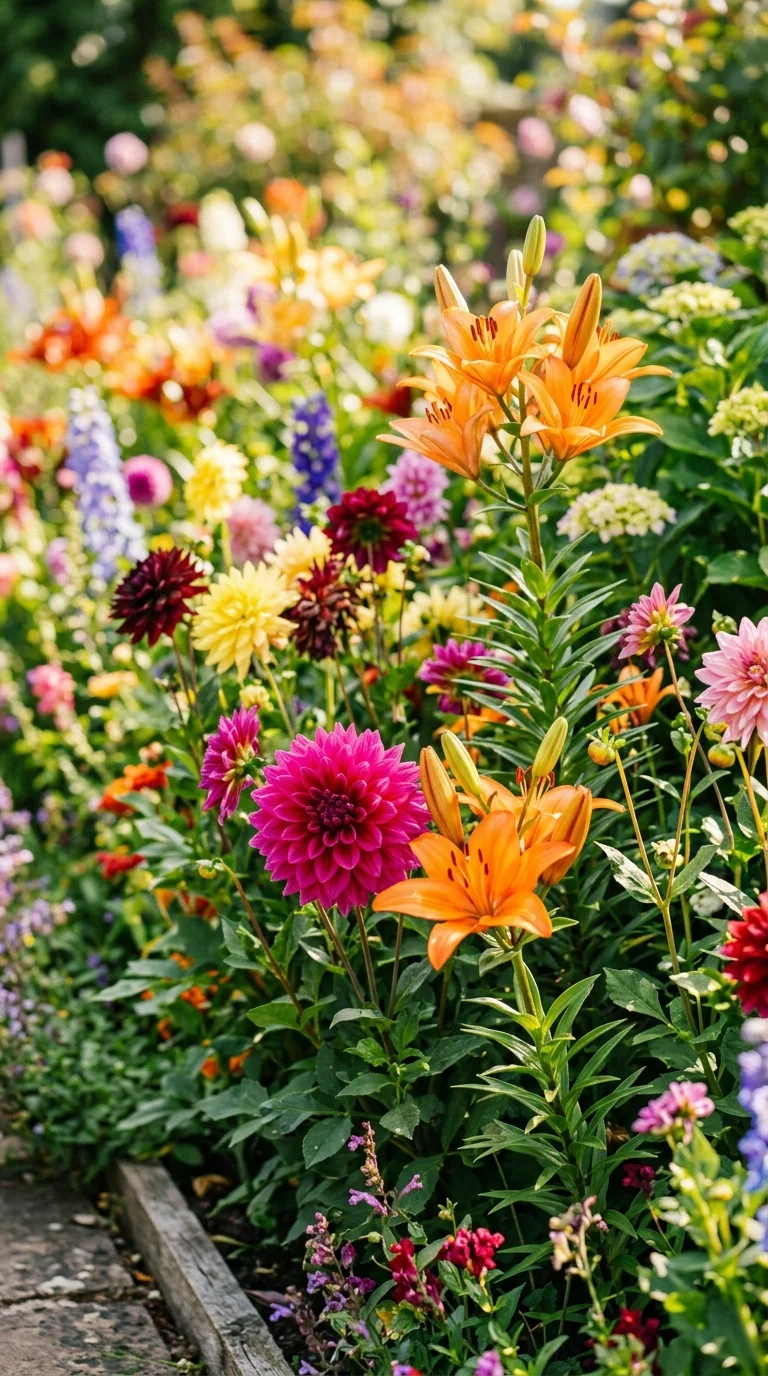
While many people think of spring when they hear “bulbs,” there are plenty of summer flowering bulbs that are easy to grow and can keep your garden vibrant long after the daffodils have faded. These summer beauties, such as lilies, gladioli, and dahlias, add height, texture, and often a wonderful fragrance to your outdoor space.
Most of these summer bloomers are what we call “tender” bulbs. This means they are not as tough as the spring ones and might not survive a hard winter in colder climates. In these areas, you can simply treat them as annuals or dig them up in the fall and store them in a cool, dry place until the following spring. It is an extra step, but many gardeners feel the reward of those tall, dramatic blooms is well worth the effort.
Lilies are a fantastic place to start if you are new to summer bulbs. They are incredibly hardy, come in a massive range of colors, and many varieties are beautifully fragrant. They prefer to have their “heads in the sun and their feet in the shade,” which means they like full sun for their flowers but appreciate having low-growing plants around their base to keep their roots cool.
Gladioli are another favorite for their tall, spikey flowers. They are very easy to grow and look wonderful in the back of a flower bed. Because they grow quite tall, you might want to give them a little support with a stake if you live in a windy area. This ensures they stay standing tall and proud even after a summer storm.
Dahlias are perhaps the most popular summer bulb, though they are technically tubers. They offer an endless variety of shapes and colors, from tiny, button-like blooms to dinner-plate-sized flowers that are truly showstoppers. Dahlias are very rewarding because they will continue to bloom from mid-summer until the first frost, giving you a long season of color.
When planting these summer beauties, keep in mind that they generally need to be planted in the spring after the danger of frost has passed. They love the warming soil of the season, and they grow quite quickly once the summer heat sets in. Be sure to water them regularly during dry spells, as their lush growth requires plenty of moisture to keep going.
One common mistake is to forget about fertilizer. Because these plants grow so much in such a short time, they appreciate a little extra food. A balanced organic fertilizer applied once or twice during the growing season can help them produce more flowers and keep the foliage looking healthy and green.
Strategic Garden Layout & Spacing Canvas
Designing your garden is one of the most creative parts of being a home gardener. When you think about where to place your bulbs, try to visualize the entire season. You want a layout that offers interest from the first snowdrop in late winter to the last dahlia in late autumn.
Permaculture principles teach us that a well-designed garden works with nature, not against it. By grouping plants with similar needs together-like those that love full sun or those that thrive in moisture-you make your own job much easier. When you map out your space, consider the height of your plants. Place your tallest bulbs, like lilies, in the back, and keep the smaller, earlier bloomers like crocuses in the front.
Dynamic garden mapping involves looking at your space from different angles. Walk around your yard and see where you spend the most time. If you have a window you look out of every morning while drinking coffee, place your brightest, happiest bulbs right there. Your garden should be a place that brings you joy every single day.
Companion planting tip: Plant your tomatoes near aromatic basil and golden marigolds to deter pests naturally and enhance yields!
Nutrient Optimization & Organic Feeding Guide
Healthy soil is the foundation of a thriving garden. When you focus on building rich, fertile soil, you are feeding the soil food web-the complex community of tiny organisms that break down organic matter and turn it into food for your plants. This is the secret to strong stems, vibrant colors, and disease-resistant flowers.
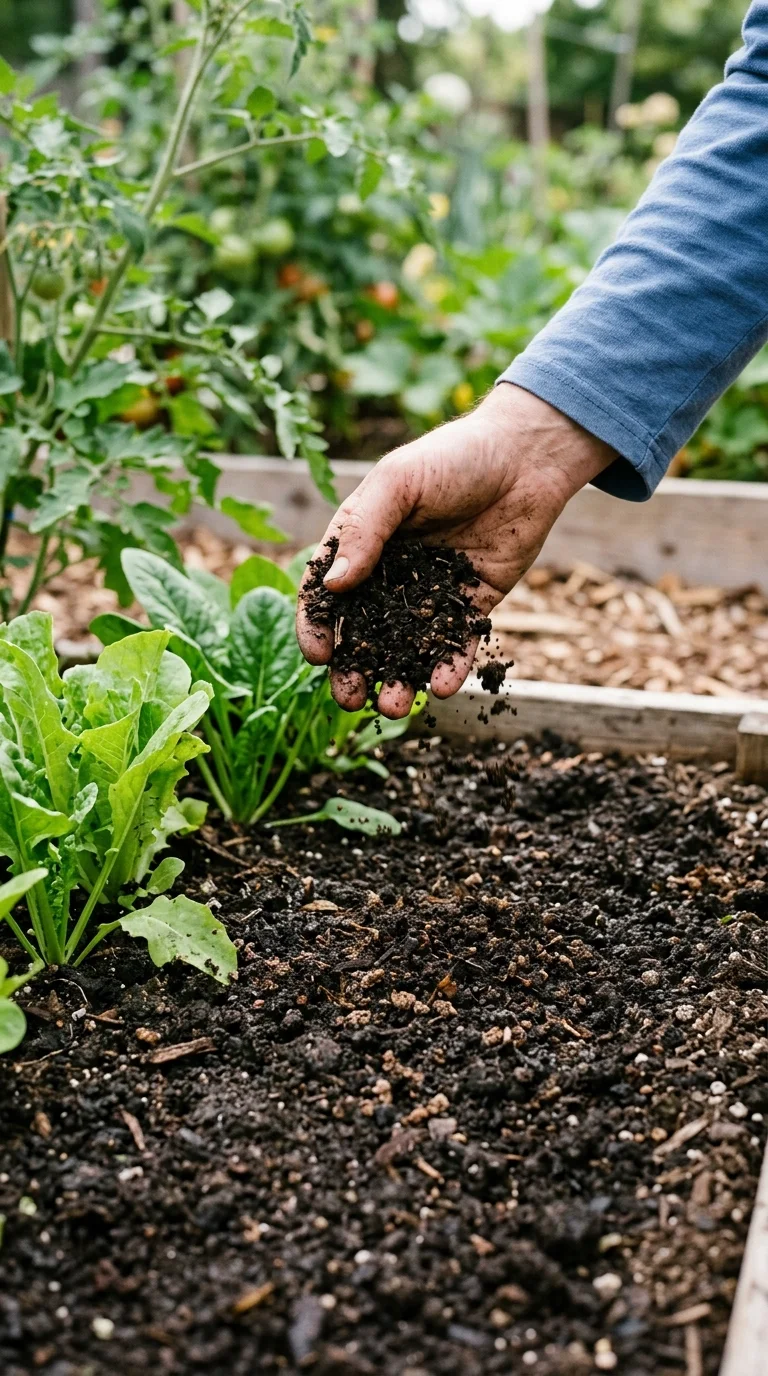
Start by adding plenty of compost to your beds. Compost is like a multivitamin for your soil; it improves the structure, helps retain moisture, and provides a slow, steady supply of nutrients. Many gardeners find that a thick layer of organic mulch, like shredded leaves or wood chips, also works wonders by suppressing weeds and keeping the soil temperature steady.
If you want to give your plants an extra boost, consider using worm castings or a liquid seaweed fertilizer. These are gentle, organic options that provide trace minerals and growth-promoting compounds. Avoid harsh synthetic fertilizers, which can sometimes disrupt the natural balance of the soil. When you feed the soil, the soil feeds your bulbs, and the result is a garden that is truly alive and flourishing.
Ultimate Harvesting & Seasonal Blooms Rewards
The true reward of your hard work is the moment you step outside and see your garden in full bloom. Whether it is the delicate scent of a hyacinth or the bold, bright petals of a summer lily, there is nothing quite like the feeling of knowing you grew that beauty yourself.
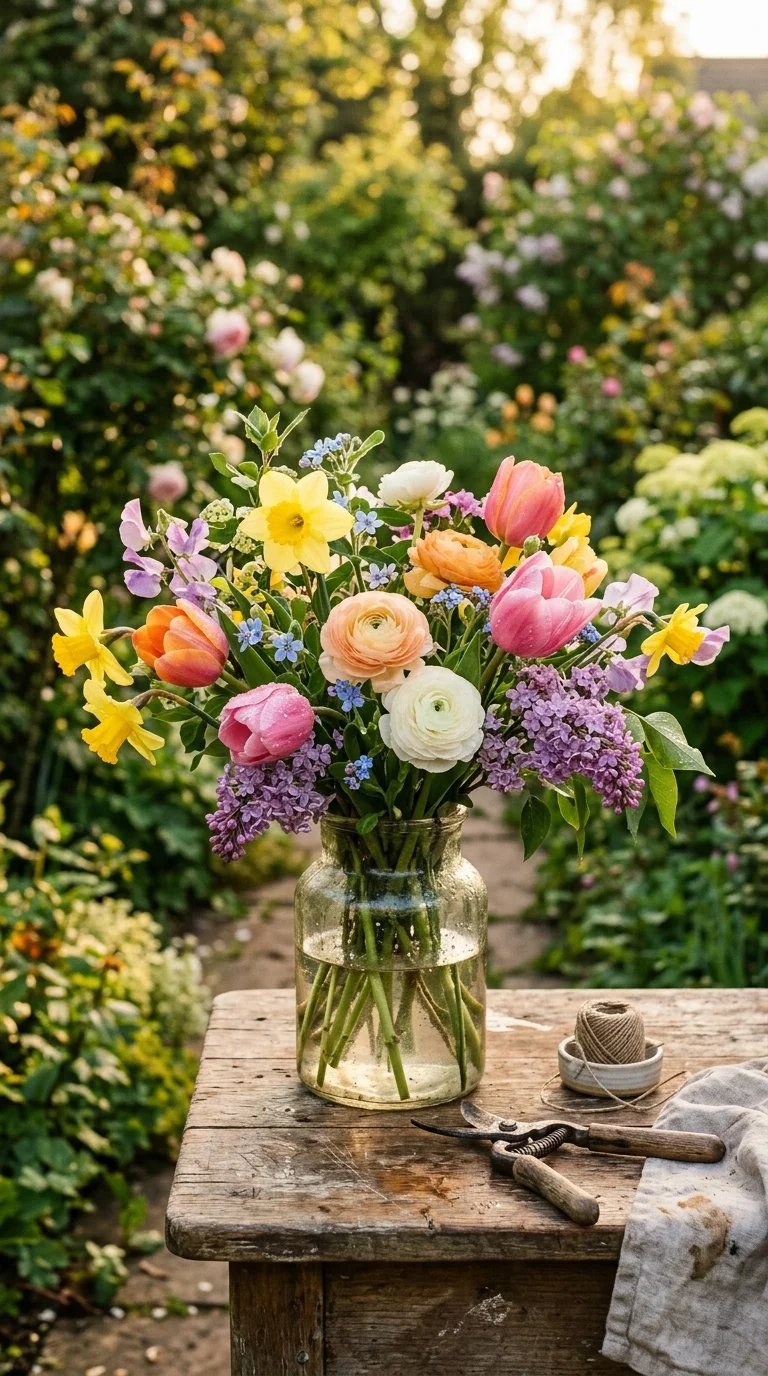
Don’t be afraid to cut a few flowers to bring inside. Many bulbs, like tulips and daffodils, make beautiful arrangements. When you cut flowers, make sure to use a sharp, clean pair of scissors and cut them at a slight angle. This helps them take up water better in your vase.
If you are feeling adventurous, you can even try saving seeds from some of your plants, though many bulbs are best propagated by dividing the “offsets”-the tiny, baby bulbs that grow around the parent bulb. Every few years, you can dig up your clumps, gently separate the babies, and replant them in new spots. It is a wonderful way to expand your garden for free and share the joy with your neighbors.
As the season winds down, take a moment to sit in your garden and appreciate what you have cultivated. You have created a small, vibrant ecosystem that supports pollinators, feeds the soul, and brings a little bit of natural wonder into your daily life. That is the true harvest of any gardener.
Frequently Asked Questions
Q: Do I need to water my bulbs after planting them in the fall?
A: Yes, giving them a good watering right after planting helps settle the soil and gets the roots started. You generally don’t need to water them again through the winter unless you live in a very dry climate.
Q: Can I plant bulbs in containers instead of the ground?
A: Absolutely! Many bulbs thrive in containers. Just make sure your pots have good drainage holes and use a high-quality potting mix to keep them happy.
Q: What should I do if my bulbs start sprouting too early?
A: Don’t panic! It is often a reaction to a warm spell. In most cases, the plant will be just fine, though a heavy frost might nip the tips of the leaves.
Q: How many years will my bulbs bloom?
A: It depends on the variety and your soil. Many daffodils can bloom for decades, while some tulips are best treated as annuals for the most impressive display.
Q: Should I remove the foliage after the flowers fade?
A: It is best to wait until the leaves turn yellow and start to wither on their own. The leaves are busy collecting sunlight to feed the bulb for next year’s growth.
Q: Can I plant different types of bulbs together?
A: Yes, mixing different bulbs is a great way to create a layered effect. Just make sure they all have similar light and water requirements so they grow well together.
