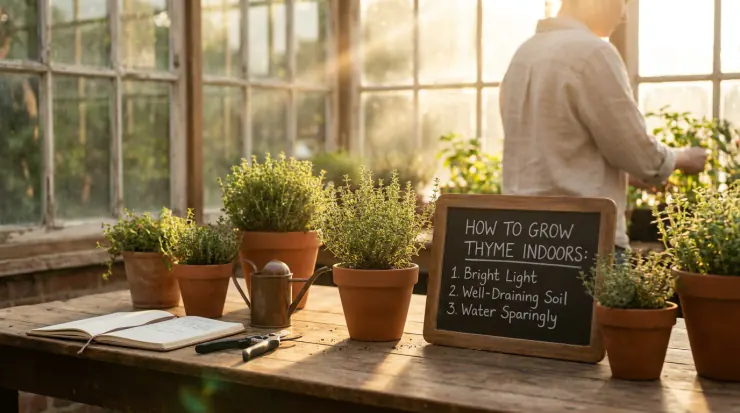
Do you love the warm, earthy smell of fresh herbs cooking in your kitchen? Many home gardeners struggle to keep their favorite herbs alive during the cold winter months. In this complete guide, I will show you exactly how to grow thyme indoors so you can enjoy fresh, flavorful sprigs all year long.
Quick Answer: To grow thyme indoors successfully, place your pot on a sunny, south-facing windowsill where it gets at least six hours of bright light daily. Use a sandy, fast-draining soil mix and only water when the soil is completely dry. Choosing the right container and avoiding overwatering are the main keys to keeping your indoor thyme happy and healthy.
Easy Thyme Plant Care Tips for Indoor Success
Growing herbs inside your home is a wonderful way to bring nature into your kitchen. To keep your plants happy, you need to understand where they come from. Thyme is native to the sunny, dry Mediterranean region. This means it loves lots of bright sunshine, warm air, and soil that does not stay wet.
If you want your herb to thrive, you must replicate these warm, dry conditions on your windowsill. Many beginner gardeners make the mistake of treating thyme like a tropical houseplant. They water it too much and keep it in dark corners. In most cases, this leads to soggy roots and a sad, wilting plant.
Let us start with some essential thyme plant care tips to help you set up the perfect indoor home. First, you must give your plant as much light as possible. A south-facing or west-facing window is usually the best spot in your house. These windows get the strongest, most direct sunlight during the day.
If your windows do not get enough natural light, do not worry. Many gardeners find that using a simple LED grow light works wonders. You can hang the light a few inches above your plant and keep it on for 12 to 14 hours a day. This mimics the bright summer sun that thyme loves so much.
+---------------------------------------------------------+
|               INDOOR THYME CARE AT A GLANCE             |
+----------------------+----------------------------------+
| Light Requirement    | 6-8 hours of direct sun daily    |
+----------------------+----------------------------------+
| Watering Frequency   | Only when soil is bone dry       |
+----------------------+----------------------------------+
| Ideal Temperature    | 15–20°C (59–68°F)                |
+----------------------+----------------------------------+
| Soil Preference      | 75% potting soil + 25% grit      |
+----------------------+----------------------------------+
Next, let us talk about the soil. Thyme hates sitting in wet, heavy dirt. You should never use regular garden soil from your backyard for indoor pots. Backyard soil is too heavy and packs down tightly inside a container. This traps water around the roots and suffocates them.
Instead, look for a high-quality, peat-free potting compost. To make it perfect for thyme, mix in some coarse sand or horticultural grit. A good rule of thumb is to use three parts potting soil to one part grit. This creates a loose, rocky mixture that lets water drain away instantly.
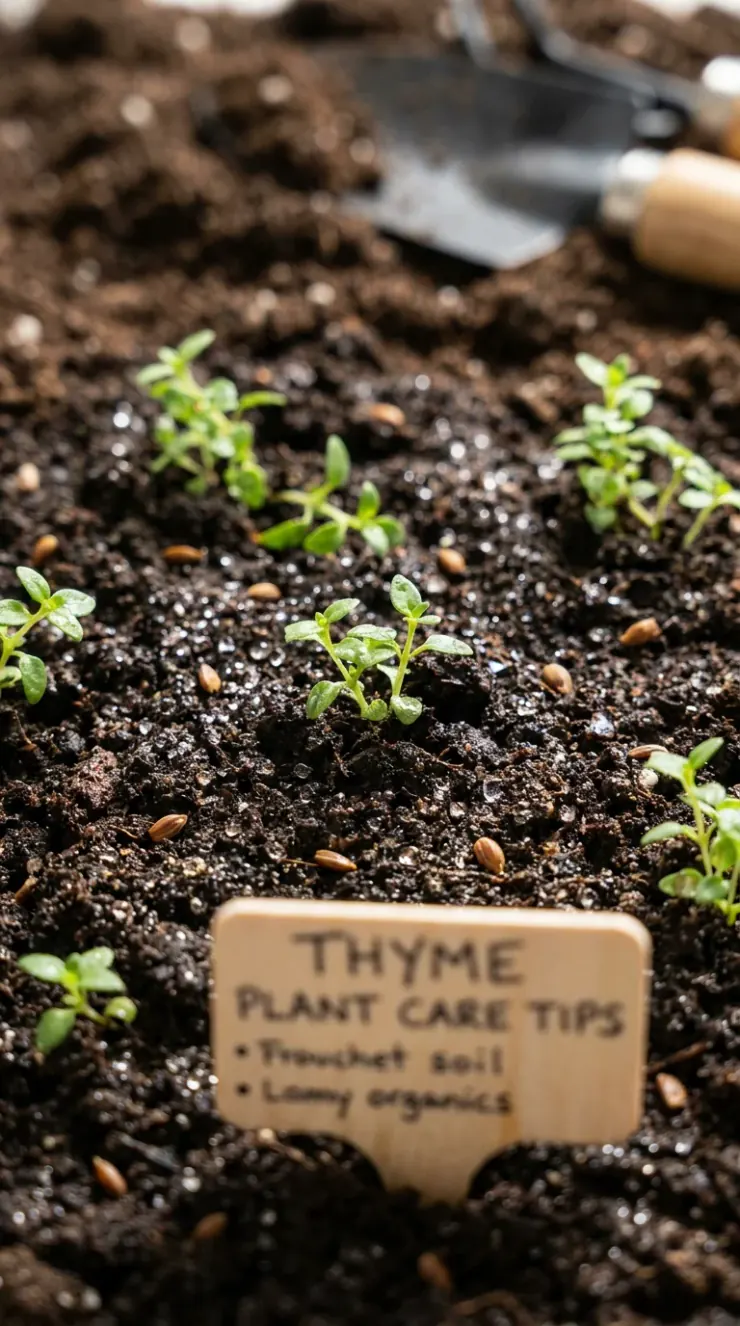
When you start your thyme from seed, patience is key. You should sow your seeds in the spring using small starter trays. Fill the trays with a moist, peat-free seed compost. This is a special, light soil mix that has very few nutrients. High nutrients can actually hurt tiny, new sprouts.
Scatter the tiny seeds thinly right on top of the soil. Do not cover them with dirt because they need light to sprout! Place the tray in a warm spot that stays between 15°C and 20°C (59°F to 68°F). Keep the soil lightly damp with a spray mister. In a couple of weeks, you should see tiny green sprouts pushing up.
Once your young seedlings grow a few sets of real leaves, they need more space. Gently move each seedling into its own small pot that is about 7.5cm (3 inches) wide. Use a soil-based compost for this step. Soil-based composts contain loam, which is a healthy mix of sand, silt, and clay. This type of soil does not break down quickly, so it stays stable for years.
The Complete Guide to Harvesting Thyme Leaves
Once your indoor thyme plant is established and growing well, the real fun begins! Harvesting thyme leaves is a simple and rewarding task. Regular harvesting actually helps your plant grow better. It encourages the plant to branch out and become bushy instead of tall and thin.
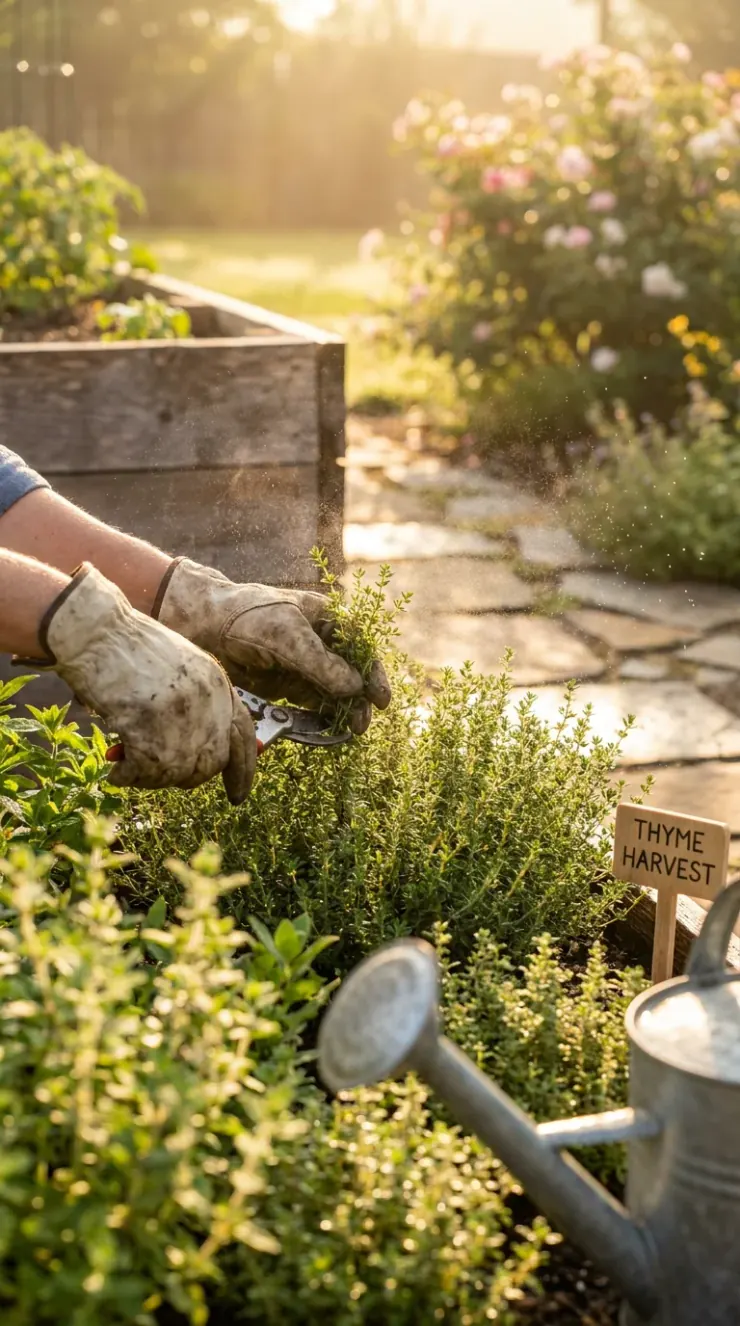
To harvest your thyme, you will need a clean pair of small garden snips or sharp kitchen scissors. Never pull or tear the stems with your bare hands. Tearing can bruise the plant and leave jagged edges that invite pests or disease. Always make clean cuts just above a leaf node, which is the spot where new leaves grow out of the stem.
When you cut just above a leaf node, the plant will grow two new stems from that exact spot. This is how you get a beautiful, full, and bushy herb plant. Try to avoid cutting into the old, woody parts of the stems near the base of the plant. These woody stems do not grow back easily. Always focus your harvesting on the fresh, green, and flexible stems at the top.
       [ Cut Here ]  <-- Cut just above a leaf node
            |
         __\|/__
        |  | |  |
        |  | |  |    <-- Leaf Node (where leaves join stem)
      ============
        |  | |  |
You can harvest fresh thyme leaves at any time of the year when growing indoors. However, many gardeners find that the flavor is strongest in the spring and summer. This is when the plant is actively growing and producing rich, aromatic oils. The leaves will taste sweeter, earthier, and slightly peppery during these warm months.
Let us look at a few different varieties of thyme you can grow and harvest indoors:
- Common Thyme (Thymus vulgaris): This is the classic culinary herb. It has a robust, savory flavor that is perfect for soups, stews, and roasted meats.
- Lemon Thyme: This variety has a wonderful, bright citrus scent. It adds a lovely, fresh flavor to fish, chicken, and summer salads.
- Caraway Thyme: This unique herb has a spicy, warm aroma that smells just like caraway seeds. It is fantastic in homemade breads and savory pastries.
When you are harvesting, always remember the “one-third rule.” You should never cut away more than one-third of the plant at one time. Leaving at least two-thirds of the foliage ensures the plant has enough leaves to make food and stay healthy. If you harvest too much at once, the plant can go into shock and stop growing.
If you only need a small amount of thyme for a recipe, you do not even need to cut a whole stem. You can simply run your fingers gently along a stem from the top down to slide off a few fresh leaves. This leaves the stem intact so it can keep growing. It is a quick and easy way to add a pinch of fresh flavor to your evening meals.
Step-by-Step Methods for Drying Fresh Thyme
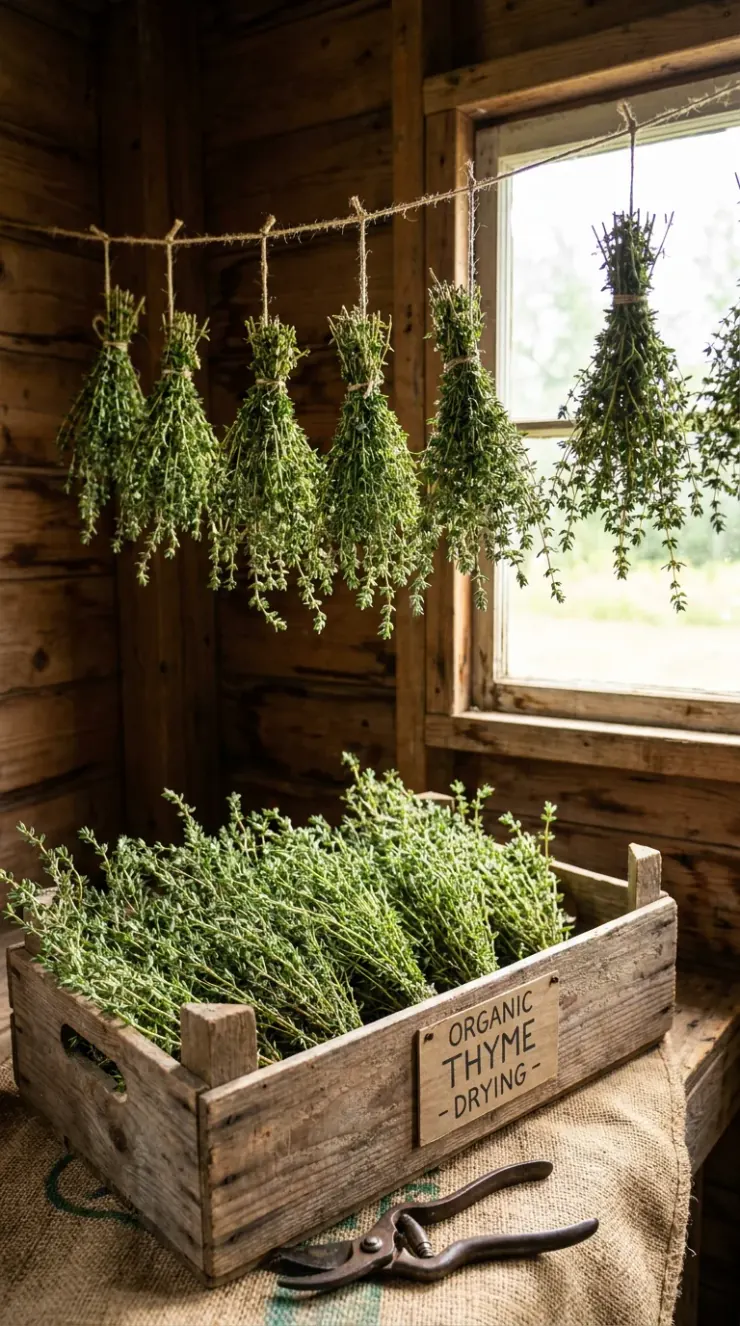
If your indoor thyme plant is growing faster than you can eat it, drying fresh thyme is the perfect solution. Dried thyme keeps its flavor incredibly well and can last for many months in your pantry. It is a wonderful feeling to open a jar of herbs you grew yourself on a cold winter day.
There are several easy ways to dry your fresh harvest indoors. Let us walk through the best step-by-step methods so you can choose the one that works best for you.
Method 1: The Classic Air-Drying Method
This is the traditional, low-energy way to dry herbs. It takes a little longer, but it preserves the delicate essential oils beautifully.
- Wash and Dry: Gently rinse your harvested thyme stems in cool water to remove any dust. Pat them completely dry with a clean paper towel. Any leftover water can cause mold.
- Bundle the Stems: Gather five to eight stems together at the base. Tie them securely with a piece of kitchen string or a rubber band.
- Use a Paper Bag: Place the bundle upside down inside a small brown paper bag. Tie the bag closed around the stems. Poke a few small holes in the sides of the bag to let air circulate. The bag protects the leaves from dust and catches any that fall off.
- Hang to Dry: Hang the bag in a warm, dry, and dark room with good air circulation. A pantry, closet, or warm attic works wonderfully. Avoid bright rooms, as sunlight can bleach the leaves and destroy their flavor.
- Wait Patiently: Let the stems hang for one to two weeks. Check them occasionally to see if they are dry.
Method 2: The Food Dehydrator Method
If you have a home food dehydrator, this is a very fast and reliable way to dry your herbs.
- Prep the Trays: Lay your clean, dry thyme stems in a single layer on the dehydrator trays. Make sure they do not overlap so the warm air can flow freely.
- Set the Temperature: Set your dehydrator to its lowest herb setting, which is usually around 35°C to 45°C (95°F to 115°F).
- Dry the Herbs: Let the machine run for 2 to 4 hours. Check the stems every hour to see how they are progressing.
- Cool Down: Once dry, turn off the machine and let the thyme cool completely before storing.
Method 3: The Oven-Drying Method
If you do not have a dehydrator, you can use your kitchen oven. You must be very careful not to cook or burn the leaves.
- Prepare a Baking Sheet: Line a cookie sheet with a piece of parchment paper. Lay your clean thyme stems out in a single layer.
- Set to Lowest Heat: Turn your oven to its absolute lowest temperature setting. Many ovens go down to 50°C or 70°C (120°F to 150°F).
- Prop the Door Open: Prop the oven door open slightly with a wooden spoon. This lets moisture escape and keeps the oven from getting too hot.
- Flip Regularly: Leave the herbs in the oven for 1 to 2 hours. Turn the stems over halfway through to ensure they dry evenly.
No matter which method you use, you will know your thyme is ready when the leaves feel brittle. They should crumble easily between your fingers when you pinch them. Once they reach this stage, slide your fingers along the dry stems to release the leaves. Discard the woody stems and place the dried leaves into clean, airtight glass jars. Store the jars in a cool, dark cabinet away from heat and light to keep them tasting fresh for up to a year.
Choosing the Best Pots for Thyme Indoors
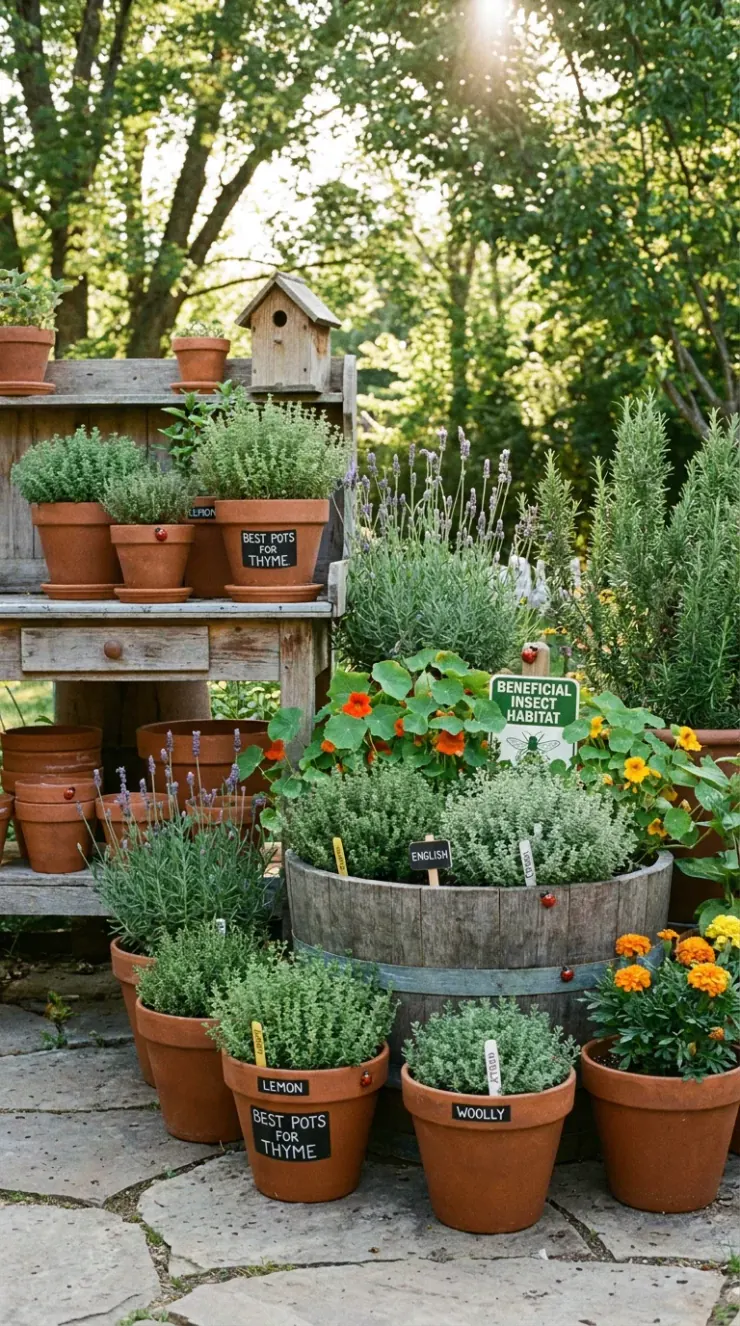
Selecting the right container is one of the most important decisions you will make for your indoor herb garden. Because thyme hates wet roots, your choice of pot can mean the difference between a thriving plant and a dying one. Let us look at how to find the best pots for thyme to ensure your herb stays happy.
The first rule of choosing a pot is that it must have drainage holes. Never plant thyme in a container that does not have holes at the bottom. Without drainage holes, excess water will collect at the base of the pot. This turns the soil into a soggy, stinky swamp. Thyme roots will quickly rot and die in these conditions.
Next, you should consider the material of the pot. Many experienced gardeners prefer terracotta or clay pots for growing Mediterranean herbs. Terracotta is a natural, porous material that breathes. It allows air and moisture to pass through the walls of the pot. This helps the soil dry out more quickly and evenly, which is exactly what thyme loves.
+---------------------------------------------------------------+
|                      POT MATERIAL COMPARISON                  |
+------------------+-------------------+------------------------+
| Material         | Pros              | Cons                   |
+------------------+-------------------+------------------------+
| Terracotta/Clay  | Breathes well,    | Heavy, can break       |
|                  | prevents rot      | if dropped             |
+------------------+-------------------+------------------------+
| Plastic          | Lightweight,      | Holds moisture too     |
|                  | cheap, durable    | long, doesn't breathe  |
+------------------+-------------------+------------------------+
| Glazed Ceramic   | Beautiful,        | Heavy, holds more      |
|                  | many designs      | moisture than clay     |
+------------------+-------------------+------------------------+
Plastic pots are lightweight and cheap, but they hold onto moisture for a long time. If you do use a plastic pot, you must be extra careful not to overwater. You should also add a bit more grit or sand to your soil mix to help it drain faster. Glazed ceramic pots are beautiful, but like plastic, they trap moisture inside the soil.
When it comes to size, a single thyme plant does not need a massive pot. A container that is 15cm (6 inches) wide and 10cm (4 inches) deep is usually perfect for a mature plant. If you choose a pot that is too large, the unused soil will stay wet for too long after watering. This can lead to root rot even if your soil mix is good.
If you want to grow several thyme plants together, you can use a wider trough or a window box. Just make sure to space the plants about 20cm to 30cm (8 to 12 inches) apart. This gives each plant plenty of room to spread its roots and allows fresh air to circulate around the leaves. Good airflow is very important for preventing mold and mildew indoors.
Finally, consider adding a “grit mulch” to the top of your pot. This is simply a thin layer of small gravel, pebbles, or horticultural grit spread over the soil surface. This layer looks beautiful and clean. More importantly, it keeps the low-hanging leaves of your thyme plant from touching the damp soil. This simple trick prevents rot and keeps your harvested leaves clean and grit-free!
Strategic Garden Layout & Spacing Canvas
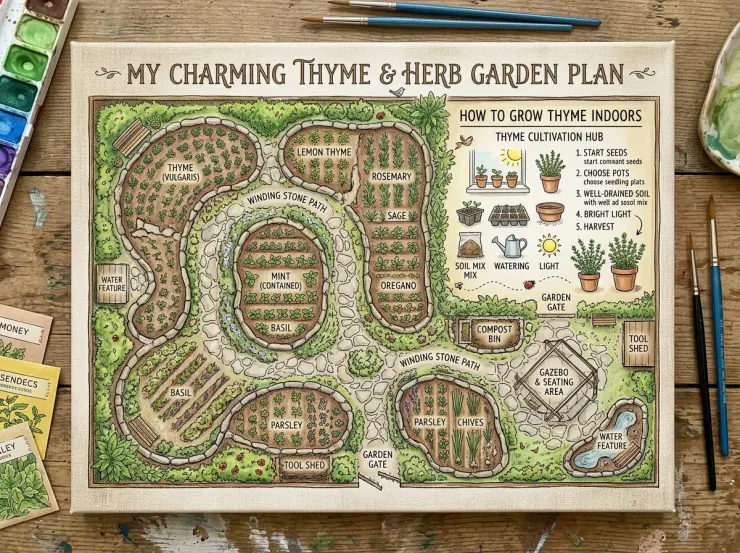
When you plan your indoor herb garden, it helps to think like a permaculture designer. In nature, plants do not grow in isolation. They grow in communities where they help each other thrive. Even on an indoor windowsill, you can use strategic layouts to maximize your herb yields.
Dynamic garden mapping is all about placing the right plants next to each other. For indoor container gardening, this means grouping plants that share similar needs for light, water, and soil. Thyme is a perfect companion for other Mediterranean herbs like rosemary, oregano, and sage. These plants all love bright sun and dry, sandy soil.
By grouping these sun-loving herbs together in a single large window box, you create a beautiful, low-maintenance indoor garden. You can water them all on the same light schedule. However, you should avoid planting thyme next to moisture-loving herbs like mint, parsley, or basil. Those herbs need damp soil and will suffer if kept as dry as thyme prefers.
Companion planting tip: Plant your tomatoes near aromatic basil and golden marigolds to deter pests naturally and enhance yields!
Nutrient Optimization & Organic Feeding Guide
Many beginner gardeners believe that plants need constant feeding to grow big and strong. While this is true for heavy-feeding vegetables like tomatoes, herbs are very different. Because thyme naturally grows in poor, rocky soils, it actually prefers low nutrient levels.
In fact, feeding your thyme too much fertilizer can do more harm than good. When you give thyme too much nitrogen, it grows very fast. However, this fast growth is often weak, watery, and sparse. Most importantly, the plant will produce far fewer essential oils. This means your thyme will lose its wonderful smell and rich, earthy flavor!
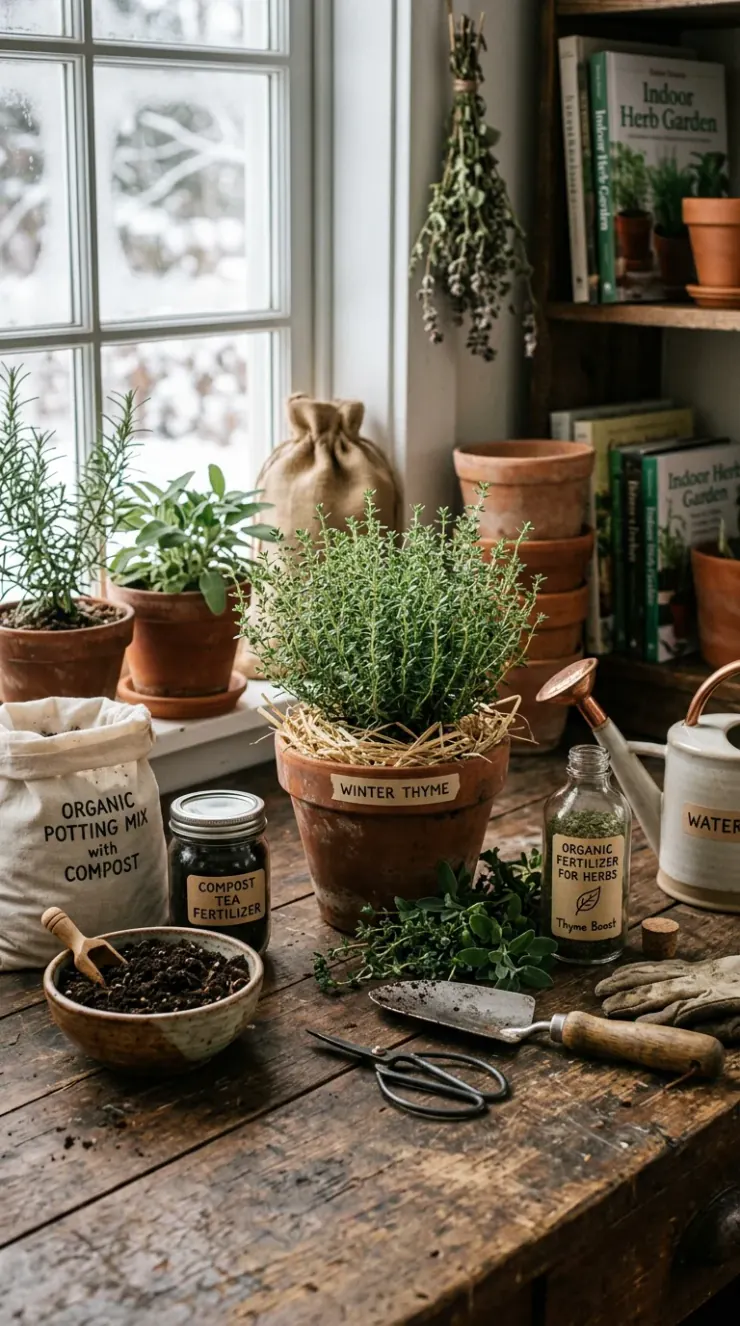
To keep your indoor thyme tasting its best, you should use a gentle, organic feeding routine. The goal is to support the natural soil food web rather than flooding the plant with synthetic chemicals. A healthy, living soil will naturally provide all the nutrients your thyme needs to thrive.
       [ Healthy Soil Food Web ]
                 |
     +-----------+-----------+
     |                       |
[Worm Castings]      [Organic Compost]
     |                       |
     +-----------+-----------+
                 |
        [Happy Thyme Plant]
When you first pot up your thyme, use a soil-based compost mixed with a handful of organic worm castings. Worm castings are a wonderful, slow-release source of nutrients. They contain beneficial microbes that help break down organic matter and make nutrients easily available to the plant’s roots. This gives your young plant a gentle, healthy start without burning its delicate roots.
During the active growing season in spring and summer, you can feed your thyme once a month. Use a liquid seaweed fertilizer diluted to half the strength recommended on the bottle. Seaweed fertilizer is packed with trace minerals that strengthen the plant’s cell walls. This helps your indoor thyme resist pests and disease while keeping its flavor profile strong and aromatic.
In the autumn and winter, you should stop feeding your thyme entirely. During these darker months, the plant’s growth naturally slows down. It does not need extra food during this semi-dormant period. Adding fertilizer in the winter will only cause weak, leggy growth that is highly susceptible to indoor pests like spider mites.
Ultimate Harvesting & Seasonal Blooms Rewards
Growing thyme indoors is a journey that brings wonderful rewards through every season. One of the most beautiful sights in an indoor herb garden is seeing your thyme plant burst into bloom. In late spring or summer, your plant may produce clusters of tiny, delicate flowers in shades of pink, purple, or white.
Many gardeners ask if they should cut these flowers off. While flowering can slightly reduce the strength of the leaf flavor, there is no need to panic! Thyme flowers are completely edible and have a lovely, mild herb flavor. You can harvest the flowering stems and use them to decorate salads, garnish summer drinks, or top savory dishes. They add a beautiful, gourmet touch to any home-cooked meal.
As your thyme plant grows older, it will naturally start to change. After three or four years, the stems near the base will become thick, woody, and bare. When this happens, the plant will produce fewer fresh leaves. Instead of throwing the old plant away, you can use it to create brand-new baby plants for free!
                [ Propagating Thyme ]
                          |
        +-----------------+-----------------+
        |                                   |
[Softwood Cuttings]                 [Layering Stems]
- Take fresh green tips in spring   - Bend low stem to soil
- Root in water or sandy soil       - Roots form at contact point
- Identical clone of parent         - Cut away new independent plant
The easiest way to do this is by taking softwood cuttings in the spring. Simply cut a 5cm to 10cm (2 to 4 inch) tip from a healthy, green stem. Strip the leaves off the bottom half of the cutting and push it gently into a small pot filled with moist, sandy soil. Keep the soil lightly damp and place the pot in a warm, bright spot. In a few weeks, the cutting will grow its own roots and start growing as a new plant!
Another fun method is called “layering.” In the spring or autumn, take a low-growing, flexible stem that is still attached to the main plant. Gently bend it down so it touches the soil in the pot. You can use a small piece of wire or a bent paperclip to hold the stem flat against the dirt. Over time, the stem will naturally grow roots where it touches the damp soil. Once it has a strong root system, simply snip it away from the parent plant and move it to its own pot.
By learning these simple propagation skills, you can keep a continuous, healthy supply of fresh thyme growing in your home forever. You can even share these baby plants with your neighbors and friends. There is no better gift for a fellow cook than a healthy, home-grown herb plant ready for the kitchen window!
Frequently Asked Questions
Q: Why are the leaves on my indoor thyme plant turning yellow and falling off?
A: In most cases, yellowing leaves are a sign of overwatering. When the soil stays wet for too long, the roots cannot get air and begin to rot. Always let the soil dry out completely before you water again, and ensure your pot has good drainage holes.
Q: How much direct sunlight does indoor thyme need every day?
A: Thyme is a sun-loving Mediterranean herb that needs at least six hours of direct sunlight daily. A bright, south-facing window is the best spot. If you do not have enough natural light, many gardeners find that using an LED grow light for 12 hours a day works wonderfully.
Q: Can I grow thyme indoors from grocery store herb sprigs?
A: Yes, you can often grow new plants from fresh grocery store cuttings! Look for fresh, healthy green stems that are not wilted. Strip the lower leaves, place the stems in a glass of water on a sunny windowsill, and wait for roots to grow before planting them in soil.
Q: Is it normal for my indoor thyme plant to get woody at the base?
A: Yes, it is completely natural for thyme stems to become woody and bare as the plant ages. To prevent this, lightly trim your plant after it finishes flowering in the summer. If the plant becomes too woody and sparse after a few years, you can easily propagate new, fresh plants from cuttings.
Q: What is the best type of soil mix for growing thyme in pots?
A: The ideal soil recipe for indoor thyme is a mix of three parts peat-free potting soil and one part horticultural grit or coarse sand. This creates a loose, rocky mixture that lets water drain away quickly, mimicking the natural Mediterranean soils that thyme loves.
Q: How often should I fertilize my indoor thyme plant?
A: Thyme prefers low-nutrient soils and does not need much food. Generally, you only need to feed it once a month during the spring and summer using a liquid seaweed fertilizer diluted to half-strength. Do not feed your plant at all during the autumn and winter months.
