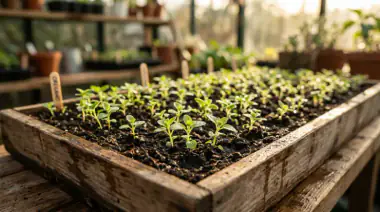
Have you ever bought those tiny plastic packets of fresh herbs at the grocery store, only to watch them turn to mush in your fridge a few days later? It is a common frustration for many home cooks, but there is a much better, cheaper way to enjoy fresh herbs. Learning how to grow oregano from seed is one of the most rewarding projects you can start in your home garden this season.
Quick Answer: To grow oregano from seed successfully, sow the tiny seeds indoors in early spring on top of a moist, peat-free seed compost without covering them, as they need light to germinate. Keep them warm at around 20°C (68°F) until they sprout in one to three weeks, and then transplant them outdoors into sunny, well-draining soil after the last spring frost.
Mastering Oregano Plant Care Outdoor for Lush Growth
Growing your own herbs brings a wonderful sense of joy to your daily cooking. Before we dig our hands into the dirt, let’s look at what makes this herb so special. Oregano is a hardy perennial, which means it is a plant that lives for many years and comes back every spring. It is native to the sunny, dry Mediterranean region, so it naturally loves warm sunshine and very little water.
In your garden, a healthy oregano plant will grow into a lovely, bushy clump. It usually reaches about one to two feet tall and wide. In the summer, it produces beautiful clusters of pink, purple, or white flowers. These flowers are not just pretty to look at. They also attract friendly pollinators like bees and butterflies to your yard.
Many people confuse oregano with its close cousin, sweet marjoram. While they look very similar, they have different flavors. True oregano has a spicy, pungent taste that is perfect for savory dishes. Marjoram is much sweeter and milder. When you shop for seeds, look for varieties like Origanum vulgare for a classic, robust flavor.
If you want a plant with a real kick, look for Greek oregano. It has soft, grey-green leaves and a wonderful, spicy heat. For a splash of color in your garden, you can also find golden oregano. This variety has bright yellow-green leaves and a lovely, sweet taste.
Getting your seeds started indoors is a great way to get a head start on the growing season. You will want to start your seeds about six to eight weeks before your last expected spring frost.
First, find a shallow seed tray or some small pots. Fill them with a high-quality, peat-free seed compost. Seed compost is a special, lightweight soil mix made for baby plants. It is very fine and drains water quickly so delicate roots do not rot.
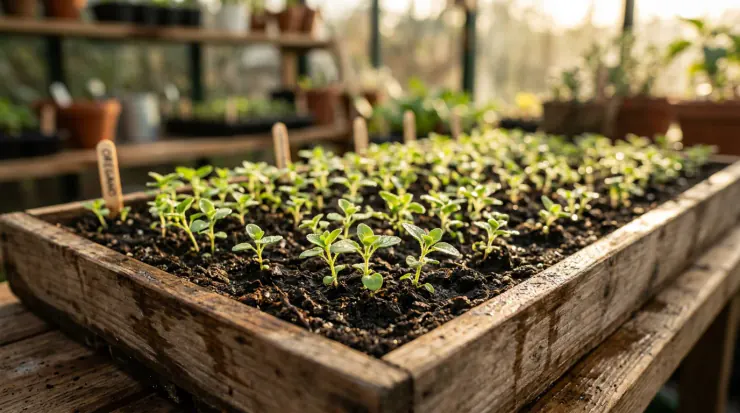
Moisten the soil slightly before you plant. Because oregano seeds are incredibly tiny, you do not want to bury them. Simply sprinkle them gently over the surface of the soil. Press them down very lightly with your fingertip so they make good contact with the damp dirt.
Do not cover them with soil because these seeds need light to wake up and grow. To keep the moisture in, cover your tray with a clear plastic dome or a simple plastic bag. Place the tray in a warm spot that stays around 20°C (68°F). A sunny windowsill or the top of a warm appliance works beautifully.
Keep a close eye on your trays. In about one to three weeks, you will see tiny green sprouts pushing up through the soil. As soon as they appear, remove the plastic cover. Move them to your brightest window so they do not grow tall and floppy.
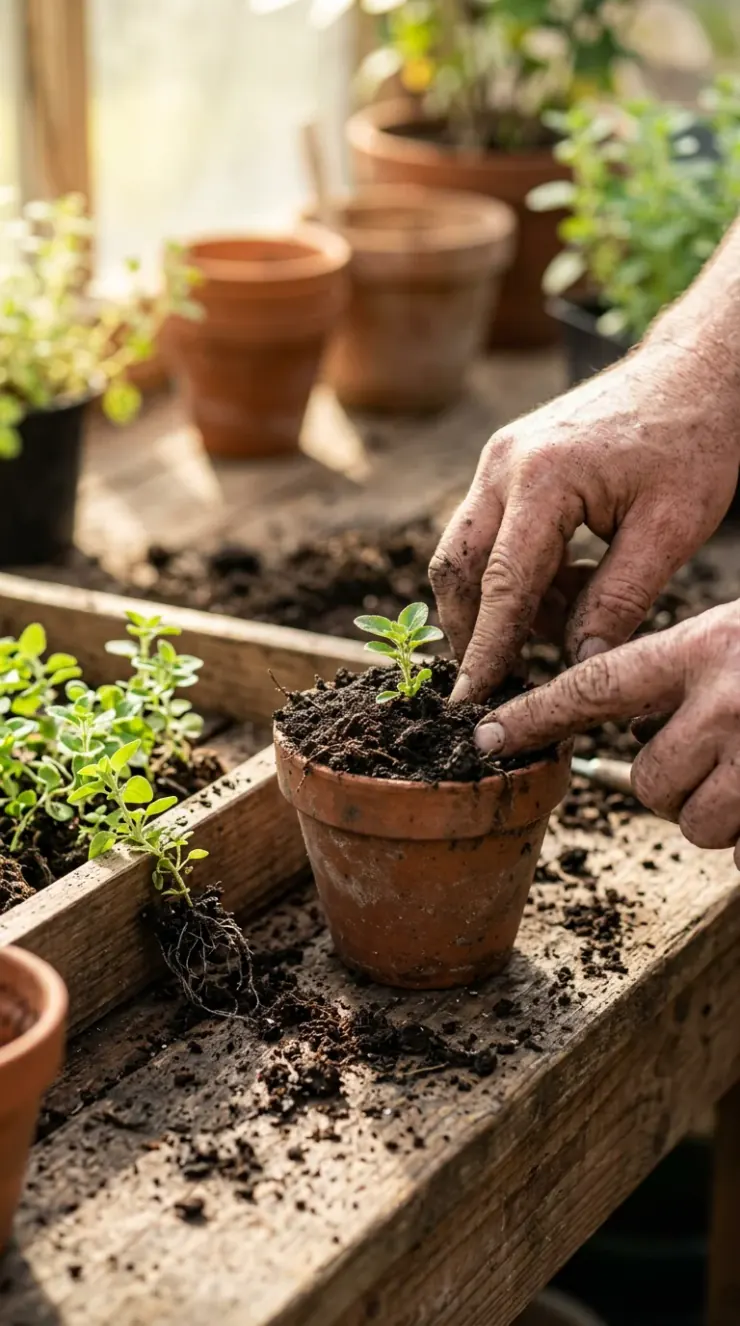
Once your little seedlings grow two or three sets of true leaves, they are ready for their next step. This step is called “potting on.” Gently wiggle the seedlings out of their tray, taking care not to damage the roots. Move each seedling into its own small pot filled with a soil-based compost.
A soil-based compost contains sterilized loam, which is a balanced mix of sand, silt, and clay. This type of soil holds its structure for a long time and gives your plants a steady supply of gentle nutrients.
Before you move your plants into the garden, you must teach them how to live outside. This process is called “hardening off.” If you move indoor plants straight into the hot sun and wind, they will get shocked and might die.
Spend about a week or two slowly introducing them to the outdoors. Put them in a sheltered, shady spot outside for a couple of hours on the first day. Slowly increase their time outside and their exposure to sunlight each day. Bring them back inside every night.
After all danger of frost has passed, your plants are ready for their permanent outdoor home. Choose a spot that gets full, direct sunlight for at least six hours a day. Space your plants about eight to twelve inches apart. This spacing gives them plenty of room to spread out as they grow.
If you have heavy clay soil in your yard, do not plant oregano directly in the ground. Clay holds onto water like a sponge, and wet feet will quickly kill this Mediterranean plant. Instead, plant your oregano in raised beds or containers filled with a gritty, free-draining soil mix.
Pro Tips for Harvesting Oregano for Drying
Once your oregano plants are established and growing happily, you can begin the exciting part: harvesting! Knowing the right way to harvest your herb keeps the plant healthy and productive for years.
Many gardeners find that the best time to harvest oregano is in the late spring or early summer. This is the time of year when the plant is growing most actively. The leaves are packed with natural essential oils, which give the herb its amazing scent and flavor.
Try to harvest your oregano just before the plant starts to bloom. Once the flowers open, the plant puts its energy into making seeds, and the leaves can lose some of their rich flavor.
For the best results, do your harvesting in the morning. Wait until the morning dew has dried off the leaves, but pick them before the afternoon sun gets too hot. This timing ensures the essential oils are at their peak concentration.
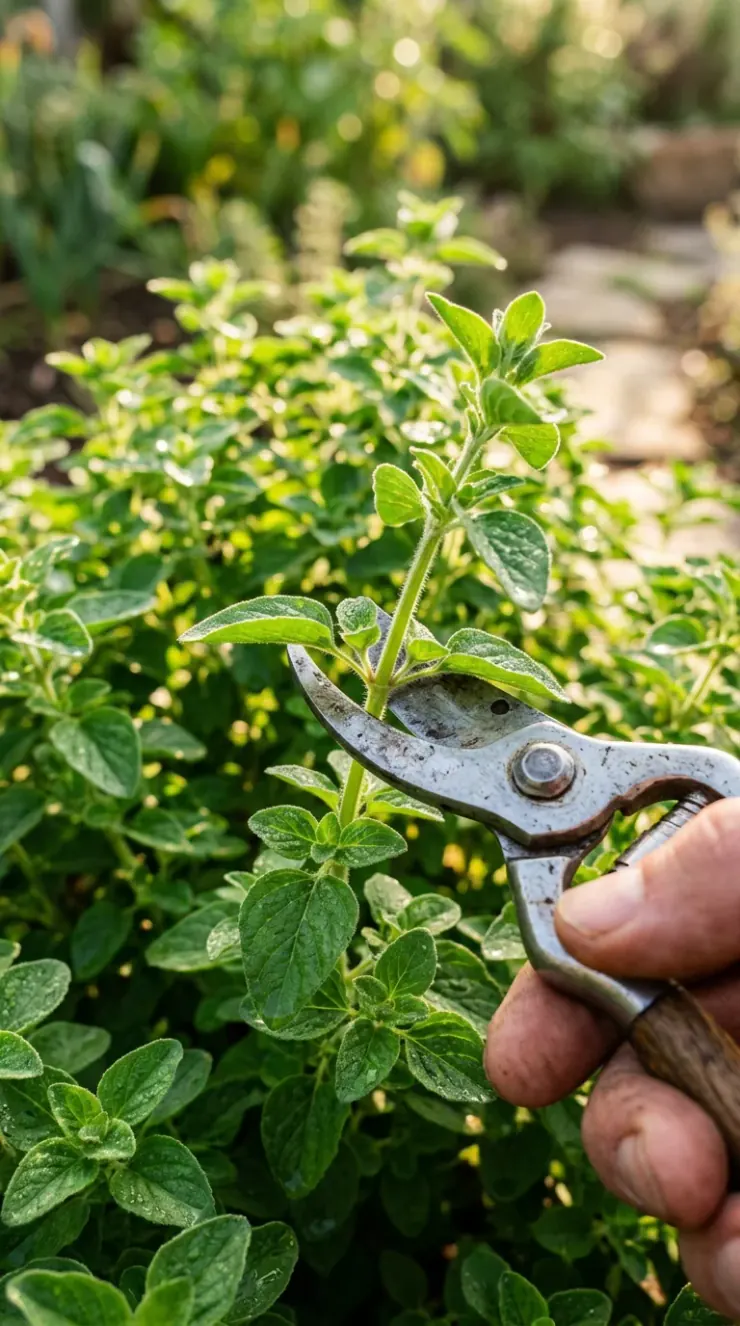
When you are ready to harvest, grab a clean, sharp pair of garden scissors or pruning shears. Never tear the stems with your hands, as this can bruise the plant and leave ragged edges that invite disease.
Look for stems that are long, healthy, and full of leaves. Cut the stem just above a set of leaves. This is called a leaf node.
Cutting the stem here encourages the plant to branch out from that spot. Instead of one single stem, you will soon get two new stems growing. This regular trimming is the secret to keeping your oregano plants looking bushy, neat, and full of life.
As a general rule, never cut back more than one-third of the plant at a single time. Your oregano needs its leaves to catch sunlight and feed itself. If you cut it back too hard, the plant may struggle to recover.
If you notice your oregano is starting to look woody and sparse, it is time for a rejuvenating trim. Cut the older, woody stems back to encourage fresh, green growth to sprout from the base of the plant.
Here is a quick checklist to keep in mind when harvesting your oregano:
- Use clean tools: Wipe your scissors with rubbing alcohol to prevent spreading plant diseases.
- Target young growth: The youngest, tender leaves at the tips of the stems have the sweetest, most intense flavor.
- Leave some flowers: If you have several plants, let a few of them bloom! The bees will thank you, and the flowers look beautiful in the garden.
- Harvest regularly: Gently pinching off the tips of the stems every week or two keeps the plant from getting too tall and floppy.
If you follow these simple steps, your oregano plants will reward you with an abundance of flavorful leaves all season long. You will have more than enough fresh herb to use in your daily cooking, with plenty left over for preserving.
Step-by-Step Guide to Drying Fresh Oregano at Home
While fresh oregano is wonderful in summer salads and marinades, this herb is truly famous for its dried form. Unlike some herbs that lose their taste when dried, oregano actually develops a deeper, more concentrated flavor.
Drying your own homegrown oregano is incredibly easy and saves you a lot of money. The most important rule of drying herbs is to keep them away from moisture, high heat, and direct sunlight. These elements can destroy the flavor oils and cause your herbs to turn brown or moldy.
Let’s look at the three most popular and successful ways to dry your fresh oregano at home.
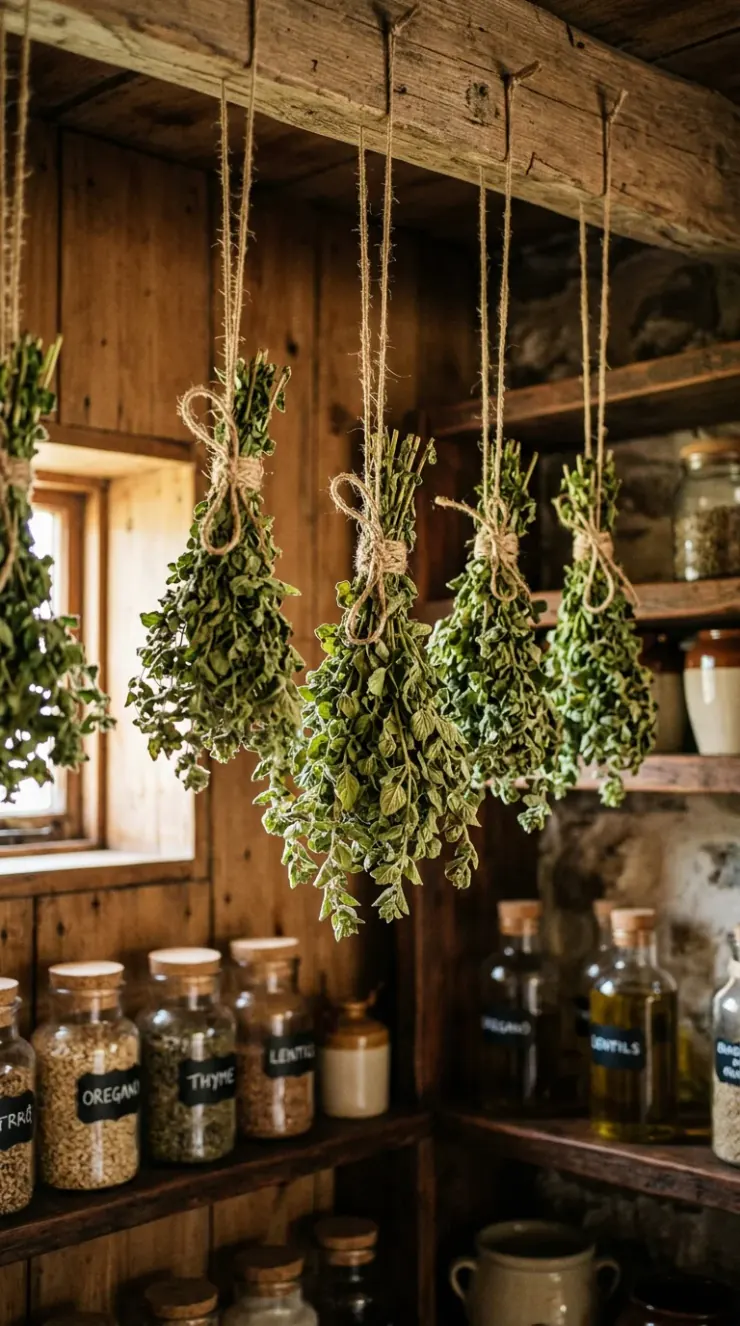
Method 1: The Traditional Air-Drying Method
This is the oldest and simplest way to dry herbs. It requires no special equipment and works beautifully in most homes.
- Wash and dry the stems: Gently rinse your harvested oregano stems in cool water to remove any dust or dirt. Pat them completely dry with a clean paper towel. Any leftover moisture can cause mold.
- Gather into bundles: Group four to six stems together. Tie the bottom of the stems tightly with a piece of kitchen twine or a rubber band.
- Use a paper bag: Take a clean paper lunch bag and punch a few small holes in the sides for air circulation. Place the herb bundle inside the bag, with the stem ends sticking out of the top. Tie the bag closed around the stems. This bag protects your herbs from dust and catches any dry leaves that fall off.
- Hang to dry: Hang the bag upside down in a warm, dry, and dark room. An attic, a closet, or a dry pantry is perfect. Avoid the kitchen, as cooking steam can make the air too humid.
- Wait and check: Let the herbs hang for two to three weeks. Check them occasionally. They are ready when the leaves feel dry, papery, and crumble easily when you pinch them.
Method 2: The Food Dehydrator Method
If you live in a very humid climate, air-drying can be tricky because the moisture in the air can cause the herbs to spoil. A food dehydrator is a fantastic tool that solves this problem.
- Prepare the trays: Lay your clean, dry oregano stems in a single layer on your dehydrator trays. Make sure the stems do not overlap so the warm air can flow freely around every leaf.
- Set the temperature: Set your dehydrator to its lowest temperature setting, which is usually around 35°C to 45°C (95°F to 115°F). You do not want to cook the herbs; you only want to gently dry them.
- Dry for several hours: Let the dehydrator run for three to six hours. Check the leaves every hour. When they are completely crisp and crumble easily, they are done.
- Cool down: Let the dried stems cool down completely to room temperature before you store them. Storing warm herbs in a jar will create condensation, which will ruin your hard work.
Method 3: The Low-Oven Method
If you do not have a dehydrator and need your herbs dried quickly, you can use your kitchen oven. You must be very careful with this method, as ovens can easily burn delicate herbs.
- Prepare a baking sheet: Line a baking sheet with parchment paper. Lay your clean, dry oregano stems on the paper in a single layer.
- Set the oven to low: Turn your oven to its absolute lowest temperature setting. If possible, keep it under 50°C (120°F). If your oven does not go this low, leave the oven door cracked open slightly.
- Monitor closely: Place the baking sheet in the oven. Leave the herbs inside for one to two hours. Check them every fifteen minutes and turn the stems over halfway through.
- Remove immediately: As soon as the leaves are brittle and dry, take them out of the oven and let them cool completely.
Once your oregano is dry, gently strip the leaves off the woody stems. Keep the leaves whole during storage, as this helps preserve their aromatic oils. Store your dried oregano in airtight glass jars in a dark, cool cupboard.
Your dried oregano will stay fresh and flavorful for up to a year. Whenever you are ready to use it, simply take out a pinch of leaves and crush them between your fingers to release that amazing, sun-baked aroma.
Creative and Classic Uses for Dried Oregano
Now that you have a pantry stocked with jars of your own beautiful, homegrown dried oregano, it is time to bring it into the kitchen! Dried oregano is a true powerhouse in the culinary world.
It is a signature flavor in Mediterranean, Mexican, and Italian cooking. Because its flavor is so robust, it holds up incredibly well to long cooking times. This makes it perfect for slow-cooked soups, stews, and sauces.
One of the most classic ways to use dried oregano is in a rich tomato sauce. Whether you are making a slow-simmered marinara for pasta or a quick, zesty sauce for a homemade pizza, a generous pinch of dried oregano is essential. It cuts through the acidity of the tomatoes and adds a beautiful, savory depth.
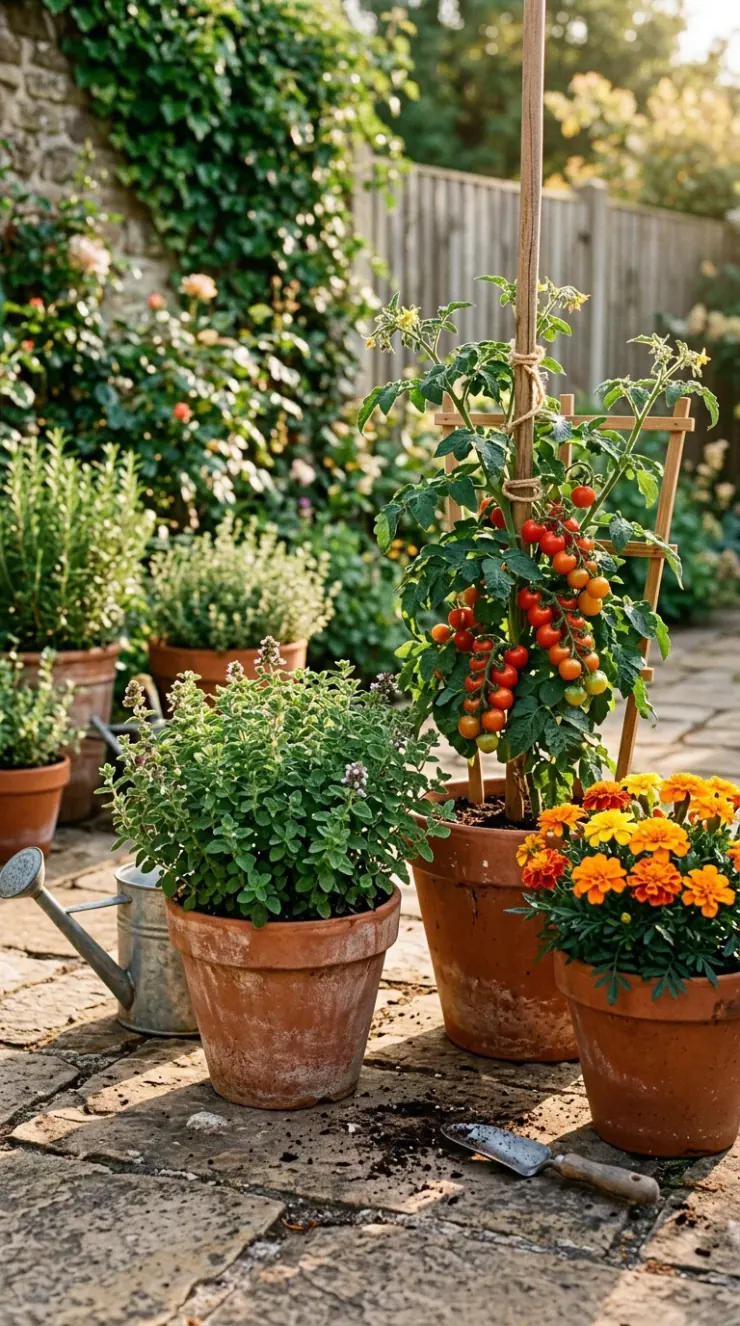
You can also use your dried oregano to create delicious herb rubs for roasted meats and vegetables. It pairs wonderfully with olive oil, lemon juice, garlic, and sea salt. Try tossing potato wedges in olive oil, garlic powder, and dried oregano before roasting them in a hot oven for a delicious side dish.
Here are some other creative ways to use your dried oregano in the kitchen:
- Homemade Herb Blend: Mix dried oregano with dried thyme, rosemary, marjoram, and savory to make your own “Herbes de Provence” blend.
- Greek Salad Dressing: Whisk together olive oil, red wine vinegar, minced garlic, Dijon mustard, and a big pinch of dried oregano for an authentic Greek dressing.
- Aromatic Herb Butter: Mix softened butter with garlic, sea salt, and dried oregano. Roll it into a log, wrap it in plastic, and chill. Slice off rounds to melt over grilled steaks or warm bread.
- Infused Olive Oil: Place a few sprigs of dried oregano into a clean bottle of high-quality olive oil. Let it sit for a couple of weeks in a dark cupboard to create a beautiful, flavorful dipping oil.
Beyond the kitchen, dried oregano has several surprising uses around the home. Because of its strong, pleasant scent, you can use it to make natural moth-repellent sachets for your closets. Simply mix dried oregano with dried lavender and mint, place the mixture into small fabric bags, and hang them in your wardrobe.
Many gardeners also find that making a strong tea from dried oregano and spraying it around the garden can help deter certain pests naturally. The strong aroma of the herb confuses pests, making it harder for them to find your prized garden vegetables.
No matter how you choose to use it, your homemade dried oregano will taste far superior to anything you can buy in a grocery store. There is a special kind of magic in knowing that those flavorful green flakes in your spice jar started as tiny, microscopic seeds in your own hands.
Strategic Garden Layout & Spacing Canvas
To get the absolute best yields from your herb garden, it helps to think about how you arrange your plants. In permaculture, which is a way of gardening that mimics nature, we design layouts that help plants support each other.
A great way to grow oregano is in a keyhole garden or a circular herb spiral. An herb spiral is a raised, spiral-shaped bed made of stone or brick. It creates different microclimates, which are small areas with unique growing conditions.
At the very top of the spiral, the soil is dry, warm, and drains quickly. This is the perfect home for sun-loving, drought-tolerant herbs like oregano, rosemary, and thyme. As the spiral winds down, the soil stays wetter and cooler, which is ideal for moisture-loving herbs like mint and parsley.
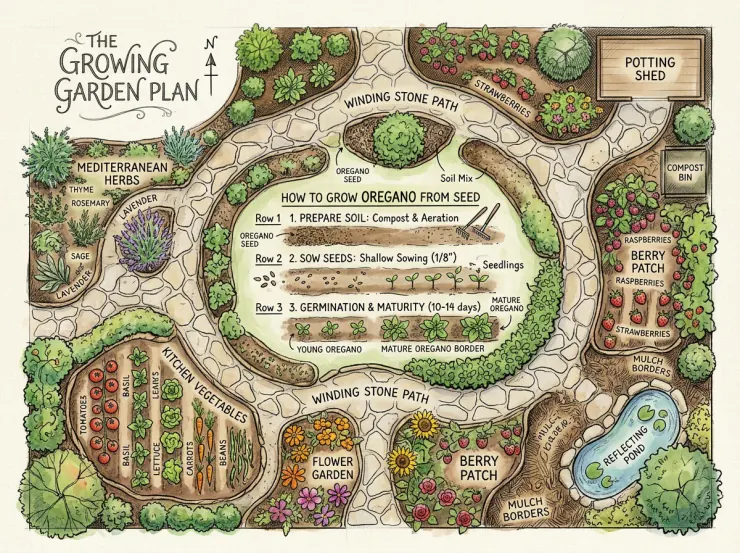
Companion planting tip: Plant your tomatoes near aromatic basil and golden marigolds to deter pests naturally and enhance yields!
Using a layout like this allows you to grow a wide variety of herbs in a very small space. It also looks incredibly beautiful and creates a natural focal point in your backyard.
When you plant your oregano, keep its spacing in mind. Always leave at least eight to twelve inches between plants. This space ensures that air can flow freely between the leaves, which keeps the plants dry and prevents fungal diseases.
Nutrient Optimization & Organic Feeding Guide
To grow strong, healthy oregano with the best flavor, you need to understand how the soil works. In nature, plants do not feed on chemical fertilizers. Instead, they rely on a complex system called the soil food web.
This web is made of millions of tiny, beneficial organisms like bacteria, fungi, and earthworms. These creatures break down organic matter in the soil and turn it into simple nutrients that your plants can easily absorb.
Because oregano is a Mediterranean native, it actually prefers soil that is a bit lean and sandy. If you give it too much rich fertilizer, the plant will grow very quickly, but its leaves will lose their intense flavor and scent.
Instead of using synthetic chemical fertilizers, focus on building healthy, living soil. Before planting, mix a handful of organic compost into the soil. Compost adds beneficial microbes and improves the soil structure, allowing water to drain away easily.
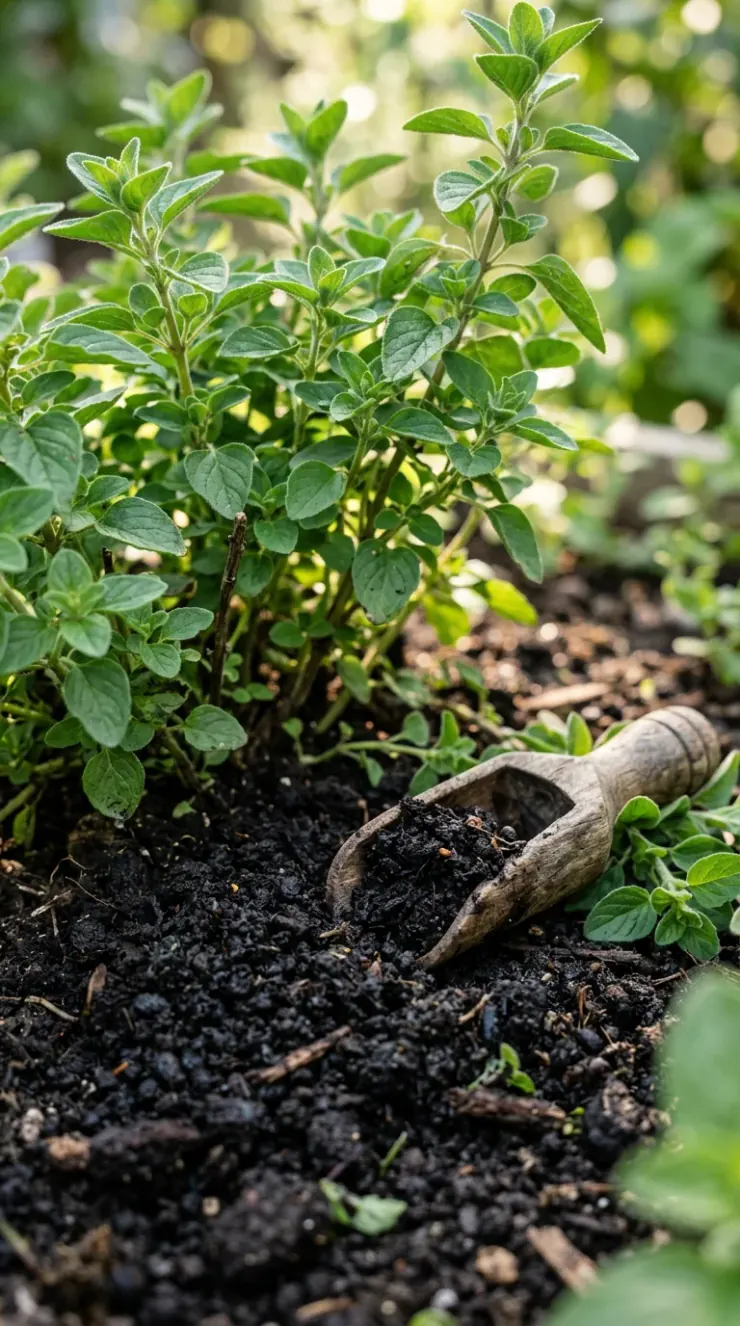
Another wonderful organic amendment is worm castings. Worm castings are simply worm manure, and they are packed with gentle nutrients and beneficial microbes. Adding a thin layer of worm castings around the base of your oregano plants in the spring gives them a slow, natural boost.
If your plants look a little tired in the middle of summer, you can water them with a diluted liquid seaweed fertilizer. Seaweed fertilizer is not a heavy food, but it is packed with trace minerals that strengthen the plant’s natural defenses against pests and extreme weather.
Remember, when it comes to feeding oregano, less is always more. Keep the soil healthy, airy, and well-drained, and your plants will have everything they need to thrive naturally.
Ultimate Harvesting & Seasonal Blooms Rewards
As the growing season comes to an end, it is time to celebrate the beautiful, lush ecosystem you have created in your backyard. A garden filled with blooming oregano is a joyful place to be.
During the late summer, your oregano plants will produce lovely clusters of tiny flowers. While you want to harvest most of your leaves before the plant blooms, leaving a few plants to flower is incredibly rewarding.
These flowers are an absolute favorite of honeybees, bumblebees, and beautiful butterflies. By letting your oregano bloom, you are providing a vital food source for these helpful insects.
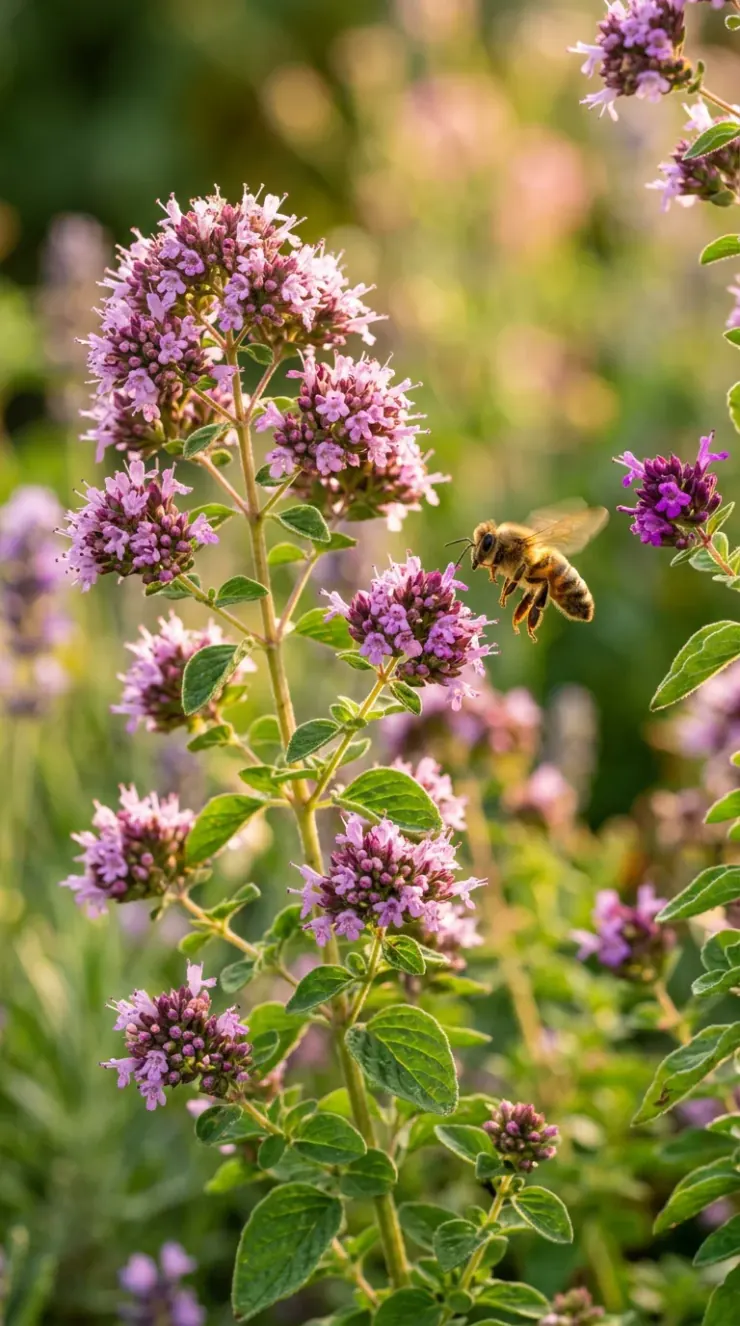
You can also try your hand at seed-saving! Once the flowers fade and turn brown in the autumn, they will produce tiny seed pods.
Gently cut the dry flower heads and place them in a paper bag. Shake the bag vigorously to release the tiny seeds from their pods. Pour the contents of the bag through a fine mesh strainer to separate the seeds from the dry flower debris.
Store your saved seeds in a cool, dry envelope. Now, you have your own supply of seeds to plant next spring, or to share with your neighbors over the garden fence!
As winter approaches, your oregano will naturally start to slow down. It is a hardy plant, so it can easily survive cold winter temperatures. In the late autumn, clear away any fallen autumn leaves that land on top of your oregano clumps, as these can trap moisture and cause the plant to rot.
With just a little bit of care, your oregano will rest quietly through the winter and burst back to life with fresh, green leaves as soon as the warm spring sun returns.
Frequently Asked Questions
Q: How long does it take to grow oregano from seed?
A: Many gardeners find that oregano seeds sprout within one to three weeks. It generally takes about 80 to 90 days from planting the seed to harvesting your first large batch of fresh leaves.
Q: Do oregano seeds need light to germinate?
A: Yes, oregano seeds need light to wake up and grow. When you sow them, simply press them gently onto the surface of the damp soil, but do not cover them with any dirt or compost.
Q: Can I grow oregano indoors on a windowsill?
A: Generally, yes! Oregano can grow indoors if you place it in a very bright, south-facing window that gets at least six hours of sun daily. You can also use a small LED grow light to help it thrive.
Q: Why is my outdoor oregano plant turning yellow?
A: In most cases, yellow leaves on oregano are a sign of overwatering or poorly draining soil. Make sure the soil is completely dry before you water again, and ensure your pot has plenty of drainage holes.
Q: Should I let my oregano plant produce flowers?
A: Letting your oregano bloom is wonderful for local bees and butterflies. However, if you are growing it mainly for cooking, it is best to pinch off the flower buds to keep the leaves tasting sweet and strong.
Q: Does oregano come back every year?
A: Yes, oregano is a hardy perennial herb. In most climates, it will die back slightly during the cold winter months and grow fresh, vibrant new leaves every spring.
