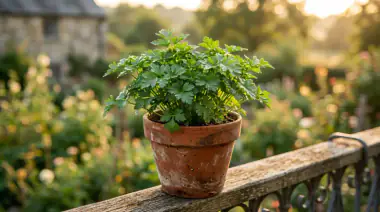
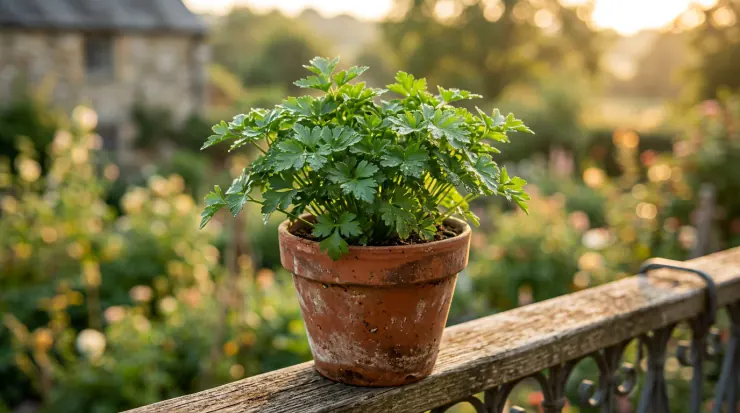
Growing your own herbs is one of the most rewarding parts of home gardening, but many people struggle to keep them thriving in small spaces. If you have been wondering how to grow parsley in pots, you are in the right place to start your journey.
Quick Answer: To grow parsley in pots, choose a container at least 8–10 inches deep to accommodate its long taproot and use a high-quality, well-draining potting mix. Keep your parsley in a sunny spot with consistent moisture, and always harvest from the outside in to ensure a steady supply of fresh leaves.
Essential Parsley Plant Care Instructions for Beginners
Learning the proper parsley plant care instructions is the secret to moving from a struggling plant to a lush, green harvest. Parsley is a biennual herb, which means it lives for two years, but most gardeners enjoy it most during its first year of leafy growth. Because you are growing in a container, you act as the plant’s primary provider for water, nutrients, and sunlight.
The first thing to understand is that parsley isn’t just a garnish; it is a living thing that needs a little bit of daily attention. In most cases, beginners find that the biggest challenge is patience. Parsley seeds are famously slow to sprout. They can take anywhere from two to four weeks, and sometimes even six, to show their first tiny green leaves. Don’t give up if you don’t see action after a week!
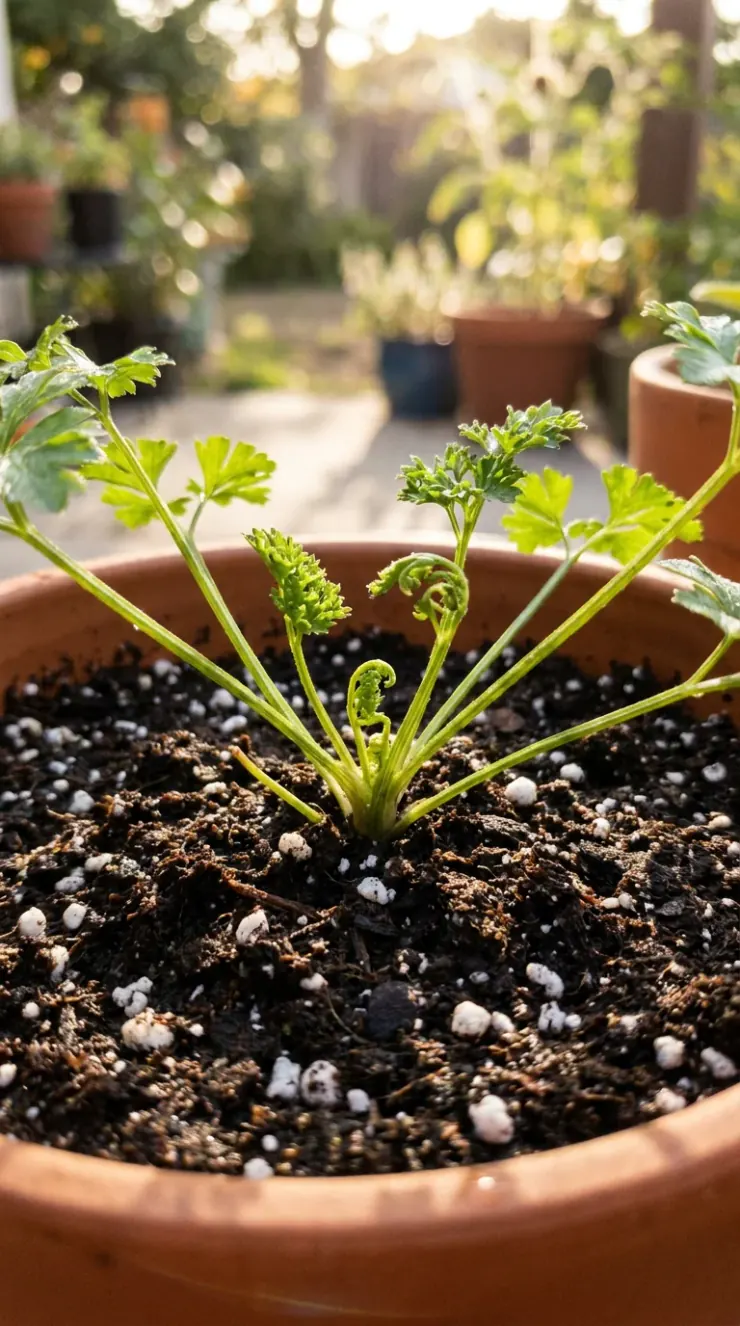
When you are looking at your parsley plant, keep an eye on the “crown.” This is the central base of the plant where all the new stems emerge. This area is very delicate. If you accidentally nick or damage the crown while you are pruning or harvesting, the plant might stop growing entirely. Always treat the center of your plant like a protected zone.
Another vital part of your care routine is managing the temperature. Parsley is a cool-weather lover. While it enjoys the sun, it can get stressed out when the thermometer climbs above 85°F (29°C). If you live in a place with very hot summers, try to give your pot some afternoon shade. Using a light-colored pot can also help reflect the sun and keep the roots from getting too hot.
You should also watch out for “bolting.” This is when the plant decides to stop making leaves and instead sends up a tall, woody stalk to produce seeds. This usually happens when the plant gets too hot or feels stressed. Once it bolts, the leaves can become tough and bitter. By keeping your plant cool and harvesting regularly, you can delay this process and enjoy your fresh leaves for much longer.
Finally, remember that container plants need a little extra love when it comes to feeding. Because you are watering your pots often, the nutrients tend to wash out of the soil. Aim to feed your parsley with a gentle, balanced liquid fertilizer every four to six weeks. Always dilute it to half-strength. This ensures your plant gets a steady boost without overwhelming it with too much nitrogen, which can sometimes lead to weak growth that lacks that signature, punchy parsley flavor.
Understanding When to Harvest Parsley for Maximum Flavor
Knowing when to harvest parsley is just as important as knowing how to plant it. Many new gardeners wait too long, thinking the plant needs to be huge before they take a snip. In reality, you can start harvesting as soon as the plant has enough stems to spare. Regular harvesting actually encourages the plant to produce more leaves, making it bushier and more productive over time.
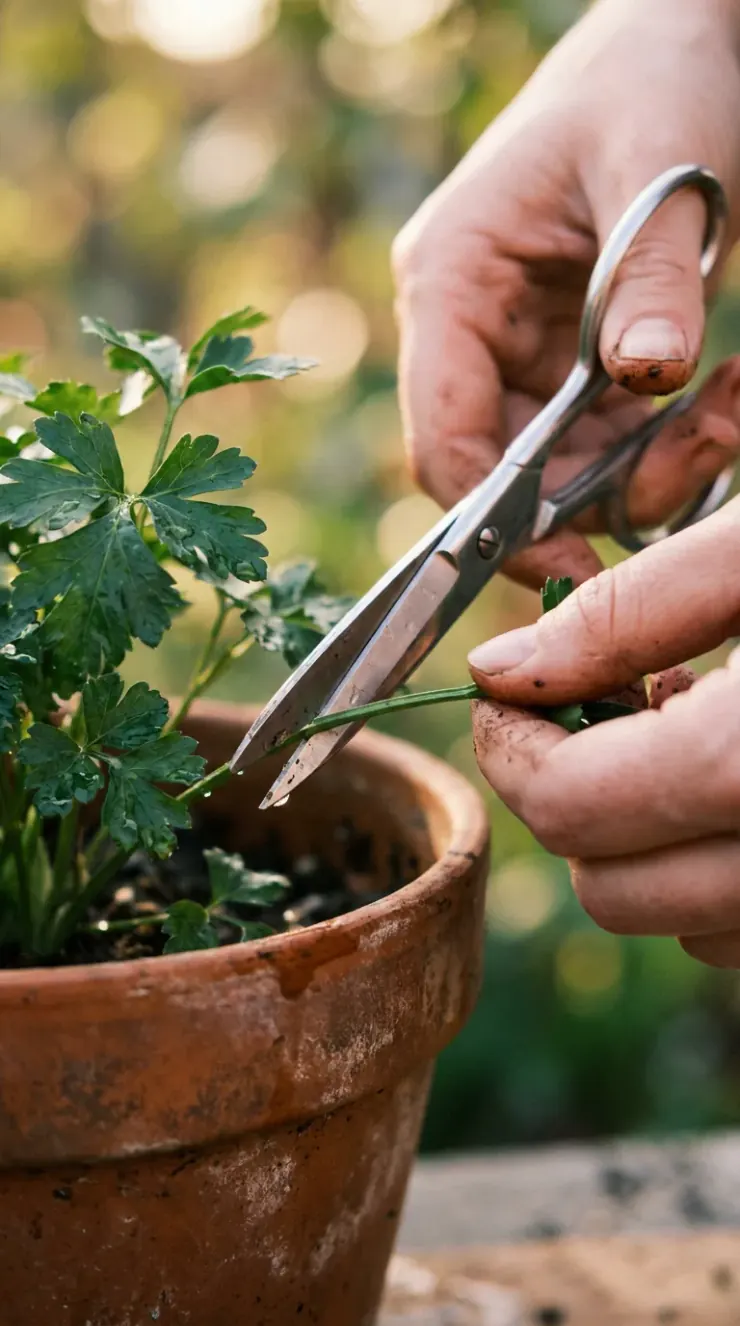
When you are ready to harvest, remember the “outside-in” rule. You should always look for the oldest, outermost stems first. These are usually the ones that are slightly darker and located at the edge of the pot. By removing these older leaves, you allow the younger, inner stems to get more sunlight and space, which keeps the plant healthy and vigorous.
To harvest correctly, use a pair of clean, sharp kitchen scissors. Snip the stem as close to the base as possible without damaging the crown of the plant. Avoid grabbing a handful of leaves and tearing them off, as this can bruise the plant and invite diseases. A clean cut is always the best way to keep your herb happy.
Here are a few practical tips to keep in mind for your harvest:
- The One-Third Rule: Never remove more than one-third of the plant’s total foliage at one time. Taking too much at once can shock the plant and stop it from growing new leaves.
- Morning Harvests: Many gardeners find that herbs taste best when harvested in the early morning. This is when the plant is fully hydrated, and the essential oils-which give parsley its flavor-are at their peak.
- Daily Use: Don’t be afraid to take just a few sprigs for your dinner. Frequent, small harvests are actually better for the plant than one massive trim every few months.
- Watch for Bolting: If you see a thick, tall stem shooting up from the center, harvest as many leaves as you can right away. The plant is nearing the end of its life cycle and the flavor will change soon.
If you find yourself with more parsley than you can use, don’t worry! You can easily store fresh sprigs in a glass of water in the fridge for a few days. You can also freeze finely chopped parsley in ice cube trays with a little bit of water or olive oil. This way, you have fresh-tasting herbs ready to drop into a soup or stew even in the middle of winter.
Using the Best Soil for Parsley to Ensure Success
The best soil for parsley is light, fluffy, and full of nutrients. If you try to use dirt from your backyard, you will likely find that it becomes too hard and compact in a pot. This prevents air from reaching the roots, and since parsley likes “wet feet” but not “soggy toes,” drainage is the absolute key to success.
To create the perfect home for your parsley, follow this simple guide:
- Select the Right Container: Choose a pot that is at least 8–10 inches deep. Parsley grows a long taproot, which is a thick, central root that needs space to dive downward. Make sure your pot has plenty of drainage holes at the bottom.
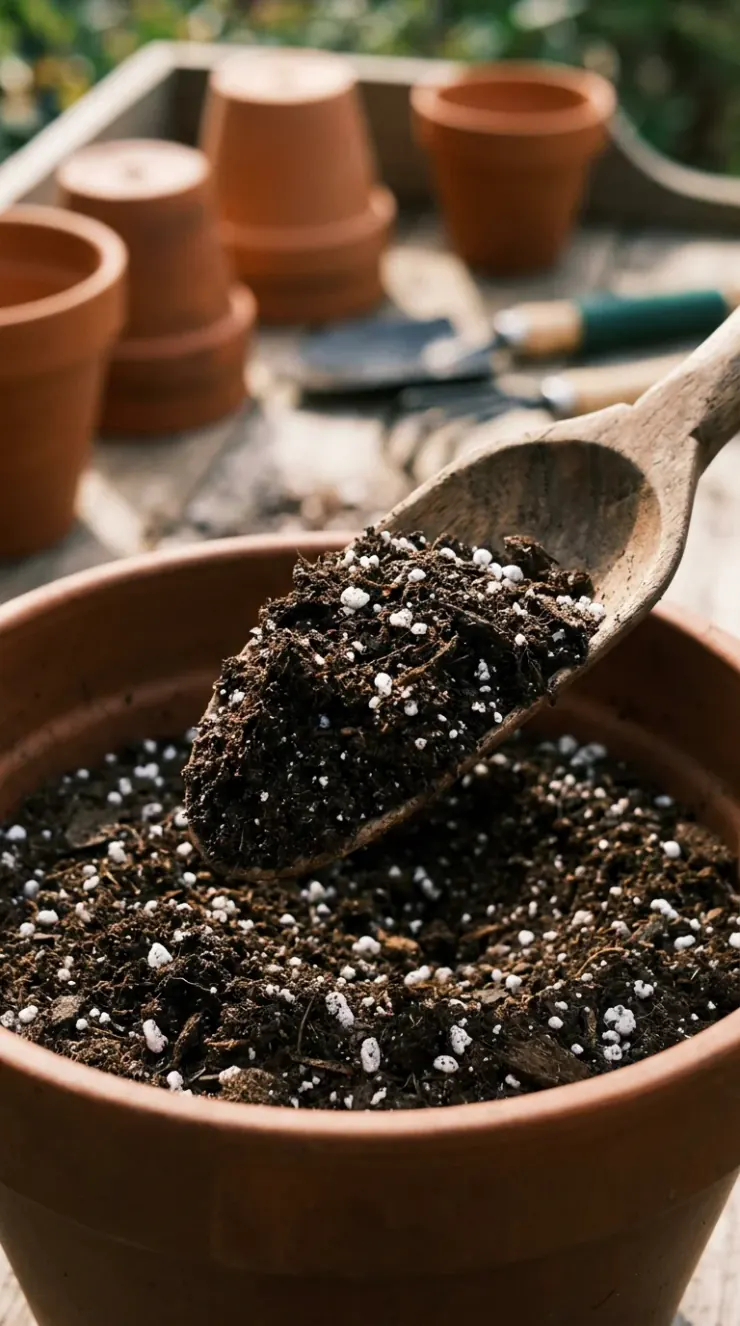
- Mix Your Soil: Don’t just use plain potting soil. Create a mix of 3 parts high-quality potting mix, 1 part organic compost for nutrients, and 1 part perlite. Perlite are those little white, volcanic rock bits you see in soil; they act like tiny air pockets to keep the soil loose.
- The Soak Trick: Before planting your seeds, soak them in warm water for 12 to 24 hours. This softens the hard outer shell of the seed and helps jump-start the germination process, which can be quite slow otherwise.
- Sowing: Fill your pot to about an inch below the rim. Sprinkle your seeds on the surface, then cover them with about 1/4 inch of your soil mix. Gently pat the soil down so the seeds have good contact.
- Watering In: Use a spray bottle or a gentle watering can to moisten the soil. You want it to be damp all the way through, but not muddy.
- Patience: Place the pot in a sunny spot and keep the soil consistently moist. Remember that it might take several weeks to see sprouts, so keep the soil damp during this time.
By focusing on a light, airy soil mix, you are giving your parsley the best chance to develop a strong root system. A healthy root system is the foundation for healthy leaves. If the soil is too dense, the roots will struggle to grow, and you will notice your parsley looking small or yellow. Taking the time to mix your soil correctly is the most important step you can take for a thriving plant.
Creative Uses for Fresh Parsley in Your Daily Life
Once you have mastered the art of growing, you will find that there are endless uses for fresh parsley in your kitchen. Parsley is much more than just a decoration for the side of a plate. It is a bright, fresh herb that can lift the flavor of almost any savory dish you prepare.
A common mistake beginners make is thinking that parsley is only for heavy meals. In reality, it is a fantastic herb to use in salads. If you have curly parsley, it adds a lovely texture to a green salad. Flat-leaf parsley, also known as Italian parsley, has a stronger, more herbaceous flavor that stands up well to dressings.
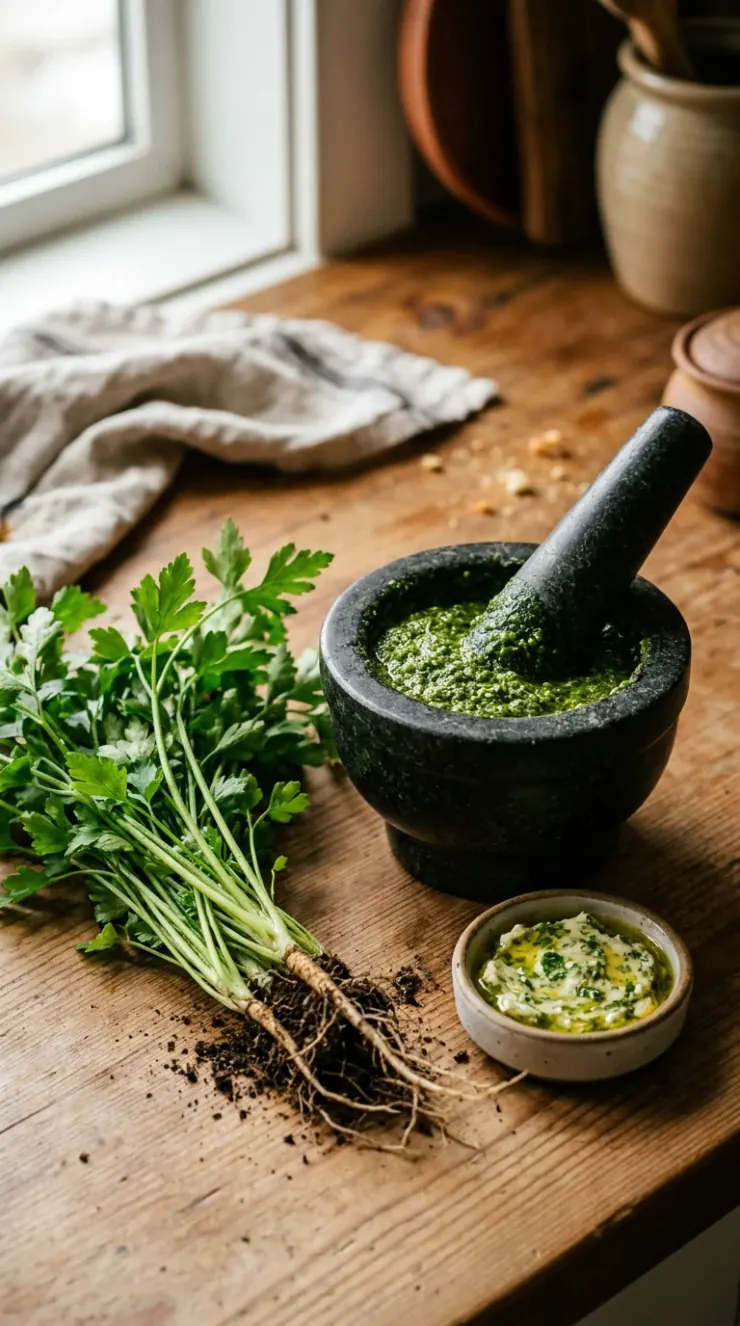
One of my favorite ways to use it is by making a simple herb butter. Just mix finely chopped fresh parsley into softened butter with a pinch of salt and a little garlic. Roll it into a log and keep it in the fridge. It is absolutely delicious melted over grilled vegetables, steak, or even just spread on a piece of warm, crusty bread.
You can also use parsley to create vibrant pestos. Instead of just using basil, try a mix of parsley and walnuts. The earthiness of the parsley pairs beautifully with the richness of the nuts and olive oil. It is a great way to use up a large harvest when your plants are really hitting their stride.
If you are cooking, remember to add your fresh parsley at the very end. Heat can cause the delicate oils in the leaves to evaporate, which means you lose that wonderful fresh taste. By stirring it in just before you serve, you keep the flavor bright and the color vibrant. It is the perfect finishing touch for soups, pasta, and roasted potatoes.
Beyond the kitchen, parsley is a wonderful companion plant. If you have other containers on your patio, placing a pot of parsley near your tomatoes or peppers can help create a diverse little ecosystem. While it doesn’t magically repel every pest, many gardeners find that having a variety of herbs helps keep the garden feeling healthy and balanced.
Strategic Garden Layout & Spacing Canvas
When you are planning your container garden, think about how your plants interact with each other. Many experienced gardeners use a “keyhole” or cluster layout to maximize space. By grouping your pots, you create a micro-climate where the plants can share humidity and provide a bit of shade for one another.
Permaculture principles teach us that we should work with nature, not against it. Even in a small balcony garden, you can apply these ideas. Place your tallest plants in the back to catch the sun, and tuck your smaller, shade-loving herbs closer to the center. This creates a dense, lush display that not only looks beautiful but also helps to keep the soil moisture levels more stable.
Remember to keep your parsley in its own container or grouped with other herbs that have similar water needs. Because parsley has a long taproot, it doesn’t like to compete for space. Giving it its own dedicated pot or enough room in a larger planter ensures that it won’t be crowded out by more aggressive spreaders like mint.
Companion planting tip: Plant your tomatoes near aromatic basil and golden marigolds to deter pests naturally and enhance yields!
Nutrient Optimization & Organic Feeding Guide
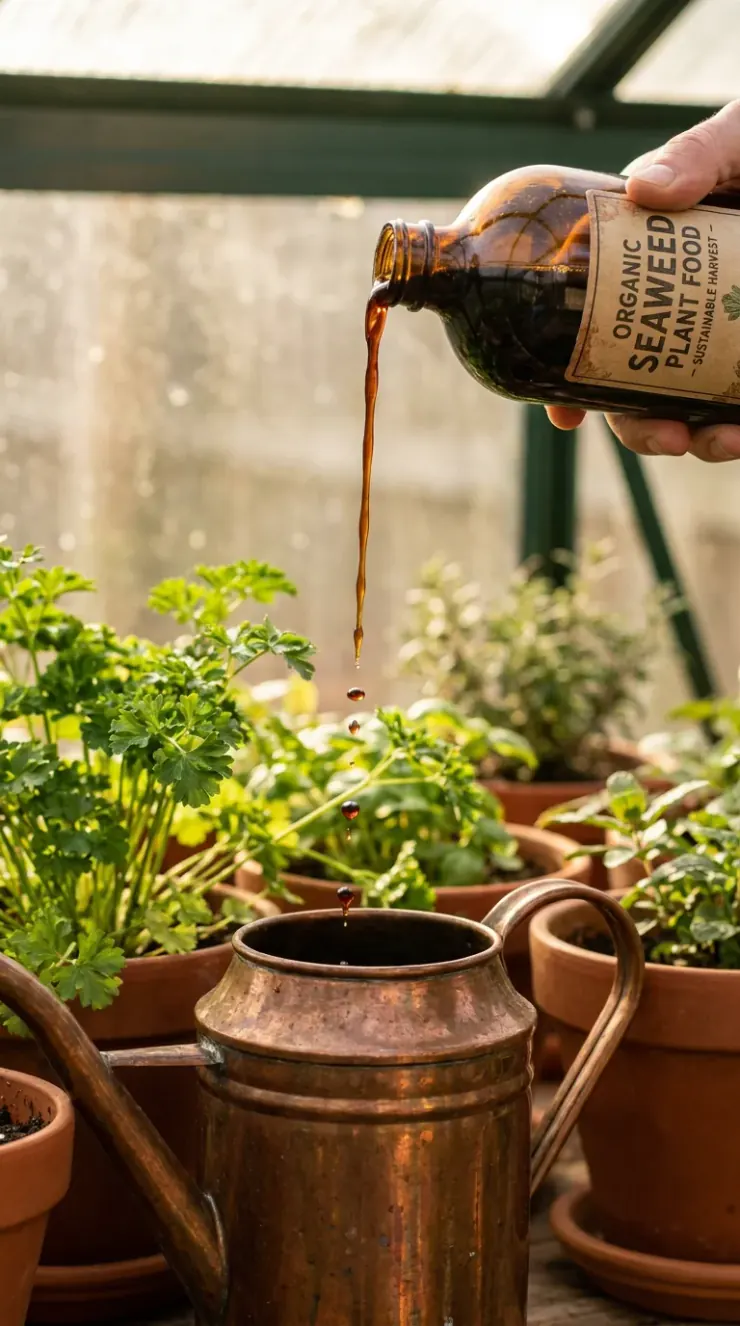
The health of your plant is directly tied to the health of your soil. Think of the soil as a living, breathing community. By using organic fertilizers like worm castings or seaweed extract, you are feeding the tiny organisms in the soil that in turn feed your parsley. This is often called the “soil food web.”
When you use synthetic, fast-acting fertilizers, you might get a quick burst of growth, but it often comes at the expense of flavor and long-term plant health. Organic options, like fish emulsion, provide a more balanced “meal” for your plant. They release nutrients slowly, which is exactly what a container plant needs to stay strong throughout the entire season.
If you are composting at home, you can add a small amount of finished, screened compost to the top of your parsley pot every few months. This acts as a gentle, slow-release fertilizer that also improves the structure of the soil. It’s like giving your plants a little bit of nourishment every time you water them.
Don’t forget the importance of water quality. If you live in an area with heavily chlorinated tap water, letting your water sit in a bucket for a few hours before using it can help the chlorine evaporate. Your plants will appreciate the extra effort, and you will notice the difference in their resilience over time.
Ultimate Harvesting & Seasonal Blooms Rewards
As the season progresses, you will start to see your parsley plants grow lush and full. There is nothing quite like walking out to your patio and snipping a handful of fresh herbs for dinner. It connects you to the food you eat and gives you a sense of pride that you simply can’t get from a store-bought plastic clamshell.
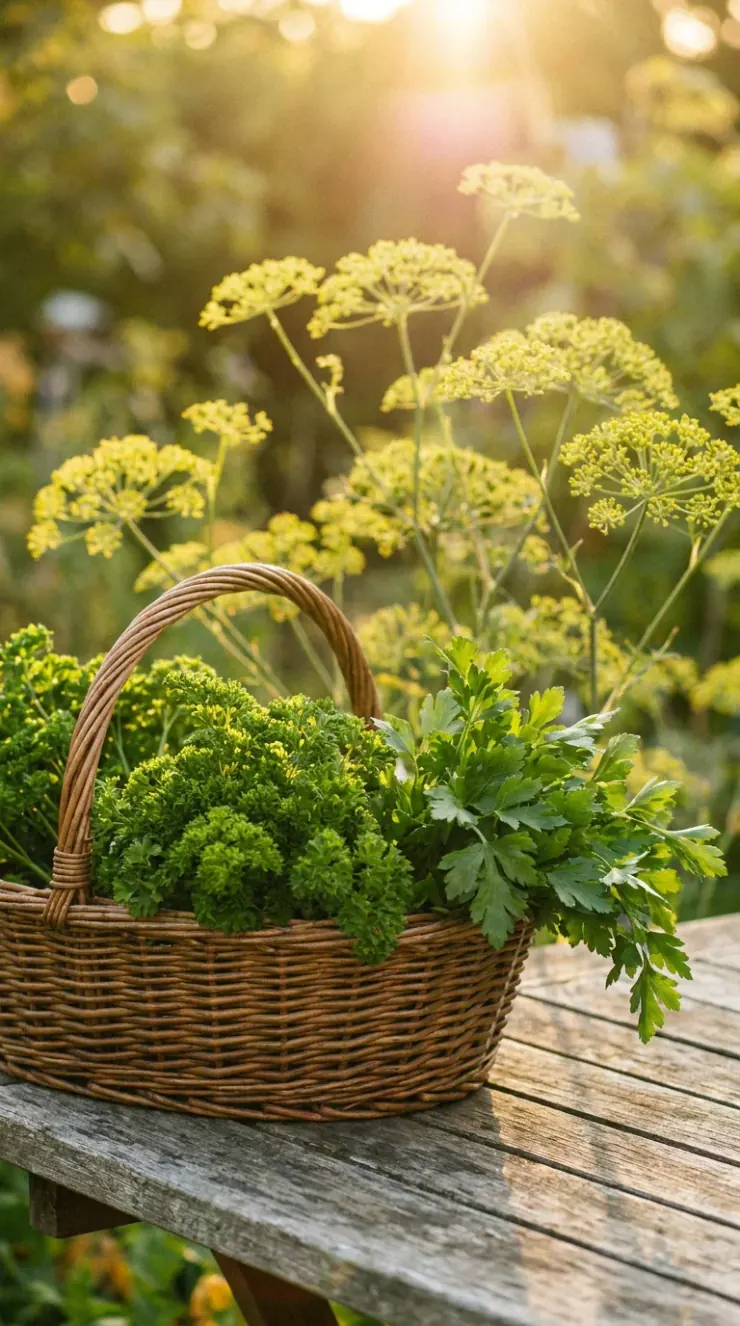
Towards the end of the second year, your parsley might decide it is time to bloom. You will see a tall stalk emerge with delicate, lacy flowers. While these flowers aren’t for eating, they are beautiful and act as a magnet for beneficial insects like ladybugs and tiny pollinators. If you want to save seeds, let the flowers dry out on the plant and collect them once they turn brown.
This cycle of growth, harvest, and eventually seeding is the beautiful rhythm of the garden. Even when the plant finishes its life cycle, you have learned so much about how to care for it. You have turned a few tiny seeds into a thriving, productive part of your home. That is the true reward of gardening.
Keep observing your plants, keep learning, and most importantly, keep enjoying the process. Your garden is an ecosystem that you have cultivated with your own hands. Whether you are a master gardener or just starting out, there is always something new to discover in the soil. Enjoy every harvest, every green leaf, and every moment spent in your peaceful, backyard sanctuary.
Frequently Asked Questions
Q: Can I grow parsley indoors all year long?
A: You certainly can, provided you have a very bright, south-facing window. In most cases, you will likely need a full-spectrum LED grow light to give the plant the 12–14 hours of light it needs to stay productive during the dark winter months.
Q: Why are the leaves of my parsley turning yellow?
A: Yellowing leaves often mean the plant is getting too much water or not enough drainage. Check to make sure your pot has good holes at the bottom and that you aren’t letting the plant sit in a saucer full of standing water.
Q: How long does it take for parsley to grow from seed?
A: Parsley is quite slow, and it generally takes two to four weeks to germinate. Some gardeners find that soaking the seeds in warm water for 24 hours before planting helps speed up the process, but patience is definitely required!
Q: Can I plant different types of parsley in the same pot?
A: Yes, you can mix curly and flat-leaf varieties in the same large container. Just make sure the pot is at least 10–12 inches wide so each plant has enough room to grow its taproot without crowding the others.
Q: Does parsley need a lot of fertilizer?
A: Parsley is a relatively light feeder, but it does appreciate a boost in a container environment. Using a balanced, organic liquid fertilizer at half-strength every 4–6 weeks is usually plenty to keep it happy without overdoing it.
Q: What should I do if my parsley starts to flower?
A: Once parsley flowers, it is “bolting,” which means the plant is finishing its life cycle. You can harvest the remaining leaves immediately, or leave the flowers for the pollinators; just know that the leaves will likely turn bitter once the plant focuses on seed production.
