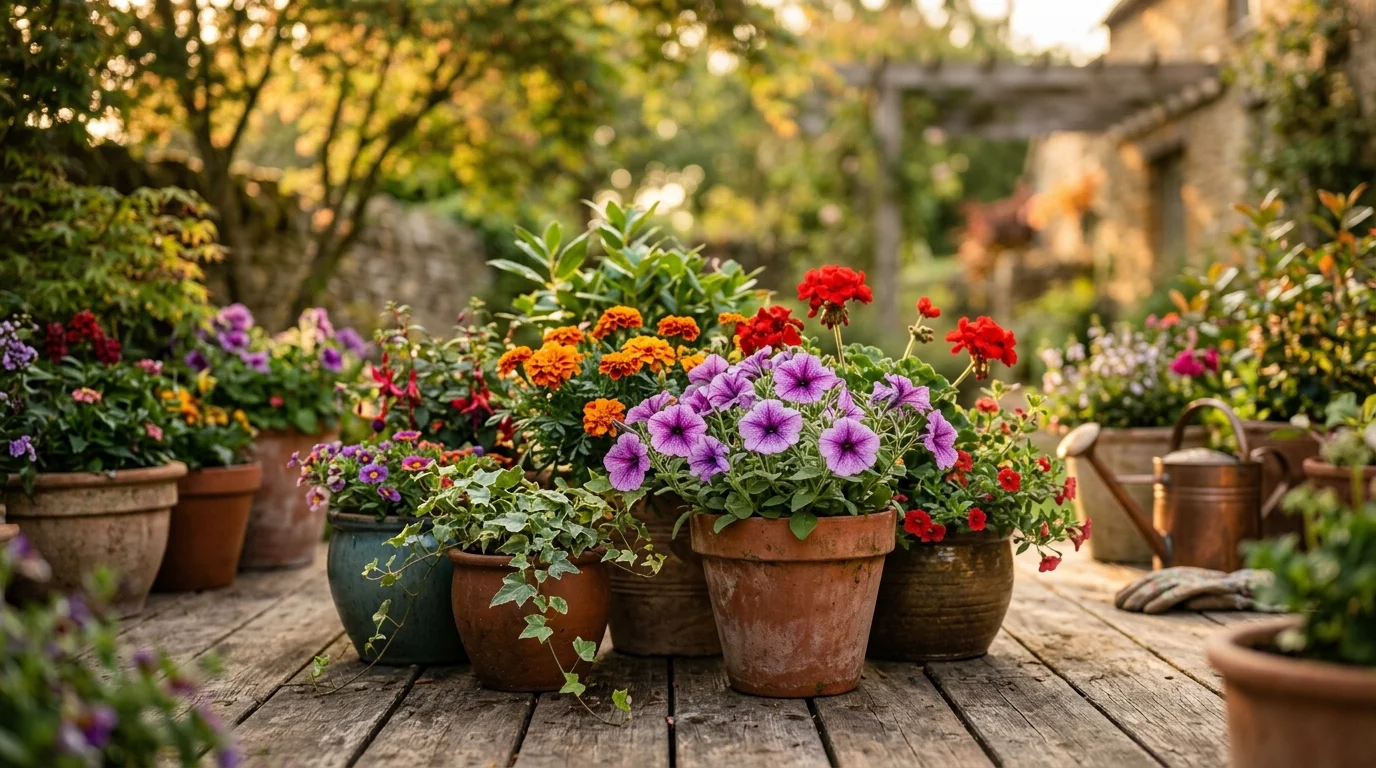
Do you dream of a yard filled with bright, happy flowers but feel limited by your small space or poor soil? You are not alone, as many homeowners and renters face this exact same struggle every single spring. Fortunately, creating beautiful container flower gardens is the perfect way to bring instant color and joy to your porch, deck, or balcony.
Quick Answer: To design successful container flower gardens, you need to combine healthy plants with matching sunlight needs in a pot that drains well. Using a lightweight potting mix and watering whenever the top inch of soil feels dry will keep your blooms looking fresh and vibrant all season long.
Choosing the Best Flowers for Containers Full Sun
If your porch or patio gets baked by the hot sun all day, you might worry that your plants will shrivel up. Do not fear, because many gorgeous plants absolutely love to soak up those bright rays. When we talk about full sun, we generally mean a spot that gets at least six hours of direct sunlight daily.
In these hot spots, the soil in your pots will dry out much faster than the soil in a regular garden bed. That is why choosing the right heat-tolerant varieties is so important for your peace of mind. Let us look at some of the absolute best flowers for containers full sun spaces.
Petunias: The Queens of the Sunny Patio
Many gardeners find that petunias are the ultimate choice for sunny pots. They come in almost every color of the rainbow, from deep purple to bright yellow.
These plants produce a constant show of trumpet-shaped blooms from late spring until the first frost. Some newer varieties do not even need you to pinch off the old, dead flowers to keep blooming. They are very tough and will happily spill over the edges of your pots.
Marigolds: Tough, Bright, and Pest-Resistant
Marigolds are another classic choice that love the heat of the summer sun. They offer cheerful pom-pom shapes in shades of orange, yellow, and red.
As a bonus, their scent often helps keep annoying garden pests away from your sitting areas. They do not mind if you occasionally forget to water them for a day or two. This makes them wonderful for beginners who are still learning the ropes.
Geraniums: Classic Cottage Charm
If you love a traditional look, geraniums are a must-have for your sunny containers. They hold their large, round flower heads high on sturdy stems.
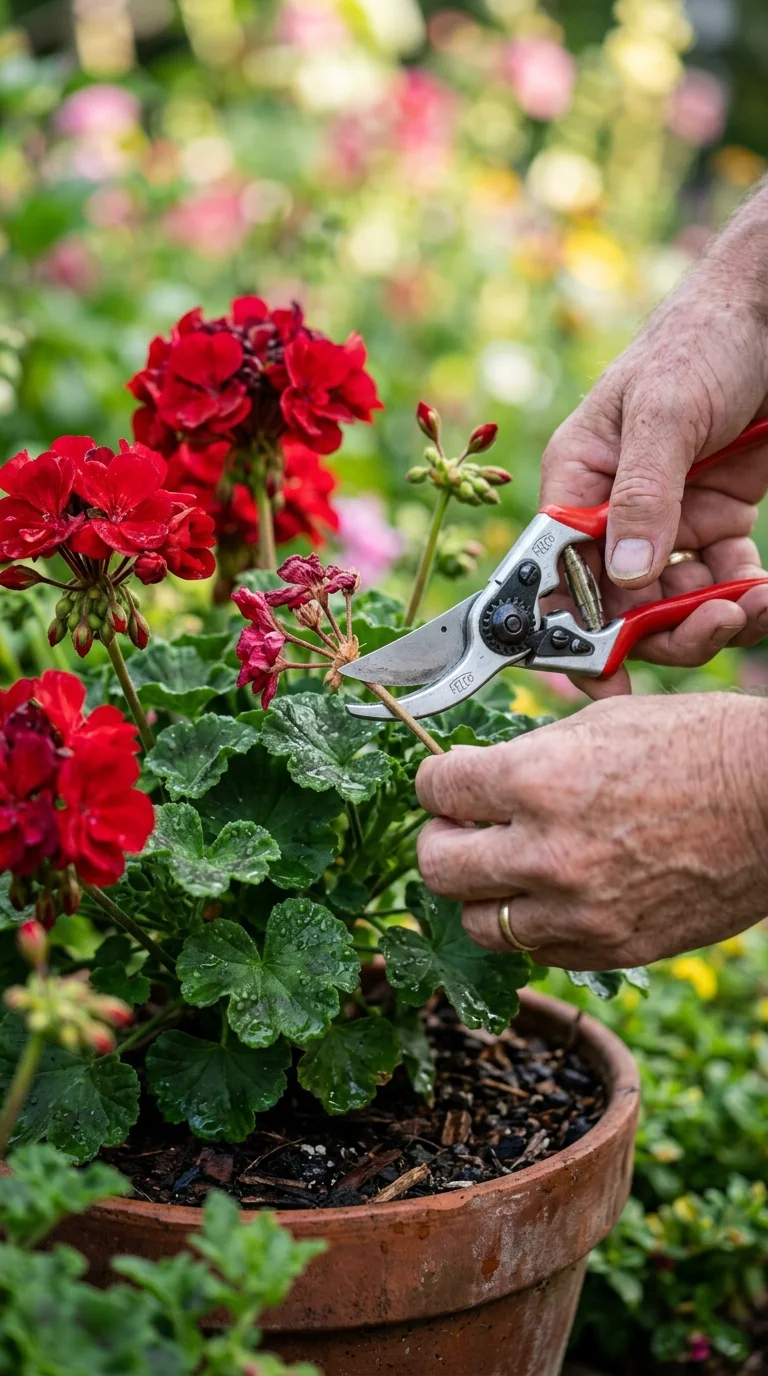
Their thick, fuzzy leaves are great at holding onto moisture during hot afternoons. Geraniums look beautiful on front steps or lining a sunny walkway. Just make sure to snap off the old flower stems to encourage new buds to form.
Portulaca: The Low-Water Flowering Succulent
Also known as moss rose, portulaca is a brilliant plant for those extra-hot, windy spots. It has fleshy, succulent leaves that store water like a tiny cactus.
The flowers look like miniature roses and open up beautifully when the sun shines bright. They come in neon shades of pink, orange, yellow, and white. If you have a pot that always seems to dry out too fast, portulaca is the perfect solution.
Sweet Alyssum: A Honey-Scented Carpet
Sweet alyssum is a low-growing plant that produces hundreds of tiny, delicate flowers. It smells wonderfully sweet, like fresh honey, which will attract happy bees to your garden.
It works beautifully as a border plant around the edges of a larger container. It will cascade down the sides of your pots like a gentle white or purple waterfall. It is surprisingly tough and can handle both full sun and cool autumn nights.
Coneflowers: Sturdy Perennials for Pots
You do not have to stick only to annuals, which are plants that live for just one single growing season. You can also plant perennials, which are plants that can live for many years, right in your pots.
Coneflowers, or Echinacea, are native wildflowers that have very deep roots and love the hot sun. They have daisy-like petals surrounding a spiky center cone. Butterflies and birds will visit your pots constantly if you plant these sturdy beauties.
Salvia: Tall Spires of Deep Color
Salvia plants produce tall, upright spikes of flowers that are usually deep blue, purple, or bright red. They add wonderful height to the center of your container displays.
Hummingbirds absolutely adore salvia and will zoom in to drink the sweet nectar. These plants are very drought-tolerant once their roots get settled into the pot. They also have a lovely, herbal scent when you brush past their leaves.
Lantana: A Magnet for Butterflies
Lantana is a sun-loving powerhouse that produces clusters of tiny, bright flowers. Often, a single flower cluster will have three or four different colors mixed together.
They thrive in intense heat and actually bloom better when the weather gets hot. Their leaves have a spicy scent that deer and rabbits generally do not like to eat. Planting lantana is one of the easiest ways to bring colorful butterflies right to your seating area.
Creative Container Gardening Ideas Small Spaces
You do not need a massive backyard to enjoy the peace and beauty of gardening. In fact, some of the most charming gardens in the world are grown on tiny balconies or small steps. With a few clever container gardening ideas small spaces can easily be turned into lush, green sanctuaries.
The key is to think about your space in three dimensions instead of just looking at the floor. Let us explore some fun and easy ways to maximize your limited garden area.
Go Vertical to Save Your Floor Space
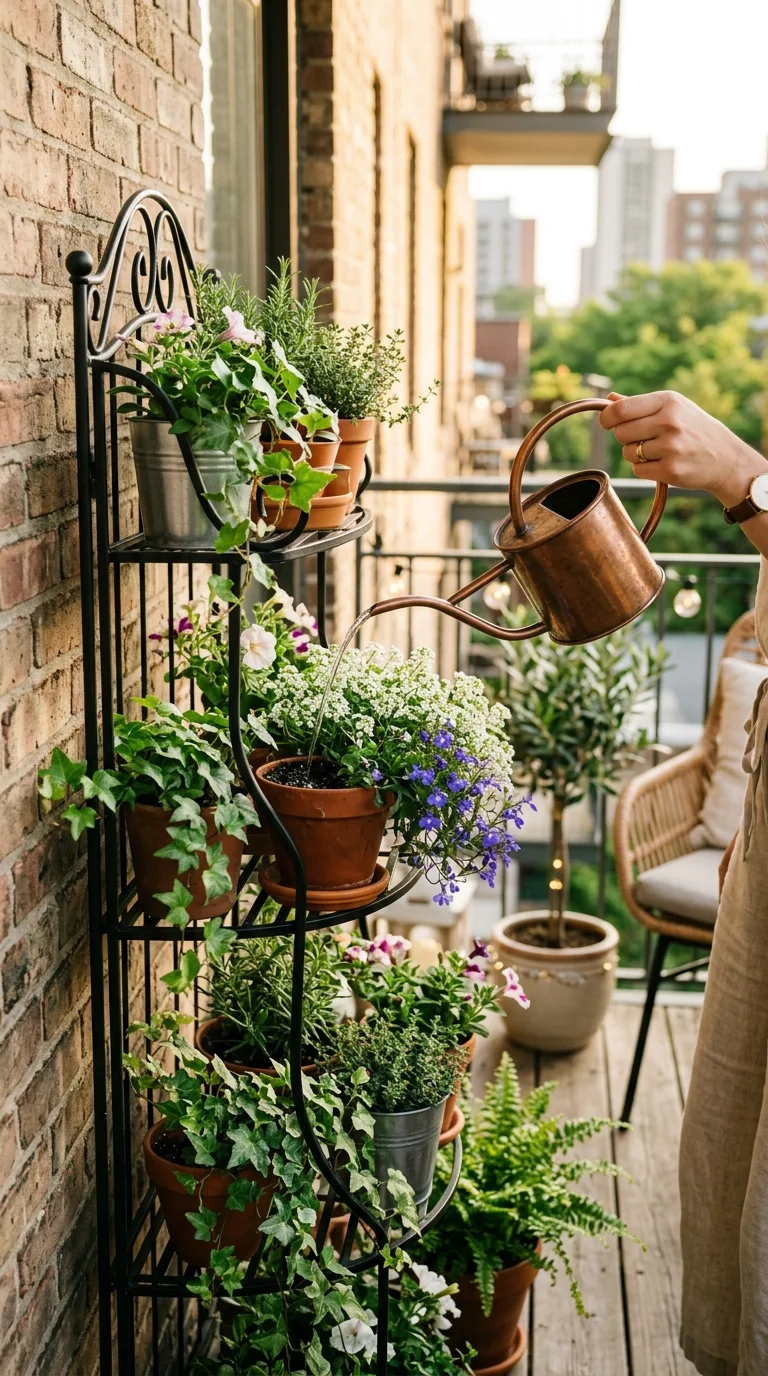
When floor space is limited, the only way to go is up! Vertical gardening is a fantastic way to grow lots of flowers without cluttering your walking path.
You can use pocket planters that hang directly on your walls or wooden fences. Another great option is a tiered plant stand, which looks like a small ladder for your pots. This allows you to stack three or four levels of beautiful flowers in the footprint of just one pot.
Use Your Railings for Instant Color
If you have a balcony, porch, or deck, you likely have railings that are completely empty. Railing planters are specially designed to sit securely right on top of these rails.
This lifts your flowers up to eye level, where you can easily see and smell them. It also leaves your deck floor completely clear for a cozy chair and a small table. Just make sure to fasten these planters tightly so they do not tip over during strong winds.
Hanging Baskets: Beauty in the Air
Hanging baskets are a classic small-space solution for a very good reason. They utilize the unused air space under your porch roof or from wall-mounted brackets.
Planting trailing flowers in hanging baskets creates a beautiful, floating ball of color. Flowers like fuchsias, lobelia, and trailing petunias are perfect for this setup. Remember that hanging baskets dry out very quickly, so keep a close eye on their moisture.
The Thriller, Filler, and Spiller Design Trick
When you are planting in small spaces, you want every single pot to look as beautiful as possible. Many professional gardeners use a simple recipe called “Thriller, Filler, and Spiller” to design stunning pots.
- The Thriller: This is a tall, eye-catching plant that you place in the very center or back of your pot. It acts as the main focal point. Good examples include purple fountain grass, tall salvia, or canna lilies.
- The Filler: These are mounding, medium-sized plants that you place around your thriller. They fill in the middle space and make the pot look full and lush. Good examples include geraniums, marigolds, or coleus.
- The Spiller: These are trailing plants that you place near the edges of the pot. They will cascade down the sides, softening the harsh edges of the container. Good examples include sweet alyssum, ivy, or sweet potato vine.
Grouping Your Pots for Better Growth
Instead of scattering single pots all over your small space, try grouping them together in odd numbers, like three or five. Grouping pots of different heights creates a much more natural and pleasing look.
It also creates a tiny microclimate, which is a small area where the weather conditions are slightly different. The leaves of the grouped plants will trap moisture in the air between them. This helps keep all your plants happier and prevents the pots from drying out quite as fast.
Choosing the Right Pot Materials
The material of your pots plays a big role in how well your plants grow, especially in tight areas.
- Terracotta and Clay: These classic reddish-brown pots are beautiful and very porous. This means they let air and water pass through them easily. They are great for plants that hate wet feet, but they dry out very quickly in the sun.
- Plastic and Resin: These pots are very lightweight, which makes them easy to move around your small space. They do not let water escape through their walls, so they keep the soil moist for a longer time. They are also very budget-friendly and durable.
- Fabric Grow Bags: These are soft bags made from breathable fabric. They allow the roots of your plants to breathe easily, which prevents them from getting root-bound. Root-bound means the roots grow in tight, unhealthy circles around the inside of the pot.
How to Water Container Flowers the Right Way
Watering is the most important part of caring for your potted plants, but it can also be the trickiest. Because pots have a limited amount of soil, they cannot hold onto water the way the deep earth does. Your beautiful flowers are completely dependent on you to give them the drink they need.
Learning how to water container flowers is a simple skill that will save you a lot of plant-related heartache. Let us walk through the steps to make sure your plants get the perfect amount of hydration.
Step 1: Use the Simple Finger Test
Before you grab your watering can, you should always check if the soil actually needs water. Many gardeners make the mistake of watering on a strict calendar schedule, which can lead to soggy soil.
Instead, push your index finger about one to two inches deep into the soil. If the soil feels dry and warm, it is time to water your plants. If it feels cool and damp, leave it alone and check again tomorrow.
Step 2: Water the Soil, Not the Leaves
When you water, aim the spout of your watering can or hose directly at the soil surface. Try your best to keep the leaves, flowers, and stems of your plants dry.
Wet leaves can easily lead to fungal diseases, which are sicknesses caused by tiny fungus spores that love damp conditions. Watering the soil directly also ensures that the moisture goes straight to the roots where it is actually needed.
Step 3: Water Deeply Until It Runs Out the Bottom
When you water your pots, do not just give them a quick splash on the surface. You want to water slowly and deeply until you see water dripping out of the drainage holes at the bottom of the pot.
This ensures that all the soil in the pot, from top to bottom, is completely wet. If you only water the surface, the roots at the bottom of the pot will starve and die. Deep watering encourages your plants to grow strong, deep root systems.
Step 4: Empty the Saucer After a Few Minutes
If you have saucers under your pots to catch dripping water, do not let your plants sit in that water for hours. If the pot sits in a puddle, the soil will act like a sponge and suck that water back up.
This keeps the roots constantly wet and deprives them of oxygen. After you water, wait about fifteen minutes for the excess water to drain out. Then, empty the saucer so your plant’s roots can breathe easy.
Step 5: Adjust Your Watering for the Weather
Your plants will need different amounts of water depending on what the weather is doing outside. On hot, sunny, or windy summer days, you may need to water your pots once or even twice a day.
On cool, cloudy, or rainy days, your pots might go three or four days without needing a single drop. Get into the habit of checking your pots daily during the height of summer to keep them from wilting.
| Weather Condition | Watering Frequency | What to Look For |
|---|---|---|
| Hot & Sunny (85°F+) | 1 to 2 times daily | Dry soil surface, slight wilting in the afternoon |
| Cool & Cloudy | Every 2 to 3 days | Damp soil, plants look perky |
| Rainy Days | Skip watering | Check soil anyway, as thick leaves can block rain |
| Windy Days | Once daily | Wind dries out pots surprisingly fast |
Signs of Overwatering vs. Underwatering
It can sometimes be hard to tell if your plant is crying out for more water or drowning in too much of it. Both problems can make your plants look sad and wilted. Here is how to tell the difference:
- Underwatered Plants: The leaves will feel dry, crispy, and paper-thin. The soil will look pale brown and may pull away from the inside edges of the pot. The flowers will quickly drop off, and the pot will feel very light when you lift it.
- Overwatered Plants: The leaves will often turn yellow and feel soft, limp, and mushy. The soil will look very dark, green moss might grow on top, and it might smell a bit like rotting vegetables. The stems may turn black near the soil line, which is a sign of root rot.
Choosing the Best Potting Soil for Container Gardening
Now that you know which flowers to choose and how to water them, let us talk about the foundation of your garden. The soil you put in your pots is the single most important factor in how healthy your plants will be.
Many beginners make the mistake of digging up dirt from their backyard to fill their containers. This is a recipe for disaster, as garden soil is far too heavy and dense for pots. Let us explore why using a high-quality potting soil for container gardening is absolutely essential.
Why Backyard Dirt Fails in Containers
When you dig up soil from your yard, it is full of tiny clay particles that pack tightly together. In a garden bed, this is fine because earthworms and rain help keep the soil loose.
But when you put that dirt into a plastic or clay pot, it quickly packs down into a hard, solid brick. This prevents water from draining out and stops air from reaching the roots. Your plants’ roots will literally suffocate and rot in a matter of weeks.
What is Actually Inside a Potting Mix?
If you look closely at a bag of high-quality potting soil, you will notice that it does not actually contain any real dirt! It is a soil-less mix made from a blend of lightweight ingredients designed to help roots thrive.
- Peat Moss or Coco Coir: These fluffy materials make up the bulk of the mix. They act like tiny sponges that hold onto water and nutrients without getting soggy. Coco coir is made from coconut husks and is a wonderful, eco-friendly choice.
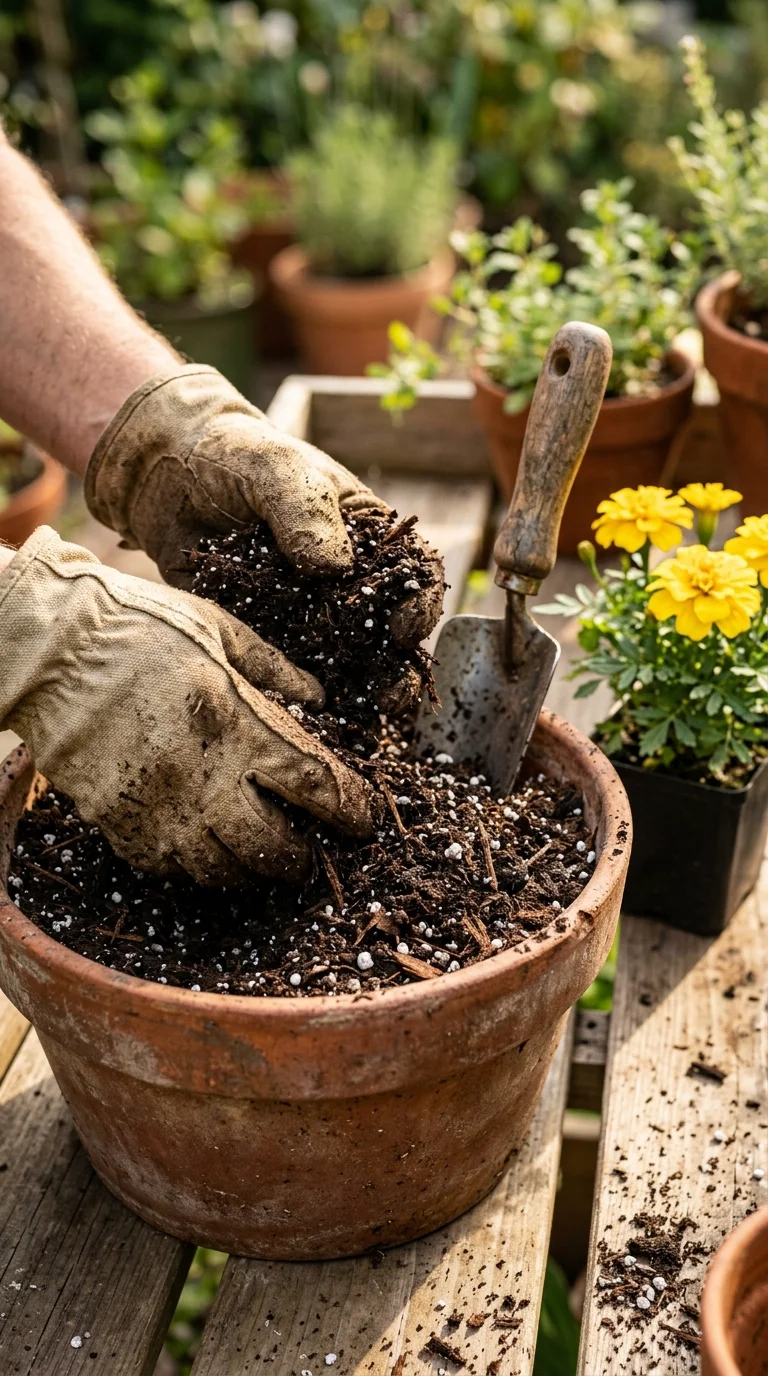
- Perlite: These are the little white specks in the mix that look like crumbled Styrofoam. Perlite is actually a type of volcanic glass that is heated until it pops like popcorn. It creates tiny air pockets in the soil so roots can breathe and water can drain quickly.
- Vermiculite: This is another natural mineral that helps hold moisture and nutrients in the soil. It is softer than perlite and is great for moisture-loving plants.
- Compost: Many good potting mixes include a bit of compost, which is decayed organic matter. This provides natural nutrients and helpful microbes to feed your plants over time.
How to Fill Your Pots Step-by-Step
When you are ready to plant your container flower gardens, follow these simple steps to prepare your soil:
- Check the Drainage: Make sure your pot has at least one good drainage hole. If it does not, drill one yourself or choose a different pot.
- Cover the Hole: Place a small piece of mesh screen, a coffee filter, or a broken piece of a clay pot over the drainage hole. This stops the soil from washing out while letting water escape freely.
- Pre-Moisten Your Soil: Open your bag of potting mix and pour some into a bucket. Add a little water and mix it with your hands until it feels like a damp sponge. It is much easier to wet the soil now than after it is packed into the pot.
- Fill the Pot: Fill your container about two-thirds of the way with the damp potting mix. Gently tap the pot on the ground to help the soil settle, but do not press it down hard with your hands.
- Add Your Plants: Gently remove your flowers from their plastic nursery pots. Loosen their roots slightly with your fingers, then set them on top of the soil.
- Fill in the Gaps: Add more potting mix around the sides of your plants. Leave about one to two inches of empty space between the top of the soil and the rim of the pot. This “headspace” gives water a place to pool temporarily when you water.
Feeding Your Container Flowers
Because potting mix is lightweight and drains so well, nutrients wash out of it every single time you water. This means your plants will eventually run out of food and stop blooming.
To keep your flowers happy, you will need to feed them regularly during the spring and summer. Many gardeners find that using a combination of two different types of fertilizer works best.
- Slow-Release Pellets: These are tiny, round balls of fertilizer that you mix into the soil when you plant. They have a special coating that slowly melts away, releasing a small amount of food every time it rains or you water. One application can last for several months.
- Liquid Fertilizer: This is a concentrated plant food that you mix with water in your watering can. It provides an instant boost of nutrients to your plants’ roots. Feeding your flowers with liquid fertilizer about twice a month will keep them blooming vigorously all summer long.
Frequently Asked Questions
Q: What flowers grow best in containers?
A: Many flowers thrive beautifully in pots, including annuals like petunias, marigolds, geraniums, and pansies. You can also grow hardy perennials such as hostas, coneflowers, and daylilies in larger containers. The key is to match the plant’s natural sunlight needs with the location of your pot.
Q: Do container flowers need special soil?
A: Yes, you should always use a high-quality potting mix rather than dirt from your yard. Yard soil is too heavy, packs down tightly, and can choke your plant’s roots. Potting mix is lightweight, drains water quickly, and has plenty of air pockets to keep roots healthy.
Q: How often should I water flowers in containers?
A: It often depends on the weather, the pot size, and the type of plant you are growing. In the hot summer, you may need to water your pots daily or even twice a day. Always do the finger test first, and water when the top inch of soil feels dry to the touch.
Q: Do containers need drainage holes?
A: Absolutely, drainage holes are vital for the survival of your plants. Without them, excess water will pool at the bottom of the pot and drown the roots, causing a deadly disease called root rot. If you love a pot without holes, use it as a decorative outer cover for a plastic pot that does have holes.
Q: Can perennial flowers survive winter in containers?
A: In cold climates, many perennials will struggle if left unprotected in pots because their roots are not insulated by the deep earth. You can help them survive by moving the pots into an unheated garage, burying the plastic pots in the ground for winter, or wrapping them in burlap.
Q: How often should I fertilize container flowers?
A: Since watering washes nutrients out of the potting soil, you will need to feed your plants regularly. Many gardeners find that mixing slow-release fertilizer pellets into the soil at planting time works wonders. You can then boost their growth by applying a liquid fertilizer once every two weeks during the active growing season.