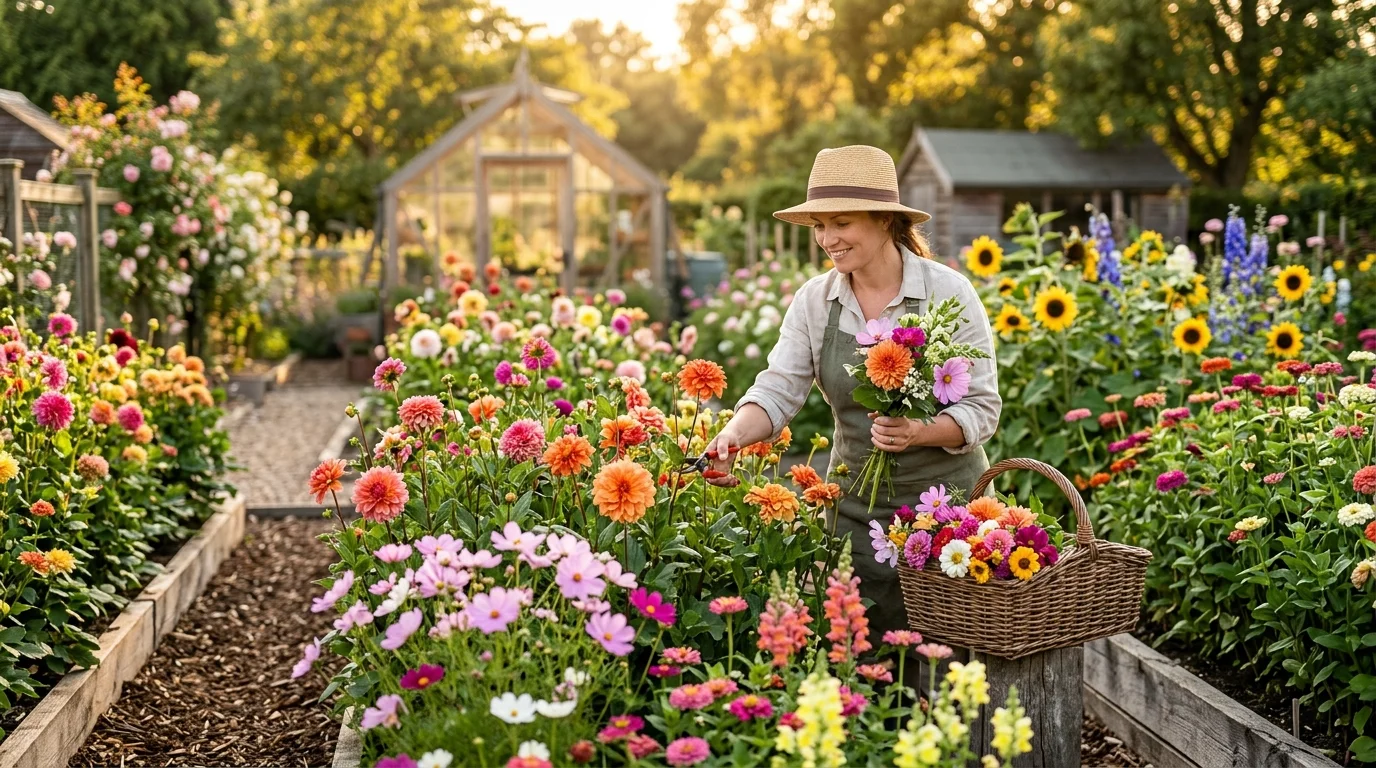
Do you love the look of fresh, colorful blooms sitting on your kitchen table? It can be so disappointing to buy pricey store bouquets that wilt after just a couple of days. Fortunately, you can easily grow your own endless supply of gorgeous blooms with a backyard cut flower garden.
Quick Answer: To start a successful cut flower garden, choose a sunny spot with rich, well-draining soil. Plant a mix of easy-to-grow annuals and perennials that bloom at different times throughout the season. Harvest your flowers early in the morning when they are hydrated, and put them straight into cool water.
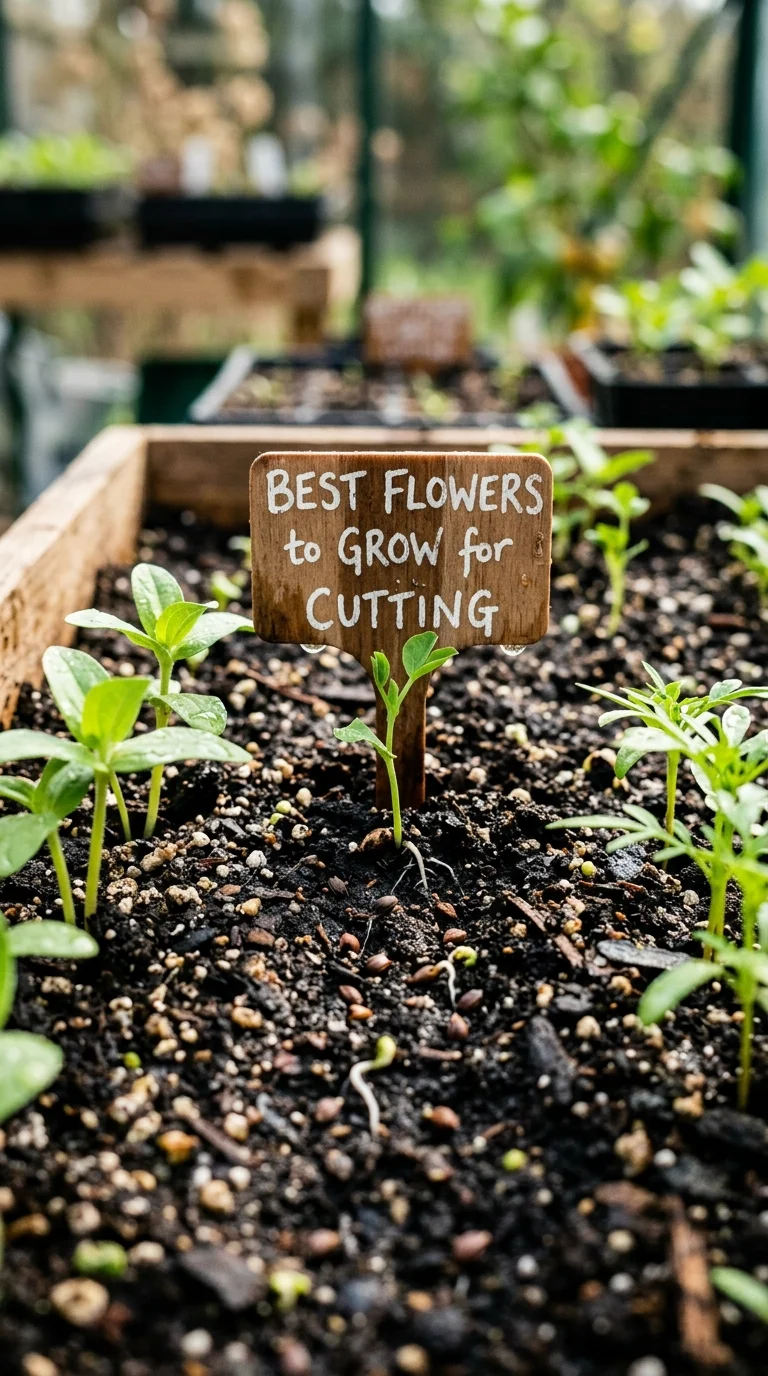
Discovering the Best Flowers to Grow for Cutting
When you start planning your backyard cutting patch, the first step is choosing your plants. You want to select varieties that produce strong, long stems and hold up well in a vase. Many gardeners find that mixing different shapes, colors, and textures gives the most beautiful results. Let’s look at some of the top choices you can grow in your own garden.
Easy and Productive Annuals
Annual flowers are plants that complete their whole life cycle in just one single growing season. They are the absolute workhorses of any backyard cutting patch. They grow quickly from seed and will often produce more blooms the more you cut them. This wonderful trait is called “cut-and-come-again,” and it is a gardener’s best friend.
Zinnias are perhaps the easiest and most productive annuals you can choose. They come in almost every color of the rainbow, from soft pastels to bright, fiery oranges. Their sturdy stems make them very easy to arrange in simple glass jars. Plus, they love the hot summer sun and will keep blooming until the first frost of autumn.
Cosmos are another fantastic choice for beginners because they are so forgiving. They have delicate, feathery green foliage that looks lovely even before the flowers open. The daisy-like blossoms dance gracefully on long, slender stems in the breeze. Cosmos add a wonderful, airy feel to any backyard bouquet you put together.
Dahlias are the true queens of the late-summer and autumn garden. They grow from underground tubers and produce some of the most spectacular blooms you will ever see. Some dahlias are as small as golf balls, while others can grow as large as dinner plates. They require a bit more care, like staking, but the breathtaking rewards are always worth it.
Snapdragons are wonderful because they offer a totally different shape for your vases. They grow as tall, colorful spikes covered in small, tubular blossoms. Children love them because you can gently squeeze the sides of the flowers to make them “talk.” They prefer cooler weather, so they will give you beautiful stems in early spring and late autumn.
Sweet peas are highly prized for their incredibly sweet, nostalgic fragrance. These climbing vines need a trellis or fence to climb up as they grow. Their delicate, ruffled petals look like tiny butterflies resting on thin stems. Bringing a small bunch of sweet peas inside will quickly fill your entire home with perfume.
Reliable and Hardy Perennials
Perennials are plants that come back year after year from their established roots. While they usually have a shorter blooming window than annuals, they require much less work over time. They form the permanent backbone of your seasonal cutting space. Adding a few key perennials ensures you have reliable blooms returning every single spring.
Peonies are a classic favorite that many gardeners look forward to all year long. Their massive, lush blooms are packed with soft, fragrant petals that feel like silk. A single peony plant can live for decades if you plant it in a happy spot. They only bloom for a few weeks in late spring, but those weeks are truly magical.
Echinacea, also known as coneflower, is a tough-as-nails perennial that loves the sun. They have raised, cone-shaped centers surrounded by colorful, drooping petals. Butterflies and bees absolutely adore visiting these hardy native flowers. They last for a very long time in a vase and have incredibly strong, stiff stems.
Yarrow is another wonderful perennial that produces flat, umbrella-like flower heads. It comes in lovely shades of yellow, red, peach, and soft pastel pink. The unique shape of yarrow provides a great horizontal element in your floral designs. It also dries beautifully, allowing you to enjoy your harvest long after winter arrives.
Beautiful Foliage and Fillers
A great bouquet is not made of large, showy focal flowers alone. You also need green foliage and delicate filler plants to frame your beautiful blossoms. Foliage adds structure, hides stems, and makes your colorful flowers pop. Many new gardeners forget to plant foliage, but it is the secret to professional-looking arrangements.
Eucalyptus is grown by many flower lovers for its lovely, silvery-blue leaves. The rounded leaves clasp the stems in a way that looks very modern and elegant. It has a fresh, clean scent that lasts for weeks inside your home. You can grow it as an annual in colder climates, and it will still produce plenty of stems.
Basil is not just for making delicious pesto in the kitchen. Some ornamental varieties, like ‘Aramato’ or ‘Cardinal’, have gorgeous purple stems and leaves. They produce lovely spikes of tiny purple flowers that smell absolutely amazing. Using herbal foliage in your bouquets adds an unexpected, sensory layer of joy.
Dusty miller is a classic bedding plant with deeply lobed, velvety gray leaves. The unique texture looks almost like soft felt or a light coating of winter frost. It provides a wonderful contrast when placed next to bright pink or deep red flowers. It is very hardy and will often survive light frosts in the autumn.
How to Start a Cut Flower Garden from Scratch
Starting your very first cutting patch is an exciting project that anyone can do. You do not need a massive farm or years of experience to be successful. With a little bit of planning and some physical effort, you can transform any sunny spot. Let’s walk through the essential steps to get your new garden growing beautifully.
Step 1: Find the Best Location
The most important key to success is finding the right spot in your yard. Most flowering plants need plenty of bright sunlight to produce strong stems and abundant blooms. You should look for an area that receives at least six to eight hours of direct sun daily. If your yard is very shady, your plants may grow tall, spindly, and produce very few flowers.
You also want to make sure your chosen spot has easy access to a water source. Dragging a heavy hose across the yard every day can quickly become a tiring chore. If possible, position your garden near an outdoor spigot or set up a rain barrel nearby. A convenient water source makes it much easier to keep your plants happy during hot summer spells.
Step 2: Test and Prepare Your Soil
Healthy soil is the foundation of any thriving, productive garden. Before you plant anything, take a close look at the dirt in your chosen area. Most flowers prefer loose, crumbly soil that drains water easily rather than staying soggy. If your soil is heavy clay or very sandy, you can easily improve it by adding organic matter.
To prepare your new garden bed, start by removing any existing grass, weeds, or large rocks. Spread a thick layer of rich compost or well-rotted manure over the entire area. Use a sturdy garden fork or shovel to gently work this organic material into the top few inches of dirt. This process loosens the ground, adds vital nutrients, and helps the soil hold the perfect amount of moisture.
Simple Soil Prep Checklist:
1. Clear away all weeds, grass, and debris.
2. Add a 3-inch layer of organic compost.
3. Gently mix the compost into the top 6 inches of soil.
4. Rake the surface flat and smooth.
Step 3: Deciding Between Seeds and Starts
You can start your garden by sowing seeds directly or by buying young plants from a local nursery. Sowing seeds is very inexpensive and gives you access to hundreds of unique flower varieties. However, seeds require patience and careful watering to help them sprout and grow. Direct sowing works wonderfully for fast-growing annuals like zinnias, cosmos, and sunflowers.
Buying young starter plants, often called “starts,” gives you a major head start on the season. These plants already have established root systems and are ready to grow rapidly. This is a great option for beginners who want to see quick results without the worry of starting seeds. It is also the best way to plant perennials like peonies or lavender, which take a long time to grow from seed.
Step 4: Planting Your Flowers
Once your soil is prepared and your plants are ready, it is time to get them in the ground. Be sure to read the seed packets or plant tags carefully for specific spacing guidelines. In a dedicated cutting garden, you can actually plant things a little closer together than in a normal landscape. Close spacing encourages the plants to grow straight up, resulting in longer, straighter stems for your vases.
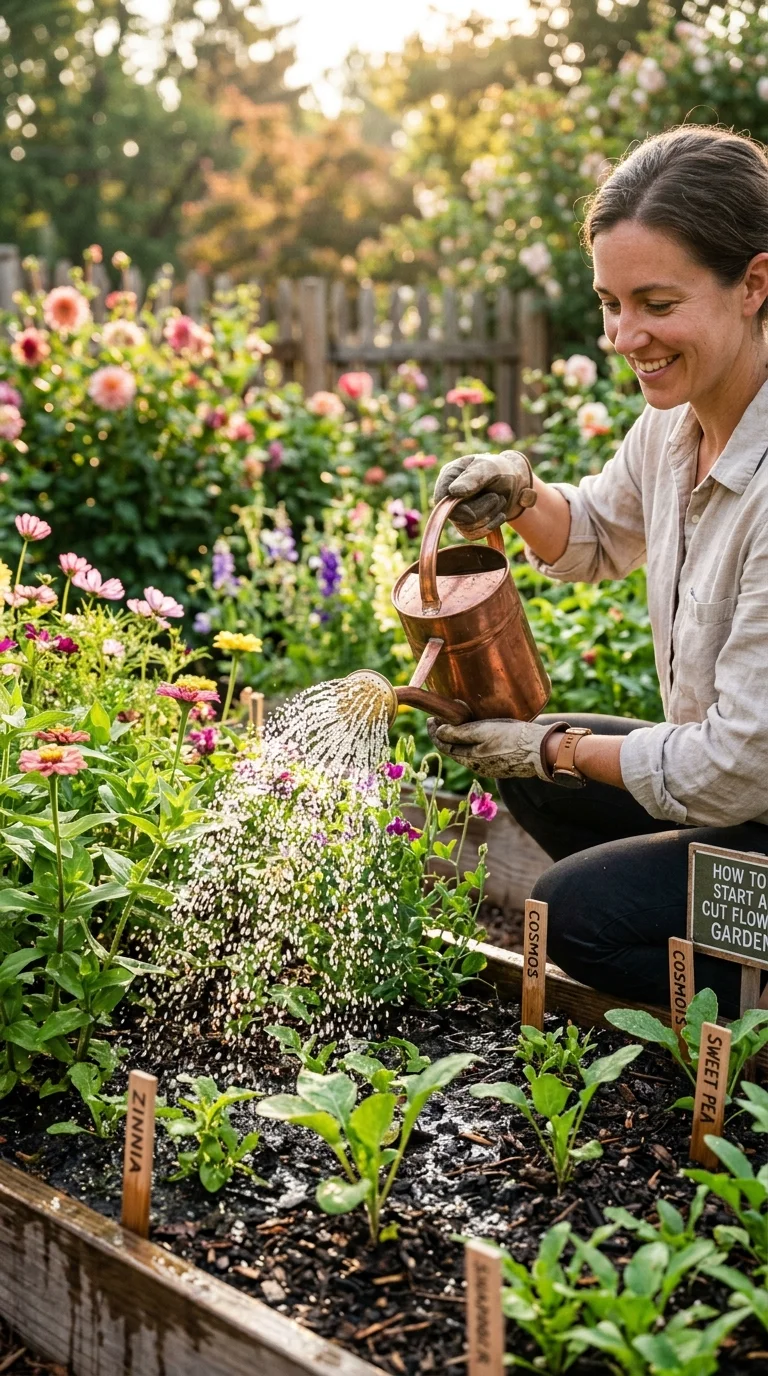
When planting young starts, dig a hole that is just as deep as the root ball. Gently squeeze the plastic pot to slide the plant out without pulling on the main stem. Place the plant in the hole, fill in the empty space with soil, and press down gently to remove air pockets. Give your new plantings a deep, thorough watering right away to help them settle into their new home.
Step 5: Essential Ongoing Care
After your garden is planted, it will need some regular care to keep it productive. Watering is the most important task, especially during the hot, dry summer months. It is best to water deeply once or twice a week rather than giving them a quick sprinkle every day. Deep watering encourages the roots to grow deep into the ground, making the plants much more resilient.
Applying a layer of natural mulch, like clean straw or shredded leaves, is highly recommended. Mulch acts like a protective blanket, keeping the soil cool and preventing water from evaporating too quickly. It also blocks sunlight from reaching weed seeds, which saves you hours of tedious weeding work. Keep the mulch a couple of inches away from the direct base of your plant stems to prevent rot.
Many heavy-blooming flowers will also benefit from a gentle feed during the growing season. You can use an organic, liquid seaweed or fish emulsion fertilizer every few weeks. This provides a quick boost of nutrients that encourages the plants to produce more buds. Always follow the package directions, as using too much fertilizer can actually harm your plants.
Smart and Creative Cut Flower Garden Layout Ideas
How you arrange your plants depends entirely on your personal style and the space you have available. Some gardeners prefer a neat, organized look that focuses purely on high stem production. Others want a whimsical, natural garden that blends beautifully with the rest of their home landscape. Let’s explore some popular layout ideas to help you design your perfect flower space.
The Traditional Row Layout
If your primary goal is to harvest as many flowers as possible, a row layout is often the best choice. This style looks very much like a small vegetable patch or a miniature flower farm. You plant your flowers in long, straight rows with clear walking paths between them. This setup makes it incredibly easy to weed, water, harvest, and care for your plants.
To design a row layout, try to make your planting beds about three to four feet wide. This width allows you to easily reach the middle of the bed from either side without stepping on the soil. Stepping on the garden soil compacts it, which makes it harder for plant roots to breathe and grow. Keep your walking paths wide enough for you to comfortably walk through with a harvest bucket or wheelbarrow.
Traditional Row Layout Example:
+---------------------------------------------------+
|  Row 1: Tall Plants (Sunflowers, Cosmos)          |
+---------------------------------------------------+
|  [ Walking Path - 2 feet wide ]                   |
+---------------------------------------------------+
|  Row 2: Medium Plants (Zinnias, Snapdragons)      |
+---------------------------------------------------+
|  [ Walking Path - 2 feet wide ]                   |
+---------------------------------------------------+
|  Row 3: Short Plants & Foliage (Basil, Marigolds) |
+---------------------------------------------------+
The Integrated Mixed Border
If you do not want a separate, farm-style plot, you can easily tuck cutting flowers into your existing beds. This is a wonderful option for smaller yards where every square foot of space counts. You can mix colorful annuals right in with your permanent shrubs and perennial flowers. This creates a lush, cottage-garden look that is highly attractive to look at from your windows.
When using this layout, always place your tallest plants at the very back of the garden bed. This prevents them from casting unwanted shade on the smaller, sun-loving flowers in front. Put medium-sized plants in the middle, and keep the shortest varieties along the front edge. This step-like arrangement ensures every single plant gets the sunlight and attention it needs.
Raised Beds and Containers
If you have very poor soil, heavy clay, or limited yard space, raised beds are an excellent solution. You can build or buy simple wooden or metal boxes and fill them with high-quality soil from a garden center. Raised beds drain water beautifully and warm up much faster in the early spring weather. They also raise the plants up higher, which saves your back from a lot of bending and straining.
If you only have a sunny patio, balcony, or deck, do not worry! You can still grow flowers. Many productive varieties grow wonderfully in large plastic, ceramic, or fabric pots. Choose compact varieties of zinnias, cosmos, or dwarf sunflowers for the best results. Just remember that containers dry out much faster than the ground, so they will need more frequent watering.
Step-by-Step Guide to Planning Your Layout
Planning your layout on paper before you start digging will save you a lot of time and effort. Grab a piece of paper, a pencil, and a ruler to sketch out your ideas. Follow these simple steps to design a layout that works perfectly for your unique space.
- Measure your space: Use a tape measure to find the length and width of your planned garden area.
- Draw the outline: Sketch the shape of your garden bed on your paper, using a simple scale if you like.
- Mark the sun direction: Note which way is north so you can plan for shade and sunlight patterns.
- Group plants by height: Make a list of the flowers you want to grow and group them by their mature height.
- Place the tallest plants: Draw your tallest plants along the north side or back edge of your garden bed design.
- Fill in the middle and front: Place your medium-height flowers in the center, and short plants along the front edges.
- Add pathways: If your bed is wider than four feet, draw in clear pathways so you can easily reach every plant.
Learning Exactly When to Harvest Cut Flowers
Harvesting your flowers is the most rewarding part of the entire gardening process. However, cutting them at the wrong time can result in flowers that wilt almost immediately. To get the absolute longest life out of your beautiful bouquets, you need to know a few simple tricks. Let’s look at how and when to harvest your blooms for the very best results.
The Best Time of Day to Cut
The timing of your harvest makes a massive difference in how long your flowers will last in a vase. The absolute best time to cut your flowers is in the early morning hours. During the cool night, the plants drink up water and fully hydrate themselves. When you cut them in the morning, they are full of moisture and ready to handle the transition.
If you cannot harvest in the morning, the next best option is the cool of the late evening. Avoid cutting flowers during the middle of the day when the hot sun is beating down. At midday, plants are highly stressed, slightly dehydrated, and losing moisture rapidly. Cutting them at this time often leads to immediate wilting that can be very difficult to reverse.
Recognizing the Right Stage of Bloom
It is very tempting to wait until a flower is fully open and gorgeous before you cut it. However, if a flower is already fully open in the garden, its life is already halfway over. For the longest vase life, you want to harvest most flowers when they are just beginning to open. The exact stage of bloom you should look for depends on the specific type of flower.
Quick Flower Harvest Guide:
- Peonies: Cut when the bud feels soft like a marshmallow.
- Zinnias: Cut when the flower is fully open and the stem is stiff.
- Roses: Cut when the outer petals are just beginning to unfurl.
- Sunflowers: Cut when the first petals are starting to lift off the center disk.
- Snapdragons: Cut when the bottom one-third of the flowers on the spike are open.
For flowers like zinnias and dahlias, you want to perform the “wiggle test” before cutting. Gently grab the stem about eight inches below the flower head and give it a soft wiggle. If the stem bends and the flower head flops around, it is not mature enough to cut yet. If the stem feels stiff, sturdy, and does not flop, it is ready to be harvested.
How to Make the Perfect Cut
Always use very sharp, clean garden snips or floral scissors to harvest your stems. Using dull household scissors can crush the delicate water-transporting tubes inside the stem. This crushing action makes it very difficult for the cut flower to drink up water in the vase. Keep a jar of rubbing alcohol handy to quickly clean your blades between plants to prevent spreading diseases.
Cut your stems at a sharp 45-degree angle rather than straight across. This angled cut creates a larger surface area for the stem to drink up water. It also prevents the bottom of the stem from sitting flat against the bottom of your vase. If the stem sits flat, it can block the intake of water, causing the flower to wilt quickly.
As soon as you make a cut, immediately place the stem into a clean bucket of cool water. Never walk around the garden carrying a dry bunch of flowers in your hot hands. Leaving the cut ends exposed to the air allows tiny air bubbles to enter the stem. These air bubbles act like blocks, preventing the flower from drinking water once it is put in a vase.
Conditioning and Caring for Your Stems
Once you bring your harvested flowers inside, they need a little bit of preparation before arranging. This process is called “conditioning,” and it helps your flowers transition to indoor life. Gently strip away any leaves that will sit below the water level in your vase. Leaves left underwater will rot quickly, creating smelly water and breeding harmful bacteria.
Place your clean stems in a bucket of lukewarm water mixed with a packet of floral preservative. Floral food contains sugar to feed the blooms and a gentle disinfectant to keep the water clean. Let your flowers rest in a cool, dark room for at least one to two hours before you arrange them. This resting period allows them to drink deeply and recover from the shock of being cut.
To keep your beautiful arrangements looking fresh for a week or more, change the water often. Many gardeners find that emptying the vase and adding fresh, cool water every two days works wonders. Each time you change the water, give the bottom of the stems a quick, fresh trim at an angle. Keep your finished bouquets out of direct, hot sunlight and away from drafty heating vents.
Frequently Asked Questions
Q: How do I keep my cut flowers from wilting so fast?
A: To prevent wilting, always use clean vases and change the water every two days. Give the stems a fresh cut at a 45-degree angle each time you change the water. Keep your arrangements out of direct sunlight and away from warm drafts or ripening fruit.
Q: Can I grow a cut flower garden in partial shade?
A: While most cutting flowers prefer full sun, you can still grow a lovely garden in partial shade. Focus on shade-loving plants like hellebores, astilbes, bleeding hearts, and foxgloves. These plants will produce beautiful, delicate stems even without intense, all-day sunlight.
Q: What are the easiest flowers for a beginner to grow?
A: Zinnias, cosmos, and sunflowers are generally considered the easiest flowers for beginners. They grow very quickly from seeds sown directly into the warm garden soil. They are highly productive, quite forgiving of mistakes, and will bloom continuously for months.
Q: How often should I water my cutting garden?
A: In most cases, watering deeply once or twice a week is much better than a light daily sprinkle. This encourages your plants to grow deep, healthy roots that can find moisture during dry spells. Always check the soil first; if the top inch feels dry, it is time to water.
Q: Do I need to fertilize my flowers to get big blooms?
A: While not strictly necessary, many gardeners find that a gentle feed helps produce larger, more abundant flowers. Using a mild, organic liquid fertilizer every few weeks can give your plants a helpful boost. Always avoid over-fertilizing, as this can cause lush green leaves but very few actual flowers.
Q: Can I dry the flowers I grow in my garden?
A: Yes, many wonderful cutting flowers dry beautifully for long-lasting winter crafts. Varieties like yarrow, lavender, strawflower, and globe amaranth hold their color and shape very well. Simply hang small bunches upside down in a dark, dry, well-ventilated room for a few weeks.