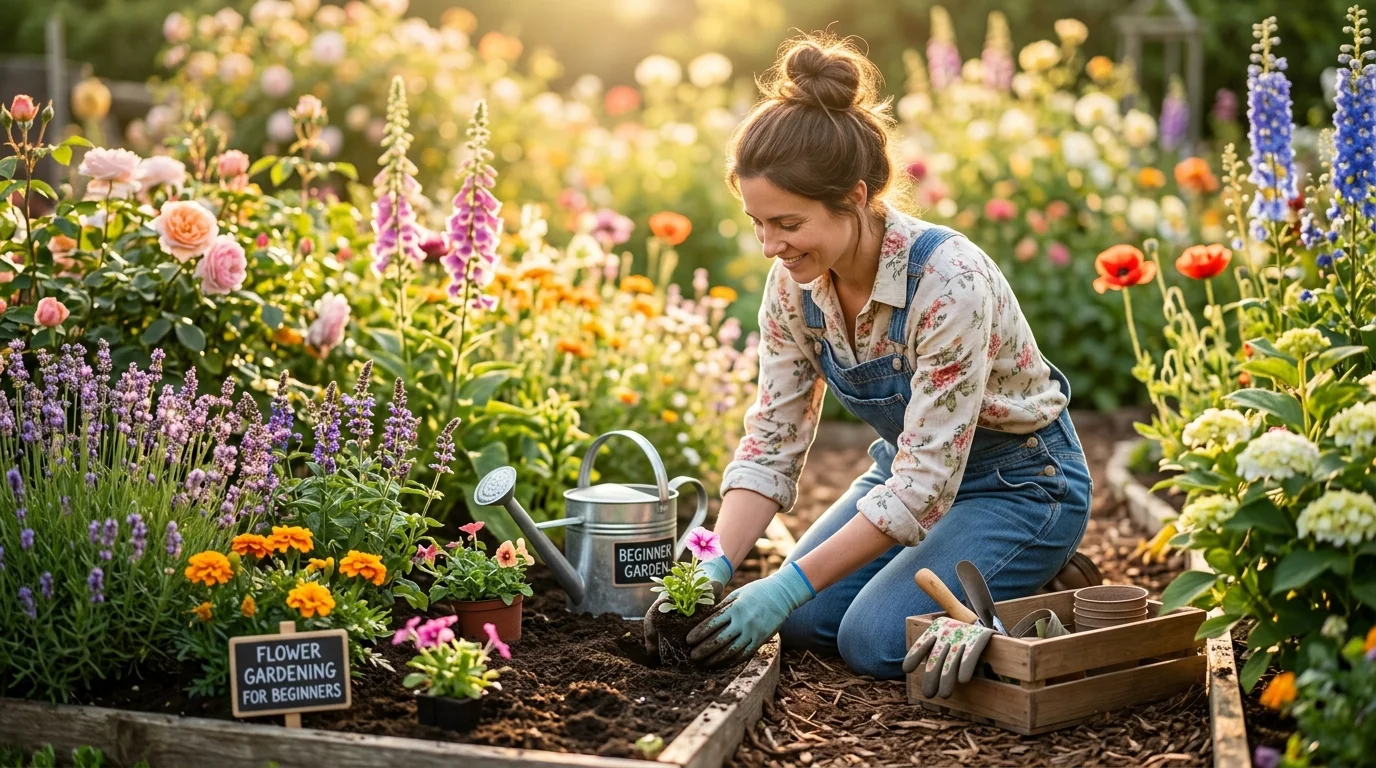
Do you ever look at your neighbor’s gorgeous flower garden and wish you could do the same? It is easy to feel overwhelmed by all the plant choices, soil types, and tools out there. This complete guide will show you how simple and rewarding it is to start your very own beautiful flower garden.
Quick Answer: To succeed with flower gardening for beginners, start with a small sunny plot or a few pots. Choose hardy, easy-to-grow plants, use high-quality compost, and water them consistently. Taking these simple steps will help you enjoy colorful blooms all season long.
Discovering the Best Easy Flowers to Grow in Pots
If you are new to the world of gardening, starting with containers is a wonderful choice. Pots give you complete control over the soil, water, and location of your plants. Many gardeners find that container gardening is the perfect way to build confidence without feeling overwhelmed. You can move your pots around to catch the sun or protect them from heavy winds.
When you garden in pots, you do not have to worry about digging up heavy grass or fighting stubborn weeds. You can set up a beautiful display on your porch, patio, or front steps in just a single afternoon. It is a quick way to bring bright colors right to your eye level. Plus, pots are very easy to water and care for on busy days.
Before you buy your plants, you need to choose the right container. Pots come in many different shapes, sizes, and materials like clay, plastic, wood, and fabric. Terracotta or clay pots are beautiful and classic, but they can dry out quickly in the hot summer sun. Plastic pots hold moisture much longer and are lightweight, making them easy to move around.
No matter what material you choose, your pots must have drainage holes at the bottom. Drainage holes let extra water escape so your plant roots do not sit in soggy mud. If roots stay wet for too long, they can rot and cause your plants to die.
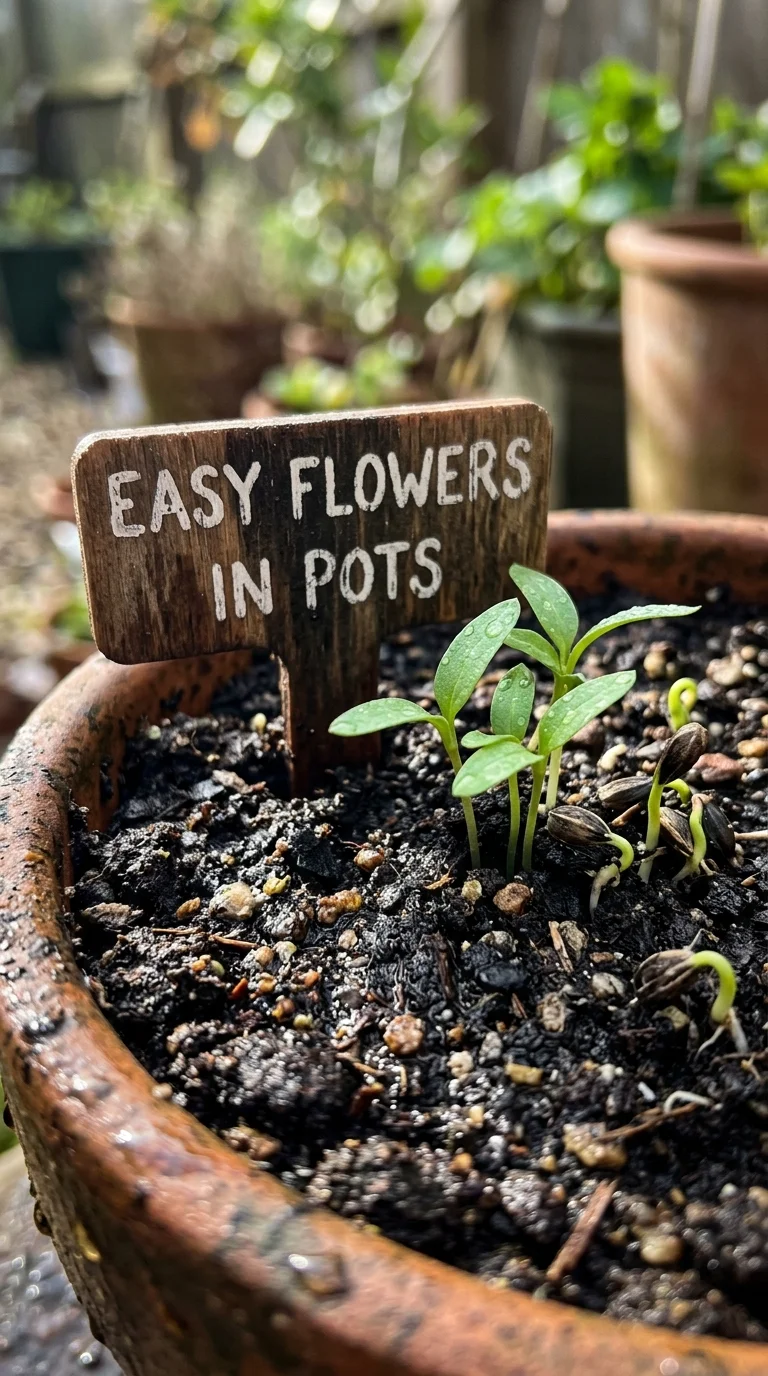
Once you have your pots, it is time to choose some easy flowers to grow in pots. Some flowers are very tough and do not mind if you forget to water them once in a while. Here are a few of my favorite beginner-friendly flowers for containers:
- Petunias: These are classic container plants because they bloom non-stop from spring until the first winter frost. They come in almost every color of the rainbow and love plenty of bright sunlight.
- Marigolds: These hardy flowers have bright yellow and orange blooms that look like little balls of sunshine. They are incredibly tough, love the heat, and even help keep pesky garden bugs away.
- Zinnias: You can find dwarf varieties of zinnias that fit perfectly in medium-sized pots. They grow quickly from seeds or starter plants and produce bright, cheerful flowers that butterflies love.
- Pansies: If you want color in the cool days of early spring or autumn, pansies are your best friend. They have sweet, face-like petals and can survive cool weather that would hurt other flowers.
- Geraniums: These plants are famous for their big, round clusters of red, pink, or white flowers. They store water in their thick stems, which makes them very forgiving if you miss a watering day.
- Nasturtiums: These are wonderful because both the flowers and the round leaves are completely edible. They have a spicy, peppery taste and produce lovely warm-toned blooms that spill beautifully over the edges of your pots.
When you plant your pots, try using the “thriller, filler, and spiller” method. The “thriller” is a tall, eye-catching plant that goes right in the center of the pot. The “fillers” are medium-sized, bushy plants that fill in the space around the tall plant. The “spillers” are trailing plants placed near the edges so they can drape down the sides of your container.
To plant your pot, fill it with fresh potting mix up to a few inches below the rim. Gently take your flowers out of their plastic nursery tubs and loosen their roots with your fingers. Place them in the pot, fill in the empty spaces with more potting mix, and press down gently. Give them a long, slow drink of water until you see it running out of the bottom holes.
Step-by-Step Guide on How to Start a Flower Bed
Ready to take the next step and plant directly in the ground? Learning how to start a flower bed is an exciting project that can completely transform the look of your home. The key to success is to start small so you do not get tired or discouraged. A simple bed that is three feet wide and six feet long is the perfect size to practice your skills.
First, you need to find the perfect spot in your yard. Most flowering plants need at least six hours of direct sunlight every day to produce bright, healthy blooms. Spend a sunny day watching your yard to see where the sunlight falls. Take note of any shadows cast by tall trees, fences, or your house.
Once you have chosen your spot, it is time to clear the area. You can remove the grass by digging it up with a shovel, but that can be very hard work. Another easy option is to lay down thick layers of newspaper or cardboard over the grass. Cover the cardboard with several inches of compost and soil, and wait a few weeks for the grass underneath to break down naturally.
If you decide to dig, make sure the soil is not too wet. Squeezing a handful of soil into a ball can tell you if it is ready to be worked. If the ball of soil crumbles easily when you poke it, you are good to go. If it stays in a sticky, muddy ball, wait a few days for it to dry out before you start digging.
After clearing the grass, use a garden fork to loosen the soil to a depth of about twelve inches. This helps break up hard ground so your flower roots can grow deep and strong. Spread a thick layer of compost over the area and mix it into the top six inches of soil. This gives your new plants a healthy dose of nutrients right from the start.
Now comes the fun part: planning where your plants will go. It helps to draw a simple map on a piece of paper before you start digging holes. Group your plants by how tall they will grow so they do not block each other from the sun.
Place your tallest plants, like sunflowers or coneflowers, at the back of the bed. Put your medium-sized plants in the middle, and place your shortest plants along the front edge. This creates a beautiful, layered look that lets you see every single flower.
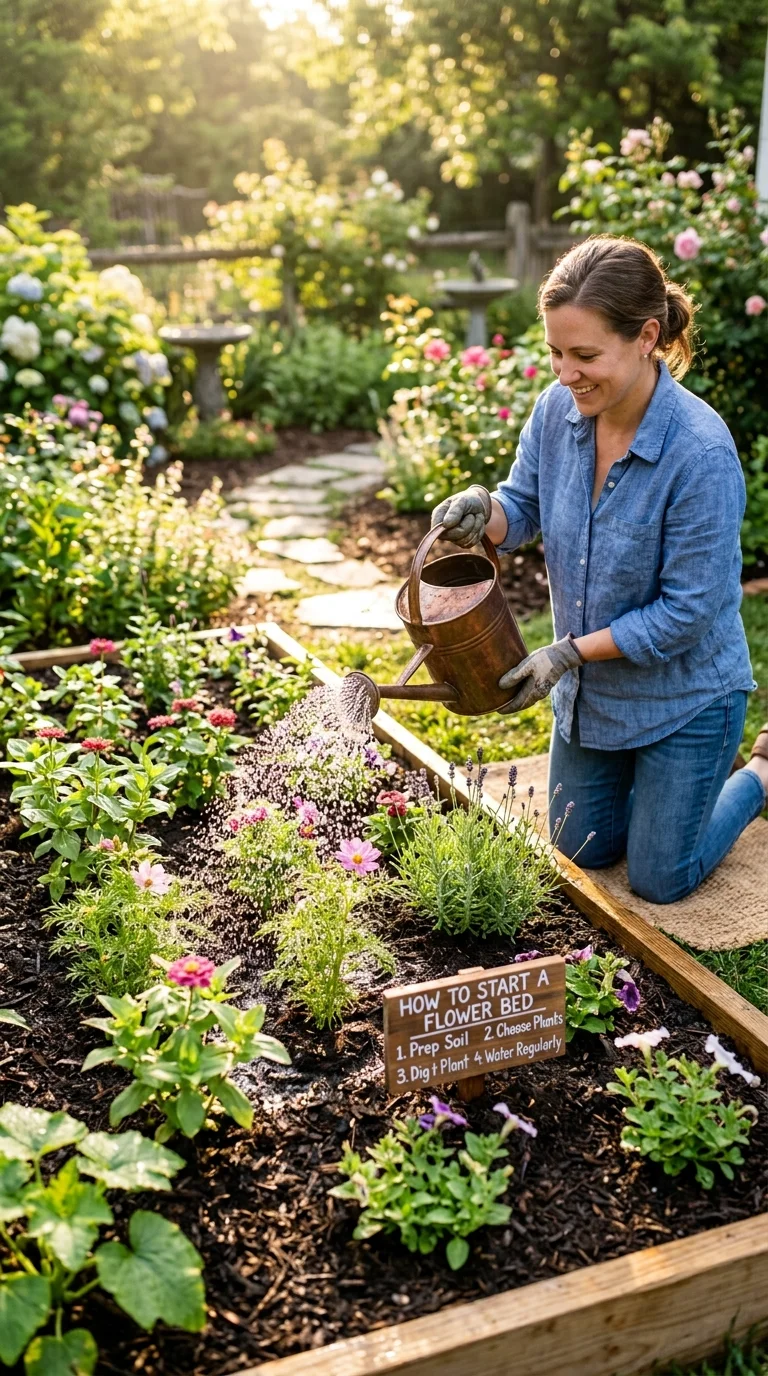
When you are ready to plant, bring your potted flowers out and set them on top of the soil where you want them to live. Step back and look at the arrangement to make sure you like how it looks. Try to leave enough space between the plants so they have room to grow to their full size over the summer.
To plant each flower, dig a hole that is twice as wide as the plant’s root ball. Gently slide the plant out of its pot, place it in the hole, and fill the soil back in. Make sure the top of the plant’s root ball is level with the surrounding garden soil.
Press the soil down gently with your hands to remove any large pockets of air. Once all your flowers are in the ground, water the entire bed slowly and deeply. This helps settle the soil around the roots and eases the shock of moving to a new home.
Essential Gardening Tools for Beginners
You do not need a shed full of expensive gadgets to start your first garden. Having just a few high-quality gardening tools for beginners will make your work much easier and more enjoyable. Investing in comfortable, durable tools will save your back and hands from unnecessary strain. Here is a simple, step-by-step guide to choosing and using your first set of tools.
Step 1: Selecting a High-Quality Hand Trowel
A hand trowel is a small, handheld shovel that you will use almost every time you garden. It is perfect for digging small planting holes, scooping soil into pots, and digging up stubborn weeds. Look for a trowel with a sturdy metal blade that will not bend when you push it into hard dirt. A handle made of soft rubber or gel is highly recommended because it is gentle on your hands.
Step 2: Choosing the Right Pair of Bypass Pruners
Pruners are sharp garden scissors used to cut stems, trim back overgrown plants, and remove dead flowers. You should look specifically for “bypass” pruners, which work just like regular scissors with two blades sliding past each other. They make clean, smooth cuts that help your plants heal quickly. Avoid anvil pruners, which crush the stems and can make your plants sick.
Step 3: Picking a Sturdy Shovel or Garden Spade
When you need to dig larger holes or clear out grass for a new flower bed, a long-handled shovel is essential. A shovel with a rounded, pointed blade is excellent for breaking up tough soil and cutting through roots. If you have a lot of clay or rocky soil, a flat-edged spade can also be very helpful for creating neat, straight edges along your garden beds.
Step 4: Investing in a Good Garden Hose and Spray Nozzle
Plants need water to survive, so a reliable watering system is a must-have. A lightweight garden hose that does not kink easily will save you a lot of frustration. Pair your hose with a multi-pattern spray nozzle that has a “shower” or “mist” setting. This allows you to water delicate young plants gently without washing away the soil around their roots.
Step 5: Finding Comfortable Gardening Gloves
A good pair of gloves protects your skin from thorns, sharp rocks, stinging bugs, and muddy soil. Look for gloves that fit snugly but still allow you to move your fingers easily. Gloves with rubber-coated palms are wonderful because they keep your hands dry and give you a great grip on muddy tools. If you plan to grow roses, look for longer gloves that protect your wrists and forearms from sharp thorns.
Step 6: Keeping Your Tools Clean and Rust-Free
Taking care of your tools is just as important as choosing the right ones. After each use, wipe away any dirt or mud with an old rag or a stiff brush. Store your tools in a dry place, like a garage or garden shed, to keep them from rusting. Once or twice a year, you can rub a little oil onto the metal parts to keep them shining and working smoothly.
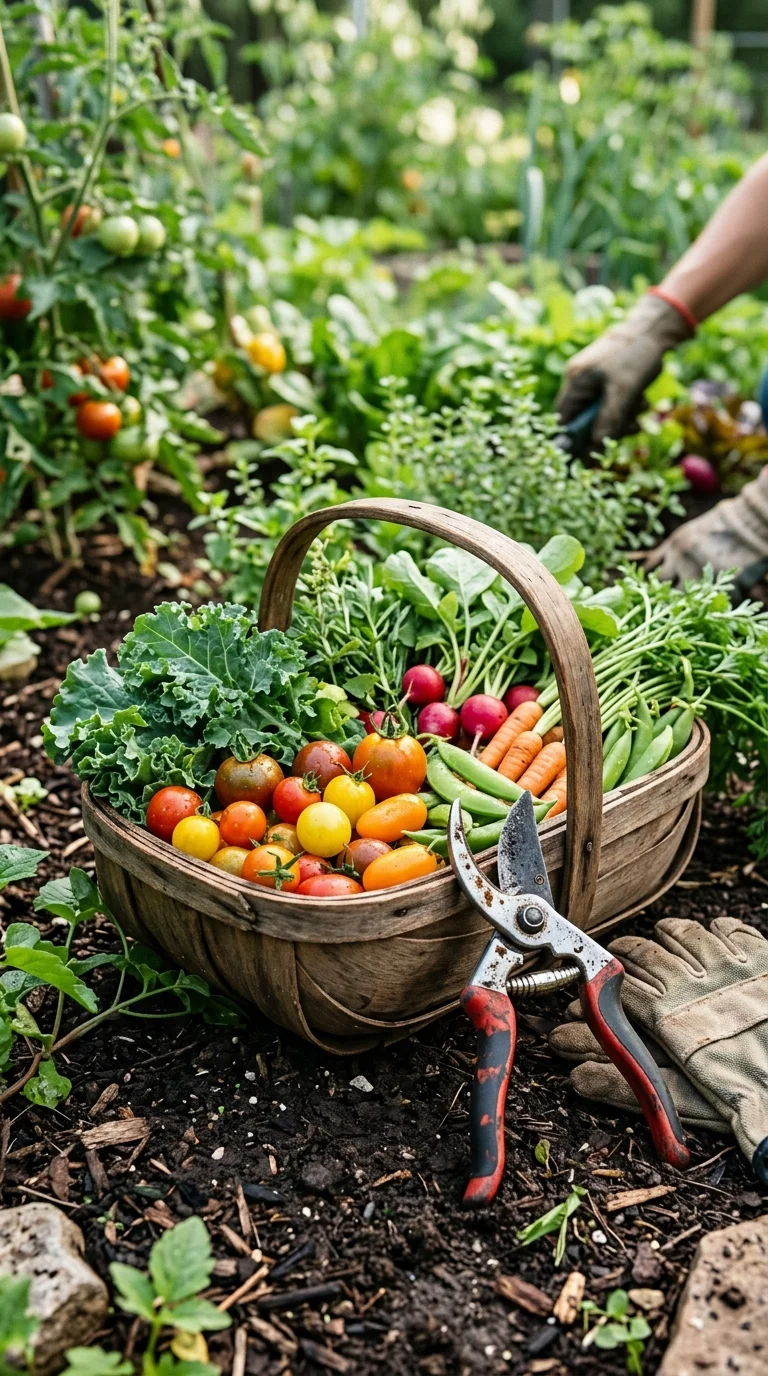
By starting with these basic tools, you will be prepared for almost any task in your new garden. You can always add specialty tools later as your garden grows and your interests expand. For now, keep it simple and focus on tools that feel comfortable and solid in your hands.
Choosing the Best Soil for Flower Gardens
Many experienced gardeners will tell you that the secret to beautiful flowers is actually under the ground. Healthy plants start with healthy soil, so finding the best soil for flower gardens is incredibly important. Soil is much more than just dirt; it is a living home that provides food, water, and air to your plants.
If you look closely at the soil in your yard, you might notice it feels very sandy or very sticky. Sandy soil has large particles that let water drain away very quickly, taking important nutrients with it. Clay soil has tiny particles that stick together, holding onto water and turning into hard, heavy bricks when dry.
The perfect garden soil is called loam, which is a balanced mix of sand, silt, and clay. Loamy soil holds onto enough water to keep your plants happy, but it also drains well so the roots can breathe. Do not worry if your yard does not have perfect loam right now; you can easily improve it over time.
The absolute best way to improve any type of soil is by adding organic matter, such as compost. Compost is made of decayed leaves, grass clippings, and kitchen scraps that have broken down into rich, dark soil. It acts like a sponge in sandy soil to hold onto water, and it helps loosen up heavy clay soil so water can drain.
You can buy bags of compost at your local garden center, or you can make your own in a backyard bin. Adding a two-inch layer of compost to your garden beds every spring will keep your soil healthy and fertile. Your plants will thank you by growing bigger, stronger, and producing many more colorful flowers.
When you are planting in pots, you should never use regular dirt from your yard. Yard soil is too heavy for containers and will quickly pack down into a hard block that suffocates plant roots. Instead, always use a high-quality potting mix designed specifically for containers.
Potting mix is lightweight and usually contains ingredients like peat moss, pine bark, and perlite (those little white foam-like pieces). These ingredients keep the mixture fluffy and full of air pockets, which is exactly what potted plants need to thrive. Many potting mixes also contain a small amount of slow-release fertilizer to feed your flowers for the first few weeks.
A common mistake many beginners make is working their soil when it is too wet. Digging in wet clay soil destroys its natural structure, turning it into hard clumps that are difficult to break apart. Always wait for the soil to dry out a bit before you start digging, planting, or adding compost.
With a little patience and plenty of compost, you can create the perfect home for your flowers. Over time, you will notice your soil becoming darker, fluffier, and full of helpful earthworms. Healthy soil is the foundation of a thriving garden, and taking care of it is one of the best things you can do for your plants.
Frequently Asked Questions
Q: How often should I water my new flower garden?
A: During their first year, new flowers generally need about one inch of water per week. If the weather is very hot and dry, you may need to water them two or three times a week. It is always best to water deeply and slowly so the moisture reaches down to the deep roots.
Q: What is the difference between annual and perennial flowers?
A: Annual flowers live for only one growing season, but they bloom constantly from spring until the first frost. Perennial flowers live for many years, but they usually bloom for just a few weeks each summer. Many gardeners find that mixing both types gives them the best balance of color and longevity.
Q: When is the best time of day to plant new flowers?
A: The best time to plant is on a cloudy day or in the late afternoon when the sun is not too hot. This gives your new plants a chance to settle into their new home without being stressed by bright, hot sunlight. Always give them a good drink of water right after planting.
Q: How do I stop weeds from taking over my new flower bed?
A: Putting down a two-inch layer of mulch, like shredded leaves or compost, is a great way to stop weeds. Mulch blocks the sunlight that weed seeds need to grow and keeps your soil nice and moist. If you see any weeds pop up, try to pull them out gently by their roots as soon as possible.
Q: Do I need to fertilize my flowers right away?
A: If you added plenty of rich compost to your soil when planting, you do not need to fertilize immediately. After a few weeks, you can start feeding your annual flowers once a month with a gentle, liquid fertilizer. Perennials usually only need a light feeding of granular fertilizer once in the early spring.
Q: What does deadheading mean and why is it important?
A: Deadheading is simply the act of pinching or cutting off old, faded flowers from your plants. When you remove the dying blooms, you stop the plant from spending its energy on making seeds. This encourages the plant to grow fresh, new leaves and produce even more beautiful flowers for you to enjoy.