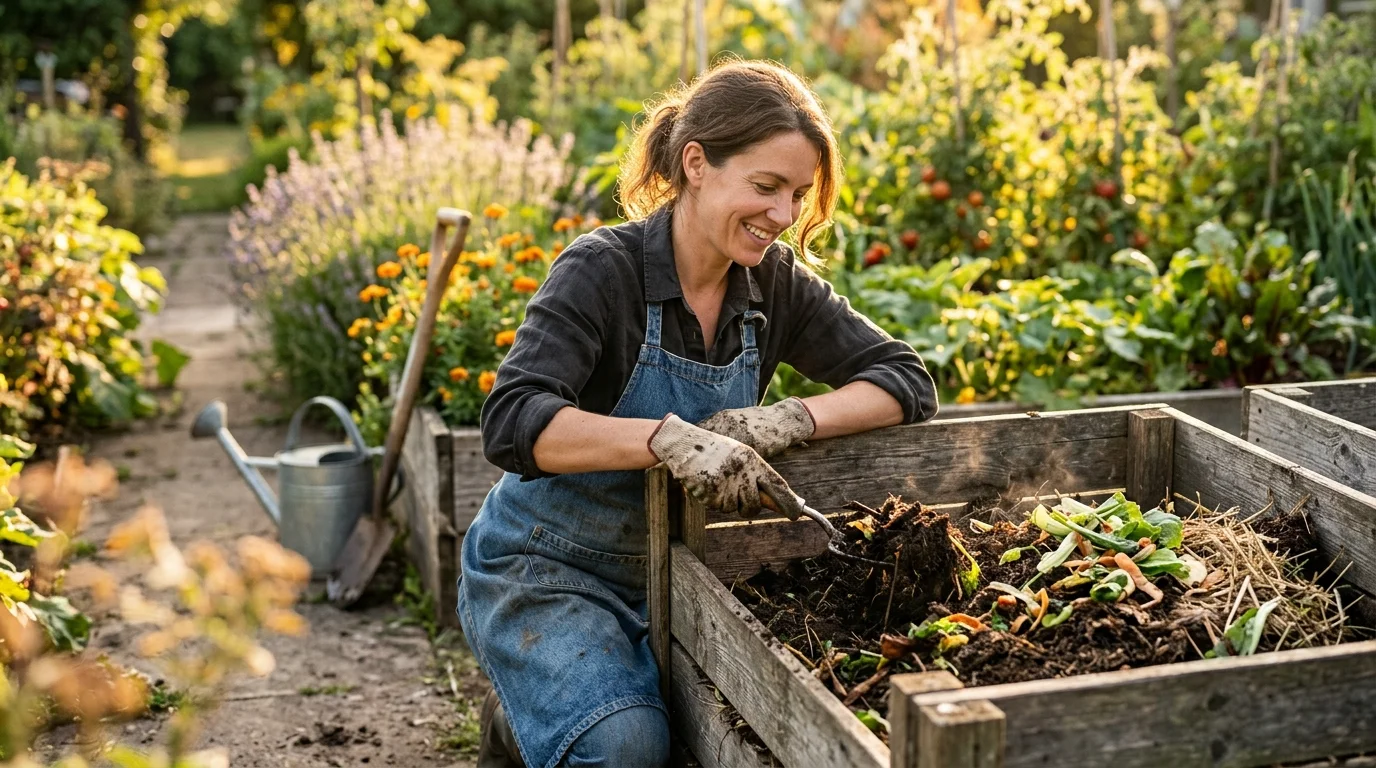
Making your own compost is one of the most rewarding projects you can start in your garden. Instead of throwing away kitchen scraps and yard waste, you can turn them into “black gold”—a rich, dark, earthy soil conditioner that feeds your plants naturally.
Quick Answer: To make compost successfully, mix one part “green” nitrogen-rich materials (like vegetable scraps and grass clippings) with three parts “brown” carbon-rich materials (like dry leaves and cardboard). Keep the pile as damp as a wrung-out sponge, and turn it every one to two weeks to add oxygen.
What is Composting and Why Should You Do It?
Composting is the natural process of recycling organic matter, such as leaves and food scraps, into a valuable fertilizer that can enrich soil and plants. By composting, you improve soil structure, help the soil retain moisture, and introduce beneficial microbes that suppress plant diseases and pests. It also reduces the amount of waste sent to landfills, making your gardening practices more sustainable.
The golden ratio: Green vs. Brown Materials
To get your compost pile working efficiently, you need to provide the decomposers (bacteria, fungi, and earthworms) with the right balance of carbon and nitrogen.
- Greens (Nitrogen-Rich): These materials provide protein for the microbes. Examples include fruit and vegetable scraps, coffee grounds, tea leaves, fresh grass clippings, and green pruning waste.
- Browns (Carbon-Rich): These materials provide energy for the microbes and help keep the pile aerated. Examples include dry leaves, straw, wood chips, shredded cardboard, newspaper, and paper bags.
A good rule of thumb is to use a 1:3 ratio by volume of greens to browns. Whenever you add a bucket of food waste (greens), toss in three buckets of shredded cardboard or dry leaves (browns) to keep the pile balanced and odour-free.
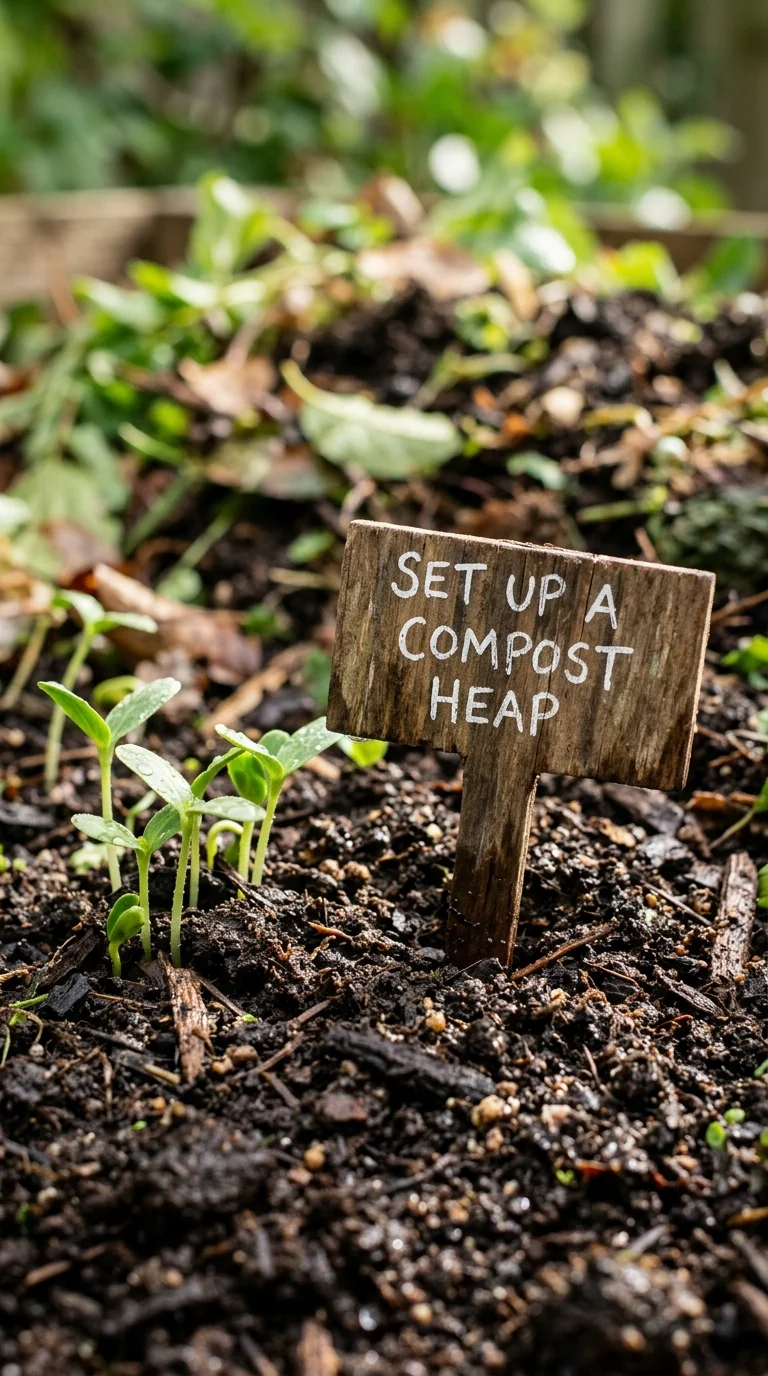
Step-by-Step: How to Set Up and Maintain Your Compost Pile
- Choose a Location: Find a flat, well-drained spot in partial shade. Too much sun will dry the pile out, while complete shade can make it too cold.
- Build the Base: Start with a 3-inch layer of twigs or straw at the bottom to allow air to circulate and excess water to drain.
- Layer Greens and Browns: Alternating layers of greens and browns. Be sure to shred large pieces of cardboard or branches so they break down faster.
- Add Water: Moisten the pile as you build it. It should feel like a damp, wrung-out sponge—not soggy or dripping.
- Turn the Pile: Every 1 to 2 weeks, use a garden fork to turn the pile. This introduces oxygen, which is essential for aerobic decomposition and prevents bad odours.
Hot Composting vs. Cold Composting
- Cold Composting (Passive): This is the easiest method. You simply pile up your garden and kitchen waste in a bin or heap and let nature take its course. It requires very little effort but can take anywhere from six months to two years to produce finished compost.
- Hot Composting (Active): This method requires more work but produces compost in as little as 4 to 8 weeks. You need a pile that is at least 3 feet wide, 3 feet deep, and 3 feet tall (1 cubic yard). By maintaining the perfect 1:3 ratio, moisture, and turning the pile whenever the internal temperature drops below 43°C (110°F), the pile will heat up and break down rapidly.
What NOT to Put in Your Compost Bin
To keep your compost healthy and avoid attracting pests, never add:
- Meat, fish, bones, or dairy products (creates terrible odours and attracts rodents).
- Cooked food or oily leftovers.
- Dog or cat waste (can carry harmful pathogens).
- Diseased plants or weeds with mature seed heads.
- Glossy or highly coloured paper.
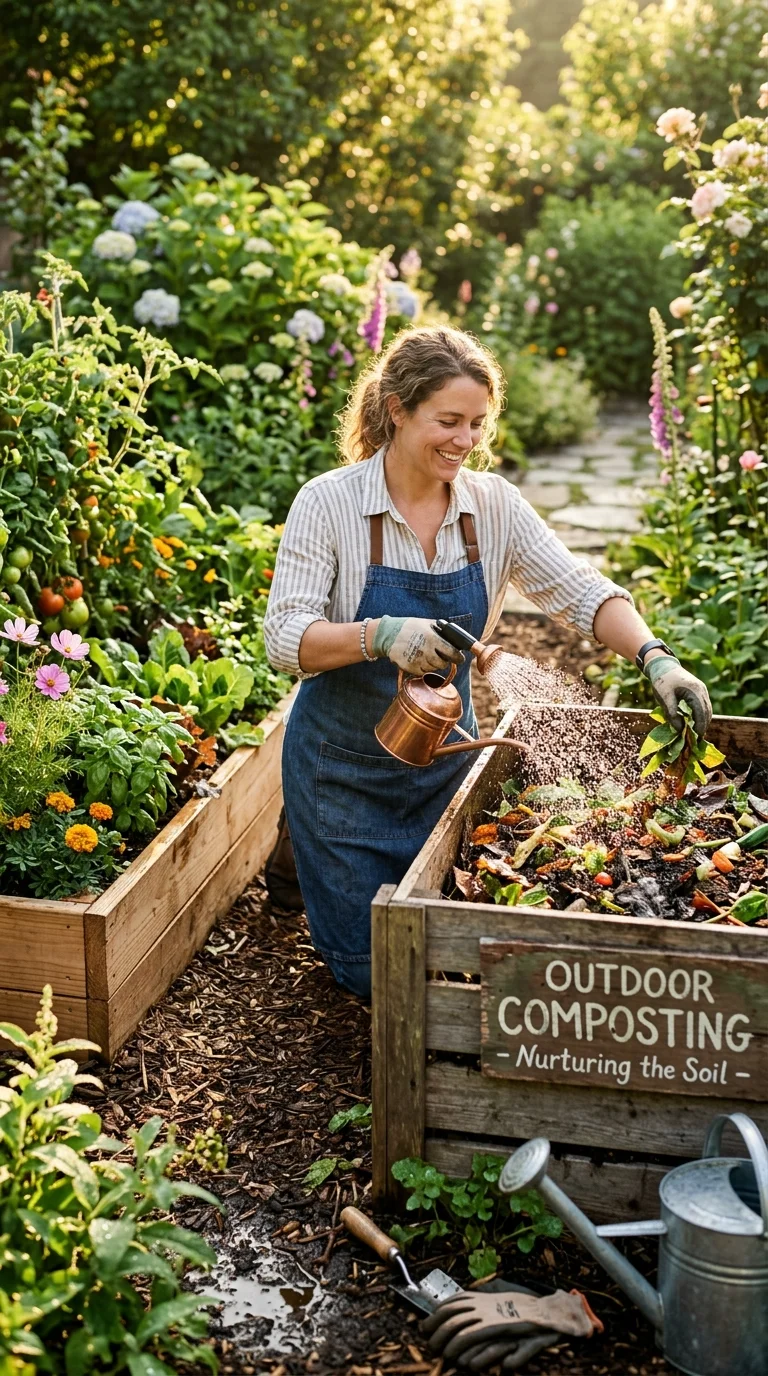
Troubleshooting Common Compost Problems
- Problem: The pile smells bad. Cause: Too much moisture or too many greens (nitrogen). Fix: Turn the pile to add air, and mix in plenty of dry browns like shredded cardboard or dry leaves.
- Problem: The pile is dry and nothing is happening. Cause: Not enough moisture or lack of greens. Fix: Sprinkle water on the pile and add more nitrogen-rich greens like fresh grass clippings or kitchen scraps.
- Problem: The pile is damp but not heating up. Cause: The pile is too small, or it lacks nitrogen. Fix: Make the pile larger, or mix in a nitrogen source like coffee grounds or organic blood meal.
Frequently Asked Questions
Q: How long does it take for compost to be ready?
A: Depending on the method, compost can take anywhere from 2 months to a year. Finished compost is dark brown, crumbly, and has a pleasant, earthy smell like a forest floor.
Q: Can I compost in the winter?
A: Yes, decomposition will slow down or stop when the pile freezes, but it will resume in the spring. You can keep adding scraps throughout the winter, especially if you insulate the bin with straw.
Q: Do I need to buy a compost bin?
A: No, an open pile works perfectly fine. However, a bin helps contain the pile, retains heat and moisture, and keeps pests like rodents out.
Q: Why are there so many flies around my compost bin?
A: Flies are attracted to exposed fruit and vegetable scraps. Always bury your green kitchen waste under a thick layer of dry brown materials like leaves or soil.
Q: Can I compost citrus peels?
A: Yes, in moderation. Citrus peels break down slowly and are acidic, but they are perfectly fine to add to a balanced home compost bin.